.png)


Today we are upcycling these glass vases into a stone-like clay pottery look. Let's get right into it!

Preparation
I've watched quite a few videos about this method and from what I can tell the best recipe is a 50/50 mix of baking soda and either acrylic or latex paint.
You will also need a brush–any brush will do. I have my Zibra Round Brush.
And of course, your vase! I got a matching pair from Goodwill for just $2.00 each. I do think that glass is the best vase material for this project, I'm sure you can make other materials work just fine. If you're covering up another color, you'll just need to add a few more layers.
I gave my vases a good clean with regular dish soap and then towel dried them. Then it was time to paint!
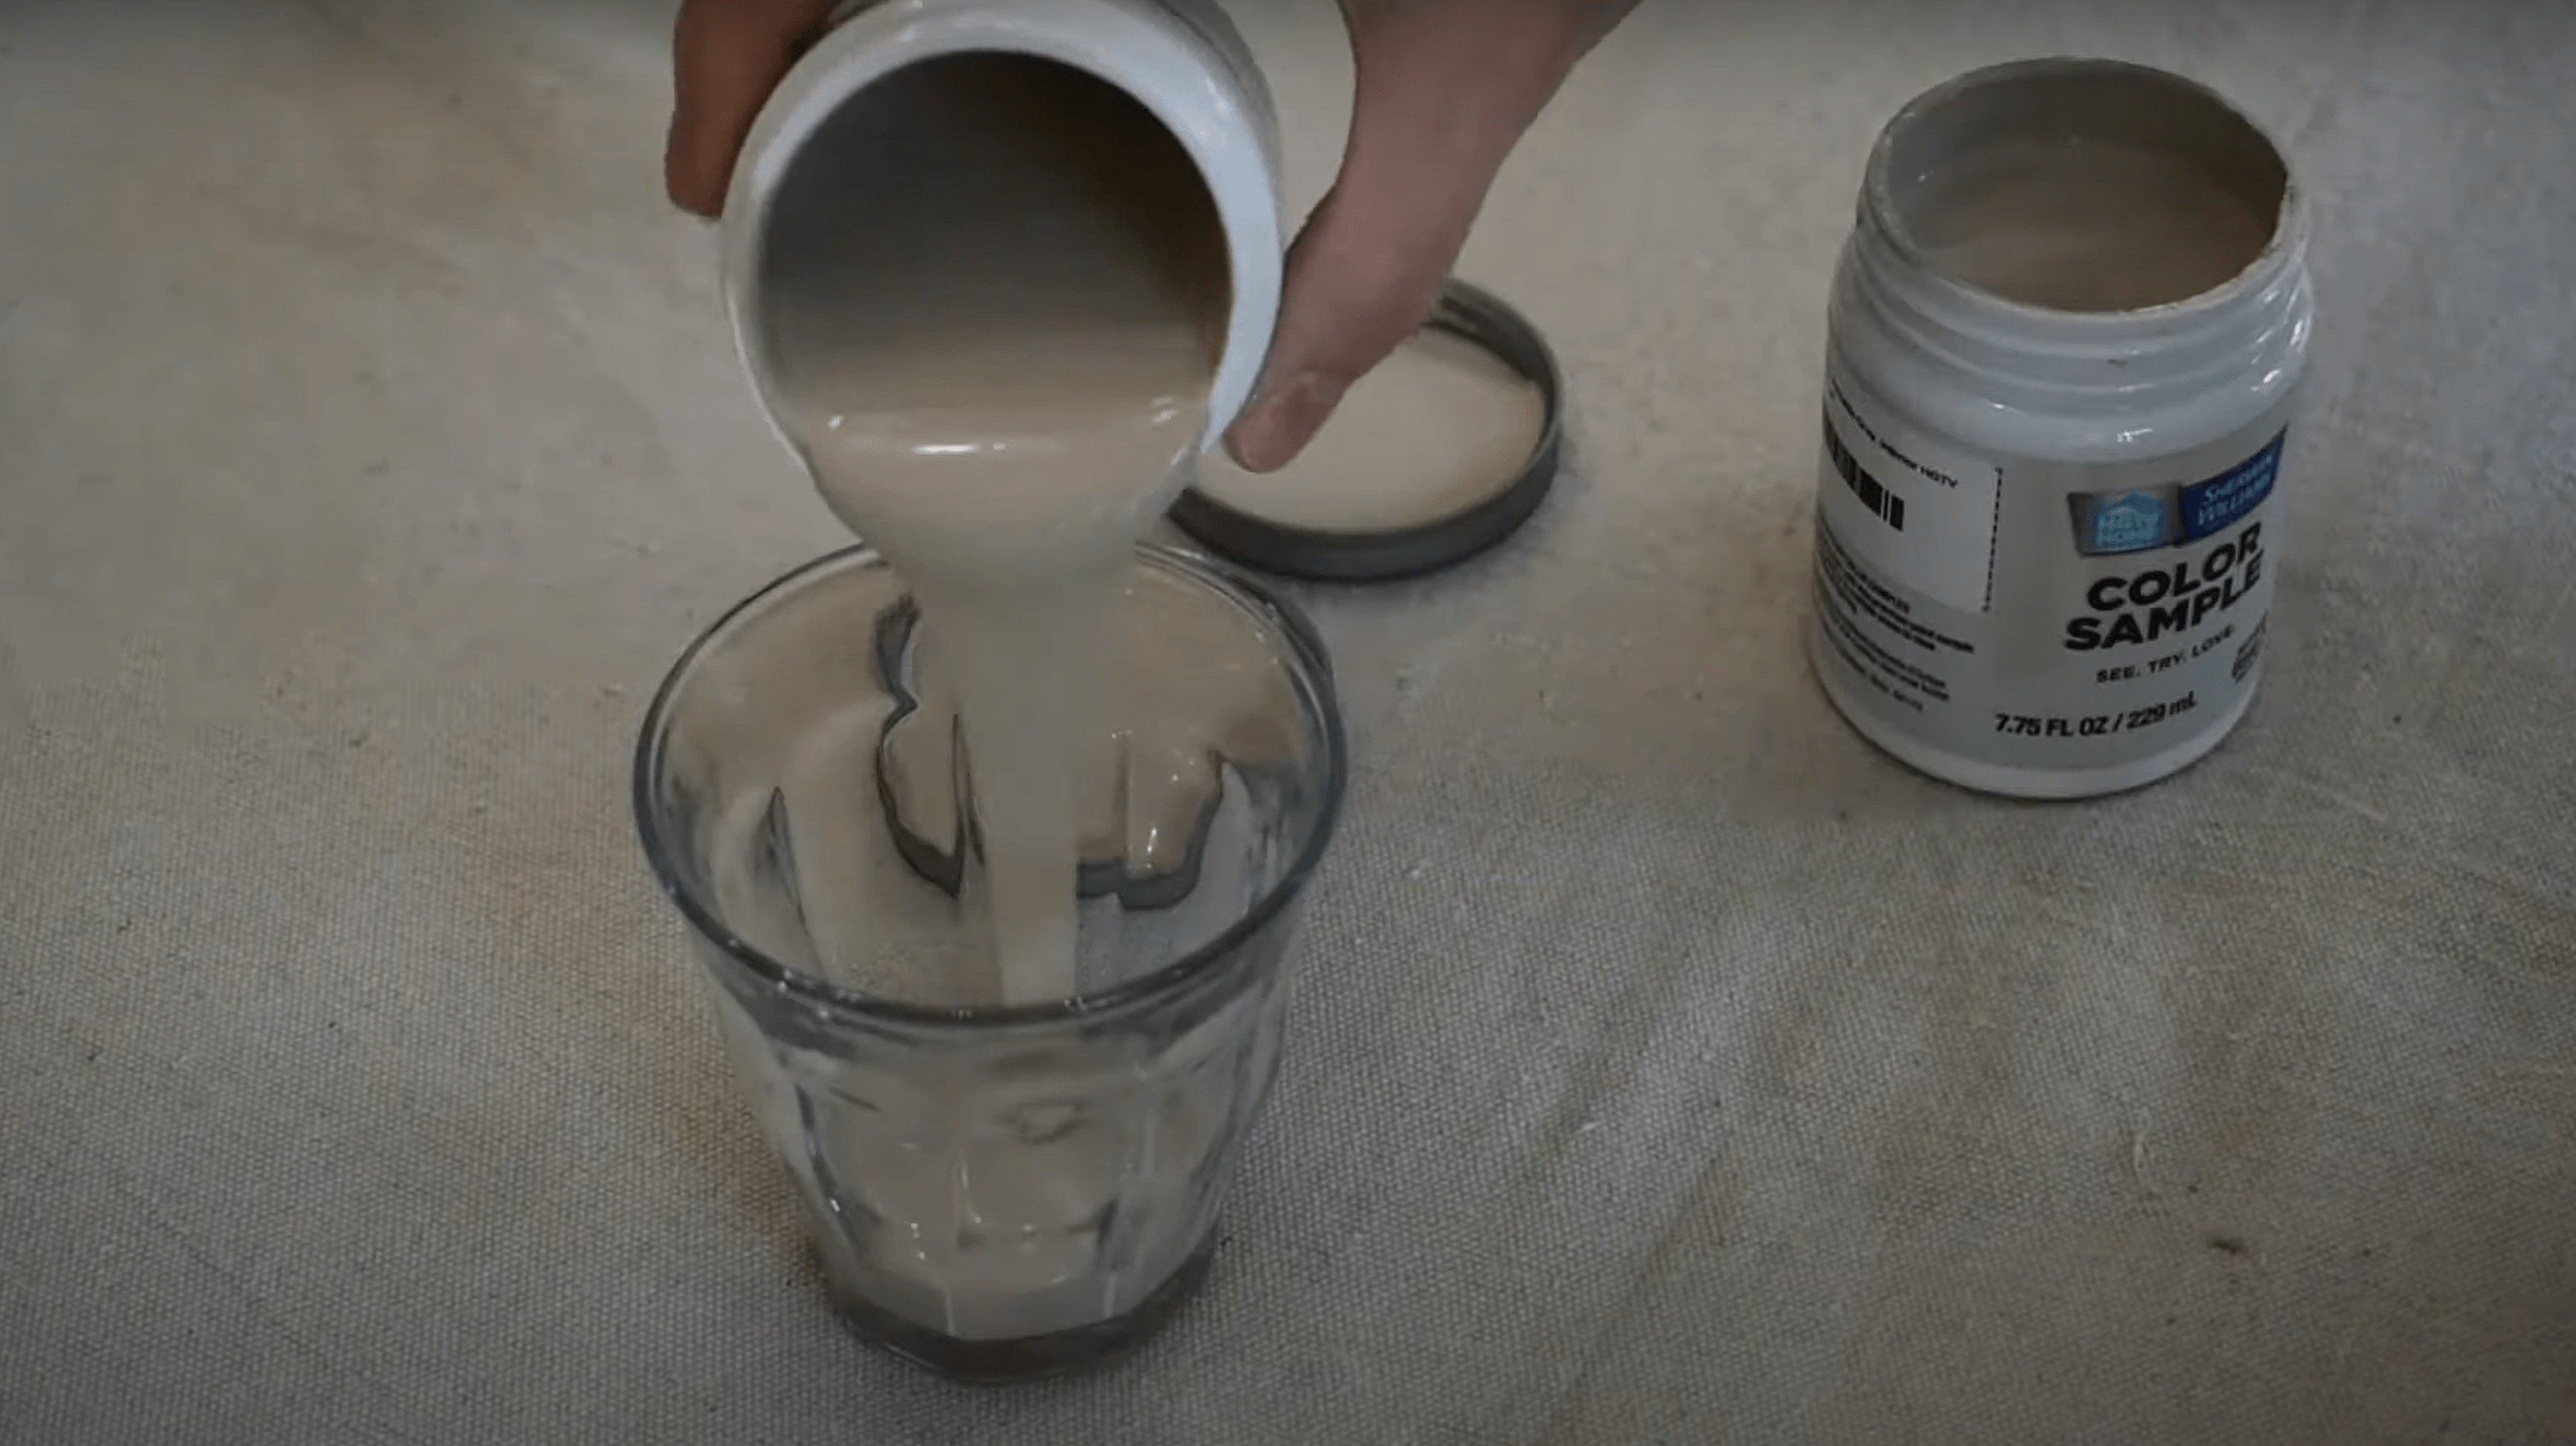
Mixing Paint
I have a house paint sample from Lowe's. Paint samples are my new favorite thing for art! They are quick, easy, and come in the color of your choice with no mixing required. I am using Sherwin Williams Smokey Beige again in that 50/50 ratio of paint to baking soda.
This is a really forgiving formula and you can keep mixing up more as you need it. Don't overthink it, just mix something together.
Painting The First Layer
The texture of this paint is really satisfying to work with. I am going with horizontal brush strokes to emulate what real pottery would look like and I suggest that you do the same. I'm also trying to go for smoother layers and a cleaner look. You can add as much or as little texture as you want. It's totally up to you!
I painted the body of each vase as well as the bottom side and let that dry for about 30 minutes. Then, I gently flipped them back over to finish up the top. I also painted inside the rim because these vases were quite fluted. If you're in a pinch you don't need to paint the bottom or inside the rim, but if you have the time I say go for it. This really helps add to the illusion.

Painting The Second Layer
I let these dry for a good two hours before I came back for a second coat. I mixed up new paint directly into the cup as I needed it. The second coat went on really easily. Again, I took a pause halfway through so the vase was dry enough to flip over and keep going.
As I was working, I realized I only really needed the two coats. It did help though to peek through the top of the vase to see where there was light still coming through the body. This helped me see where the paint was still a bit thin.
For such simple and cheap ingredients, this makes such an amazing texture. I'm actually blown away! Plus with the glass material underneath, these do feel delicate just like real pottery should.
Testing Out the Coffee Ground Method
You can leave these as is and it would be stunning. But I have seen other DIYers use coffee grounds to dirty up their vase, so I thought I would give that a go. The premise is to rub the coffee grounds in with your hand until they get ingrained in the texture.
The coffee grounds worked… kind of. It did help deepen the texture and it smelled great, but it was really messy and rough on the hands, and I ended up wiping most of it away when I was trying to brush off stray coffee ground clumps. The look was nice though and it was warm and added to the illusion. But I had an idea on how to take it one step further…

My Own Method – Furniture Wax!
Furniture wax is meant to protect wood furniture but it is also used to help deepen the texture in wood pieces, which is basically what we're trying to do here. I grabbed the same round brush and wiped small amounts of Jolie's Brown Finishing Wax onto the vase. I started somewhere discreet so I could see how it looked. I liked the look so I kept going.
Let me tell you, this is definitely a better option than the coffee grounds! It is controllable and blendable, yet the effect is much deeper than the coffee grounds. If I apply too much, it is easy to blend it out. I can go as dark or as light as I want. I can also target areas like the base and shoulder to be a bit darker. I used techniques like stippling my brush to add extra texture.
I compared my vases side-by-side to make sure that the texture was even among them, as I'm planning for them to be in a set
If you don't have furniture wax, you could use shoe polish, leather polish, or maybe even something thick like coconut oil tinted with something brown (like coffee grounds!). There are a number of options, you just got to be creative.

Done!
This was a bit of an impulsive DIY for me and I absolutely love it! I got the vases on a whim I pulled the ingredients from my pantry and art closet as soon as I got home. I was done in just an afternoon and what a difference did it make!
These look like the real deal for sure and all in they are only $3.50 each! What a win.

If you are new to home decor DIYs or just looking to change up what you already have, then I challenge you to give this a go.
Thank you for sticking around and I will see you in the next one.


