
If you’ve ever gone shopping for a coat rack then you’ll know how hard it is to find something beautiful AND well built. The good news is that making one from scratch isn’t much harder than hanging a picture, and you’ll know it’ll last you a lifetime. So let’s get right into it!
Choosing Your Plank
The first thing you’ll need is a piece of wood, preferably thin and wide like a 1”x6”. We keep a bunch of scrap wood in our shed, so I grabbed a piece from an old pallet. It’s painted on one side and has seen better days, but we can make it work.
 Wood Selection in Our Shed
Preparing Your Plank
I grabbed my orbital sander and started removing the top layer of the wood. This will help with a few things: first of all, smoothing the surface to prevent splinters. Second, it evens out the color from differences in exposure when the plank was part of a pallet. Finally, it’s going to help the wood accept stain a bit better.
I also sanded off any paint that would be visible and then chopped by board down to size, making our plank 3.5’ long.
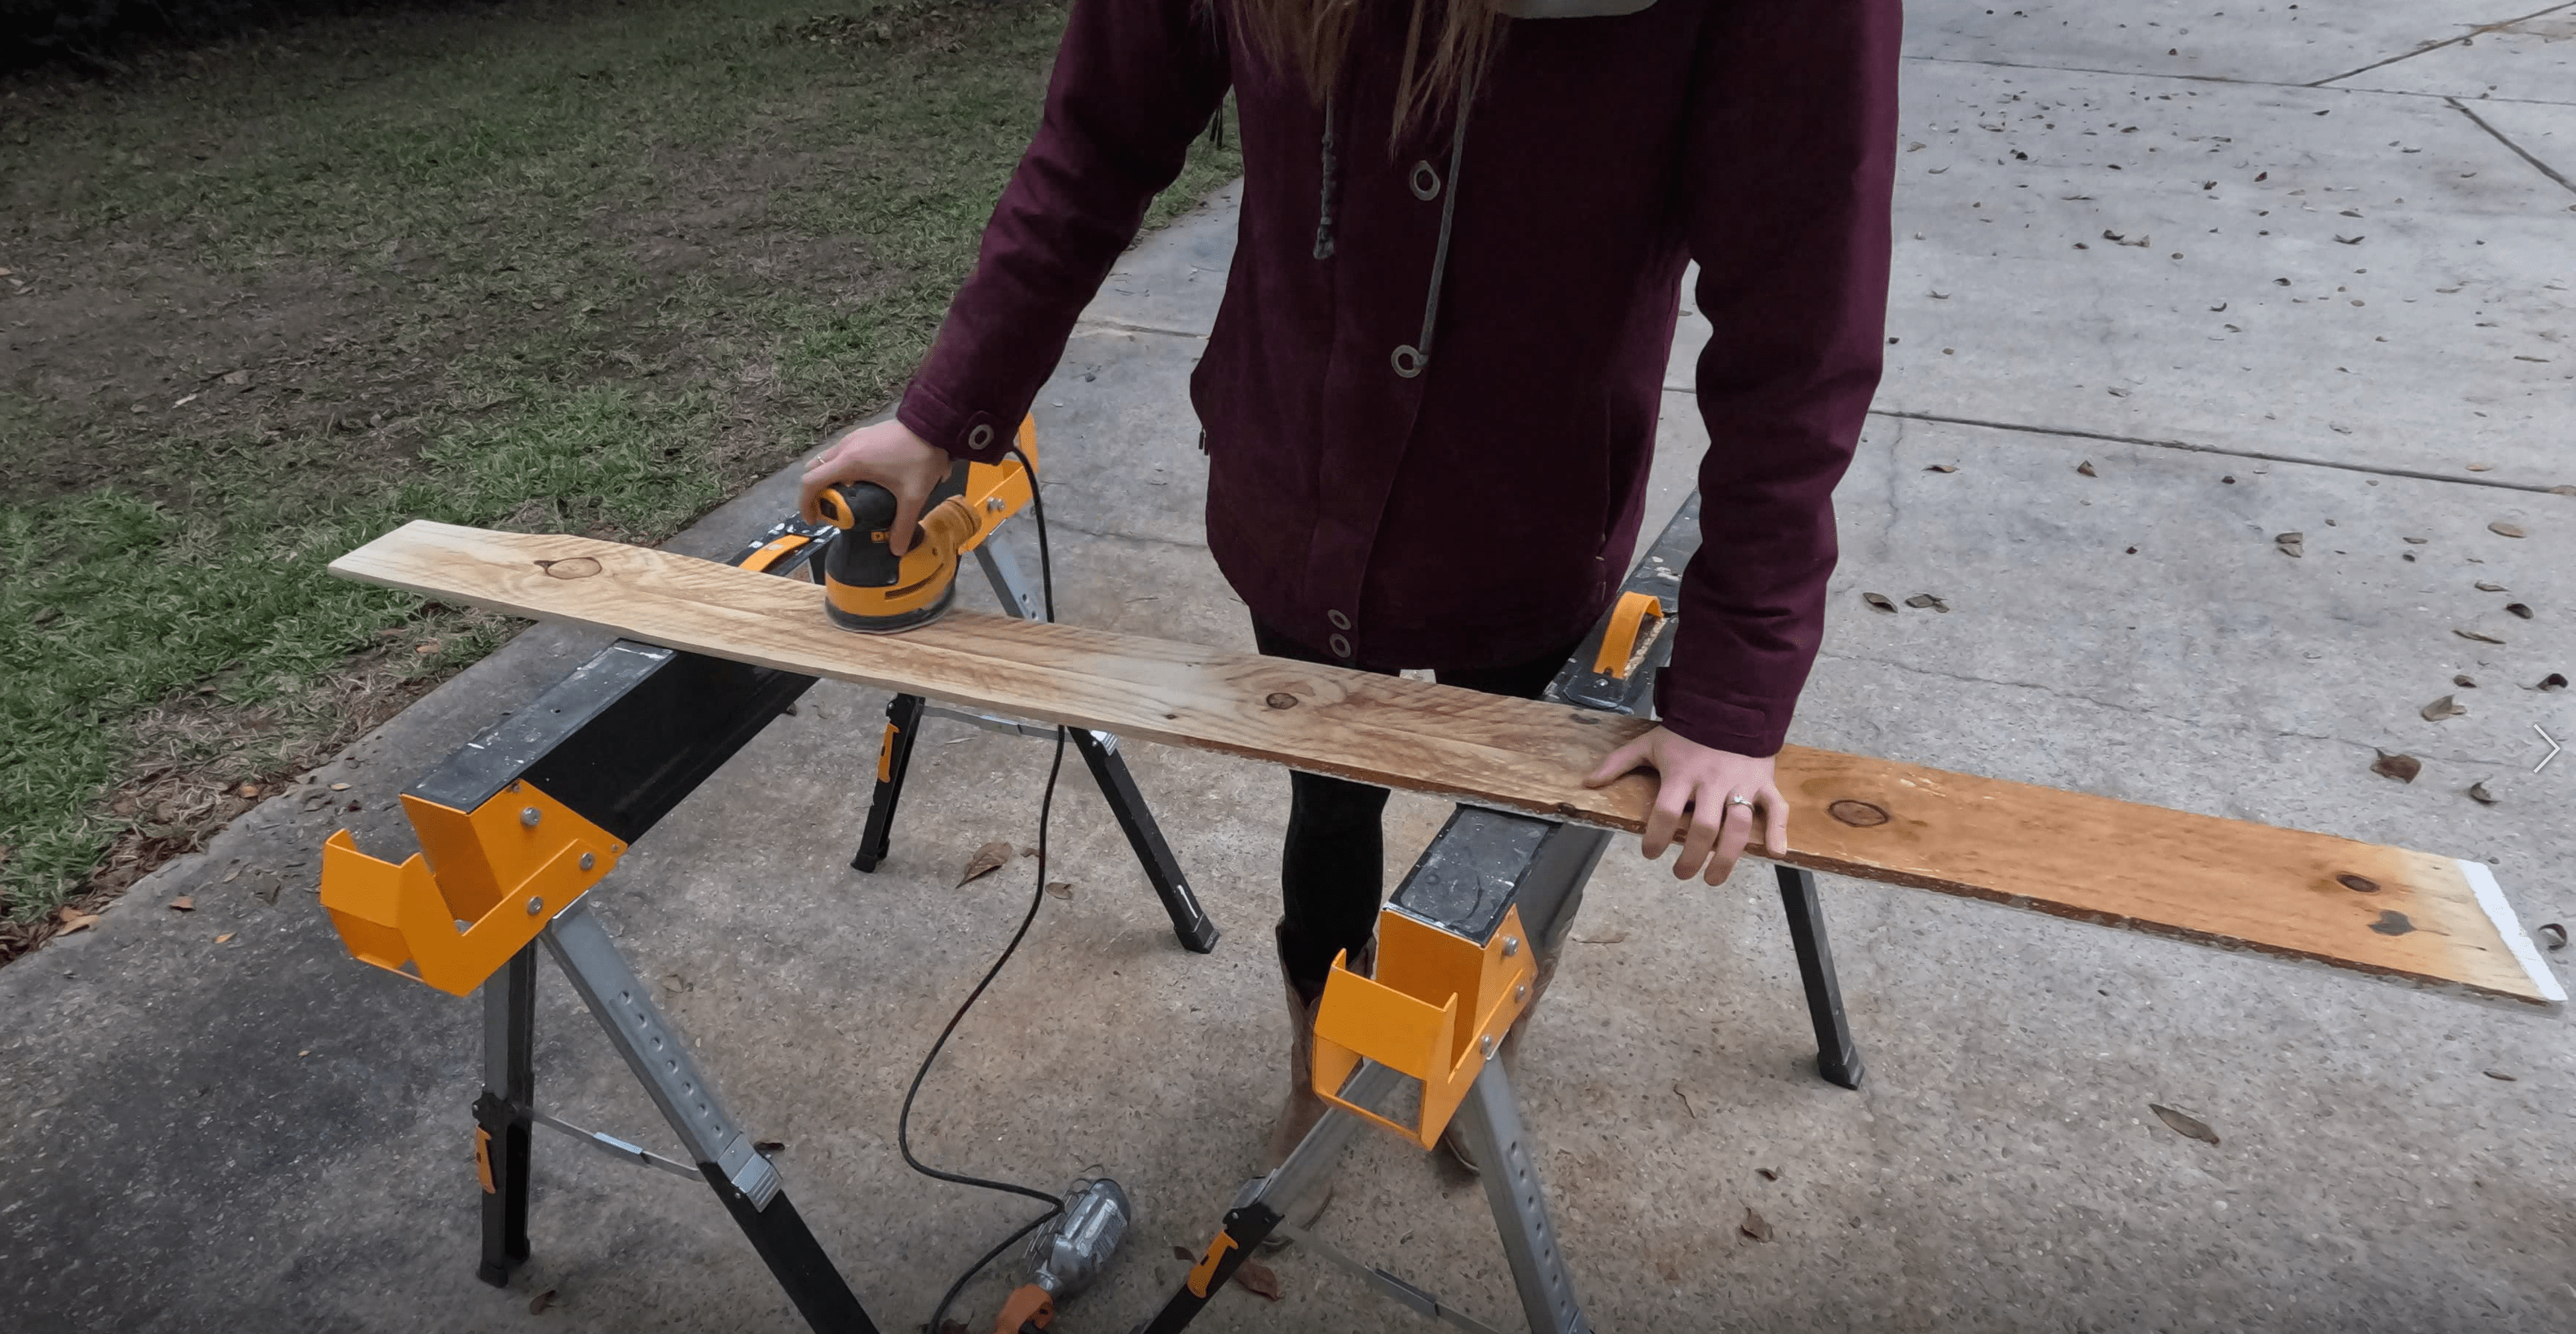 Sanding the Plank
If you’re looking for a power-tool-free alternative, grab a 1”x6” from the lumber store and get them to chop it down to size in-store.
Staining & Sealing Your Plank
Now we have the piece we want, so let’s make it pretty. I’m going to start by filling the previous nail holes with a bit of stainable wood filler. After scraping off the excess and letting it dry, I sanded the filler down until I once again had a nice smooth surface.
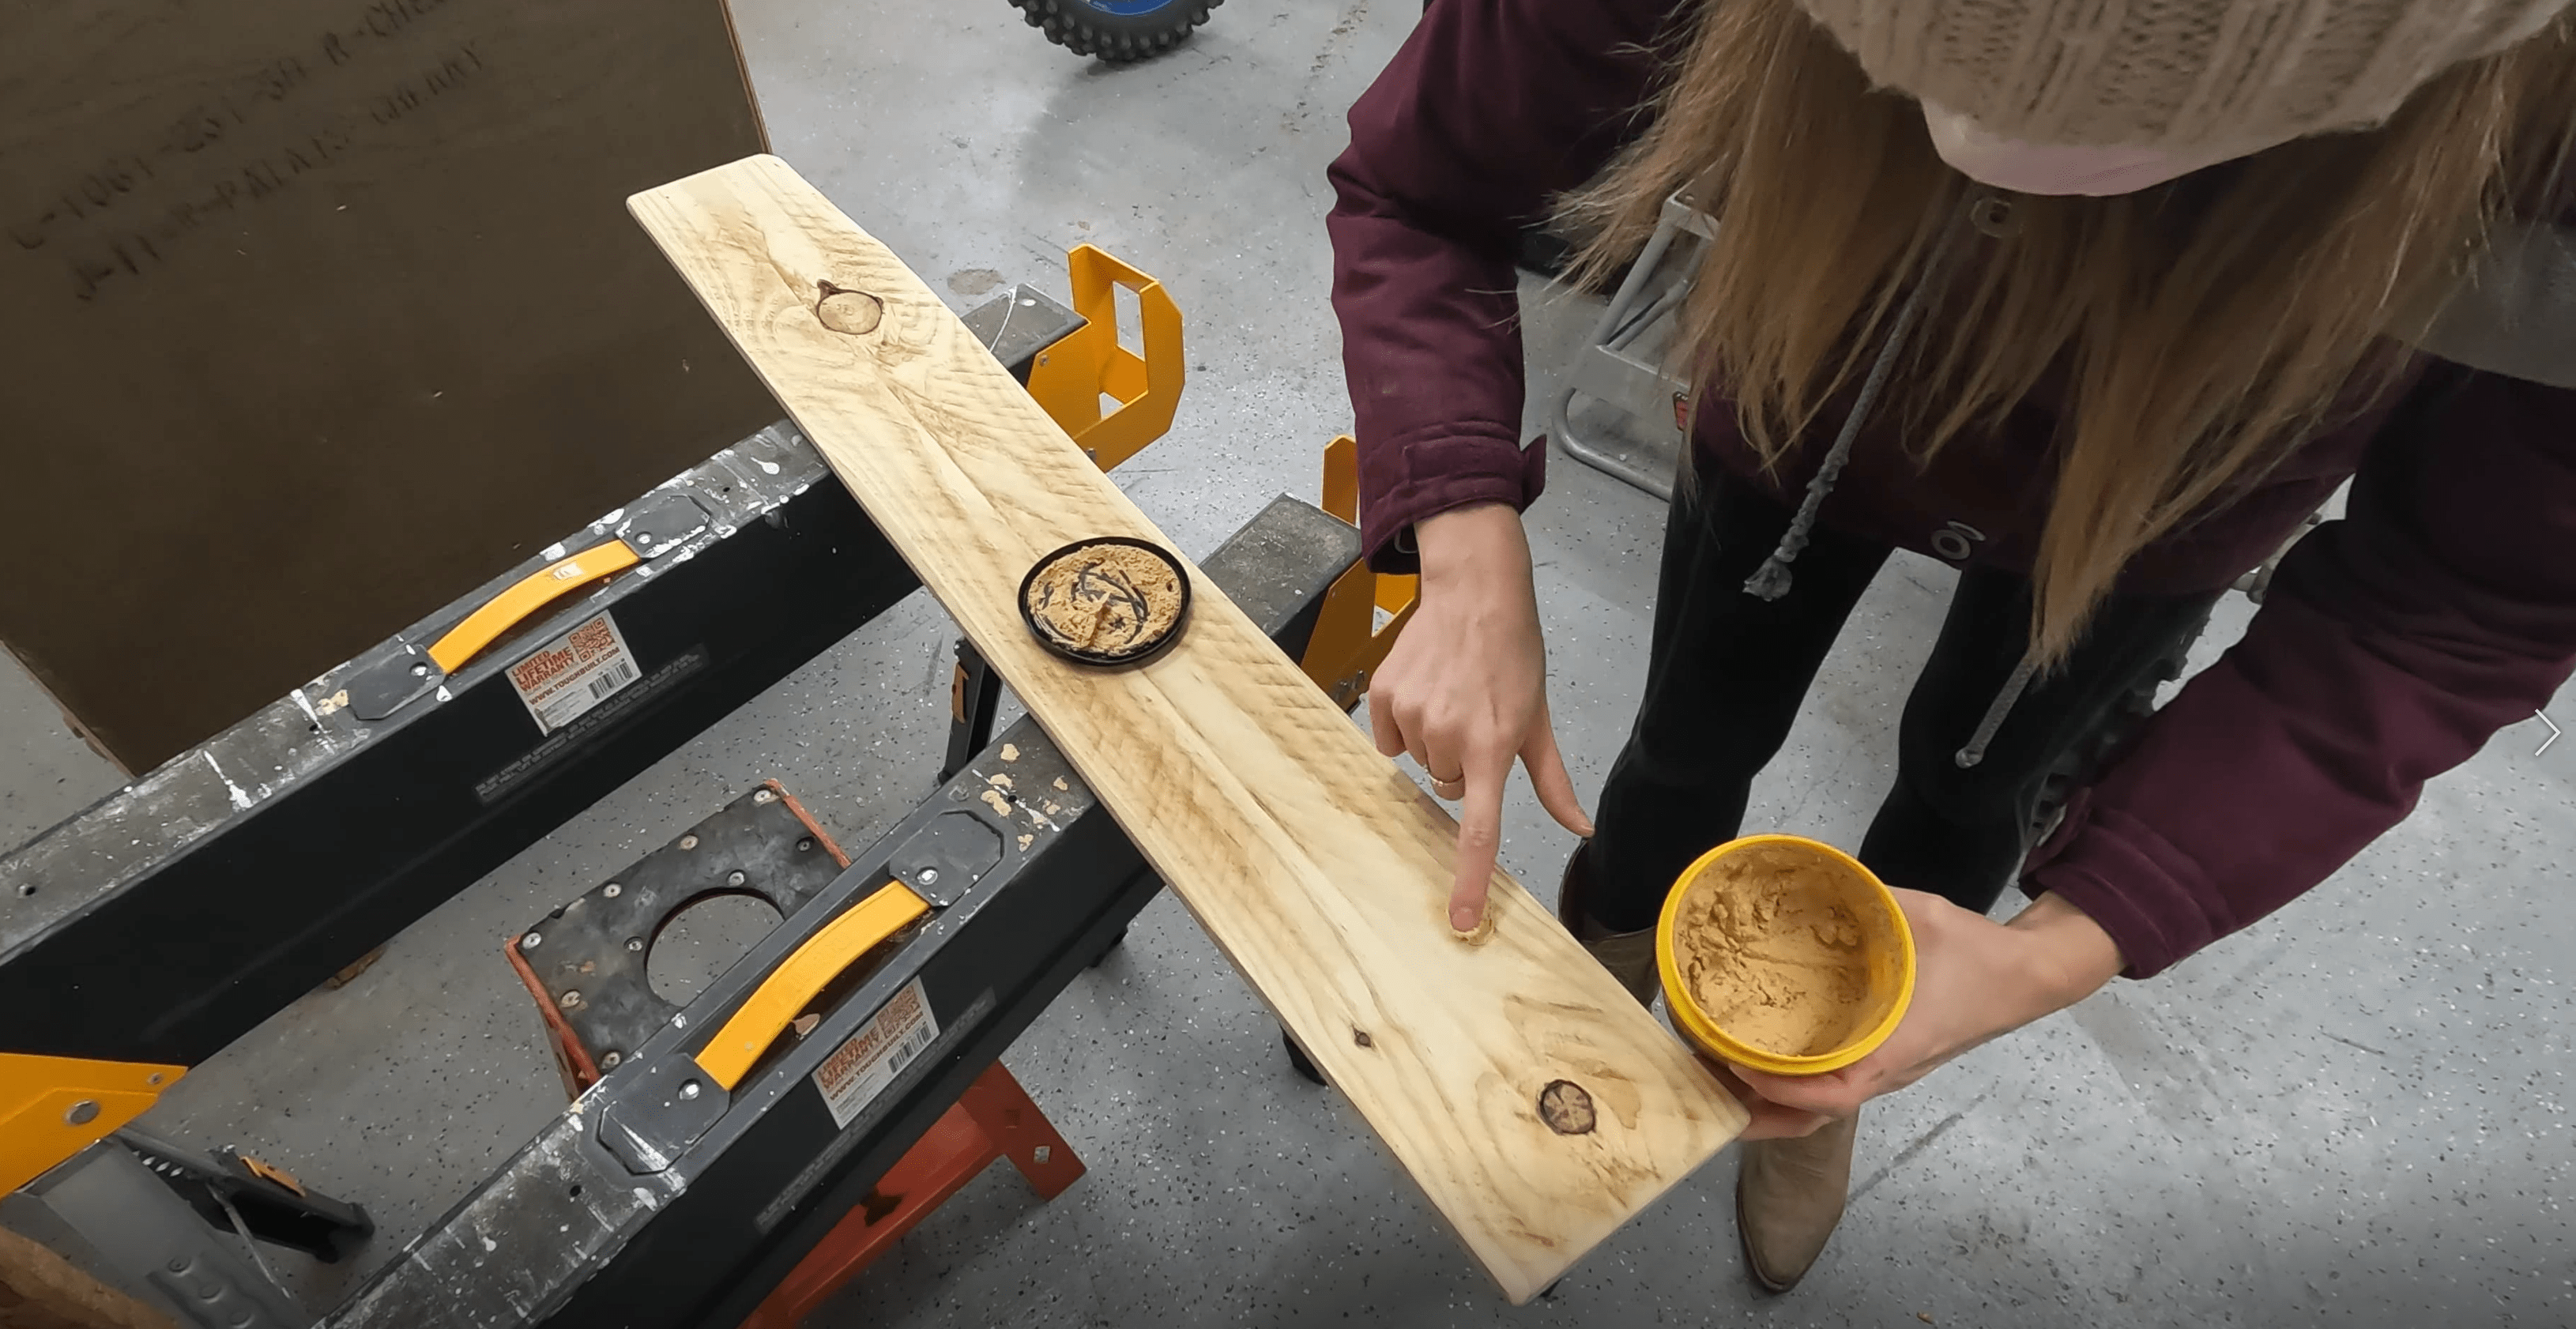 Filling Previous Holes with Wood Filler
Then, I’m going to stain everything. I’m using my go-to color which is Varathane’s Early American and wiping it on every surface with a lint-free cloth. This is a rich, medium wood color that makes basic pine boards look great! I let that sit for a minute and then I actually came back to do a second coat to darken it up just a bit more.
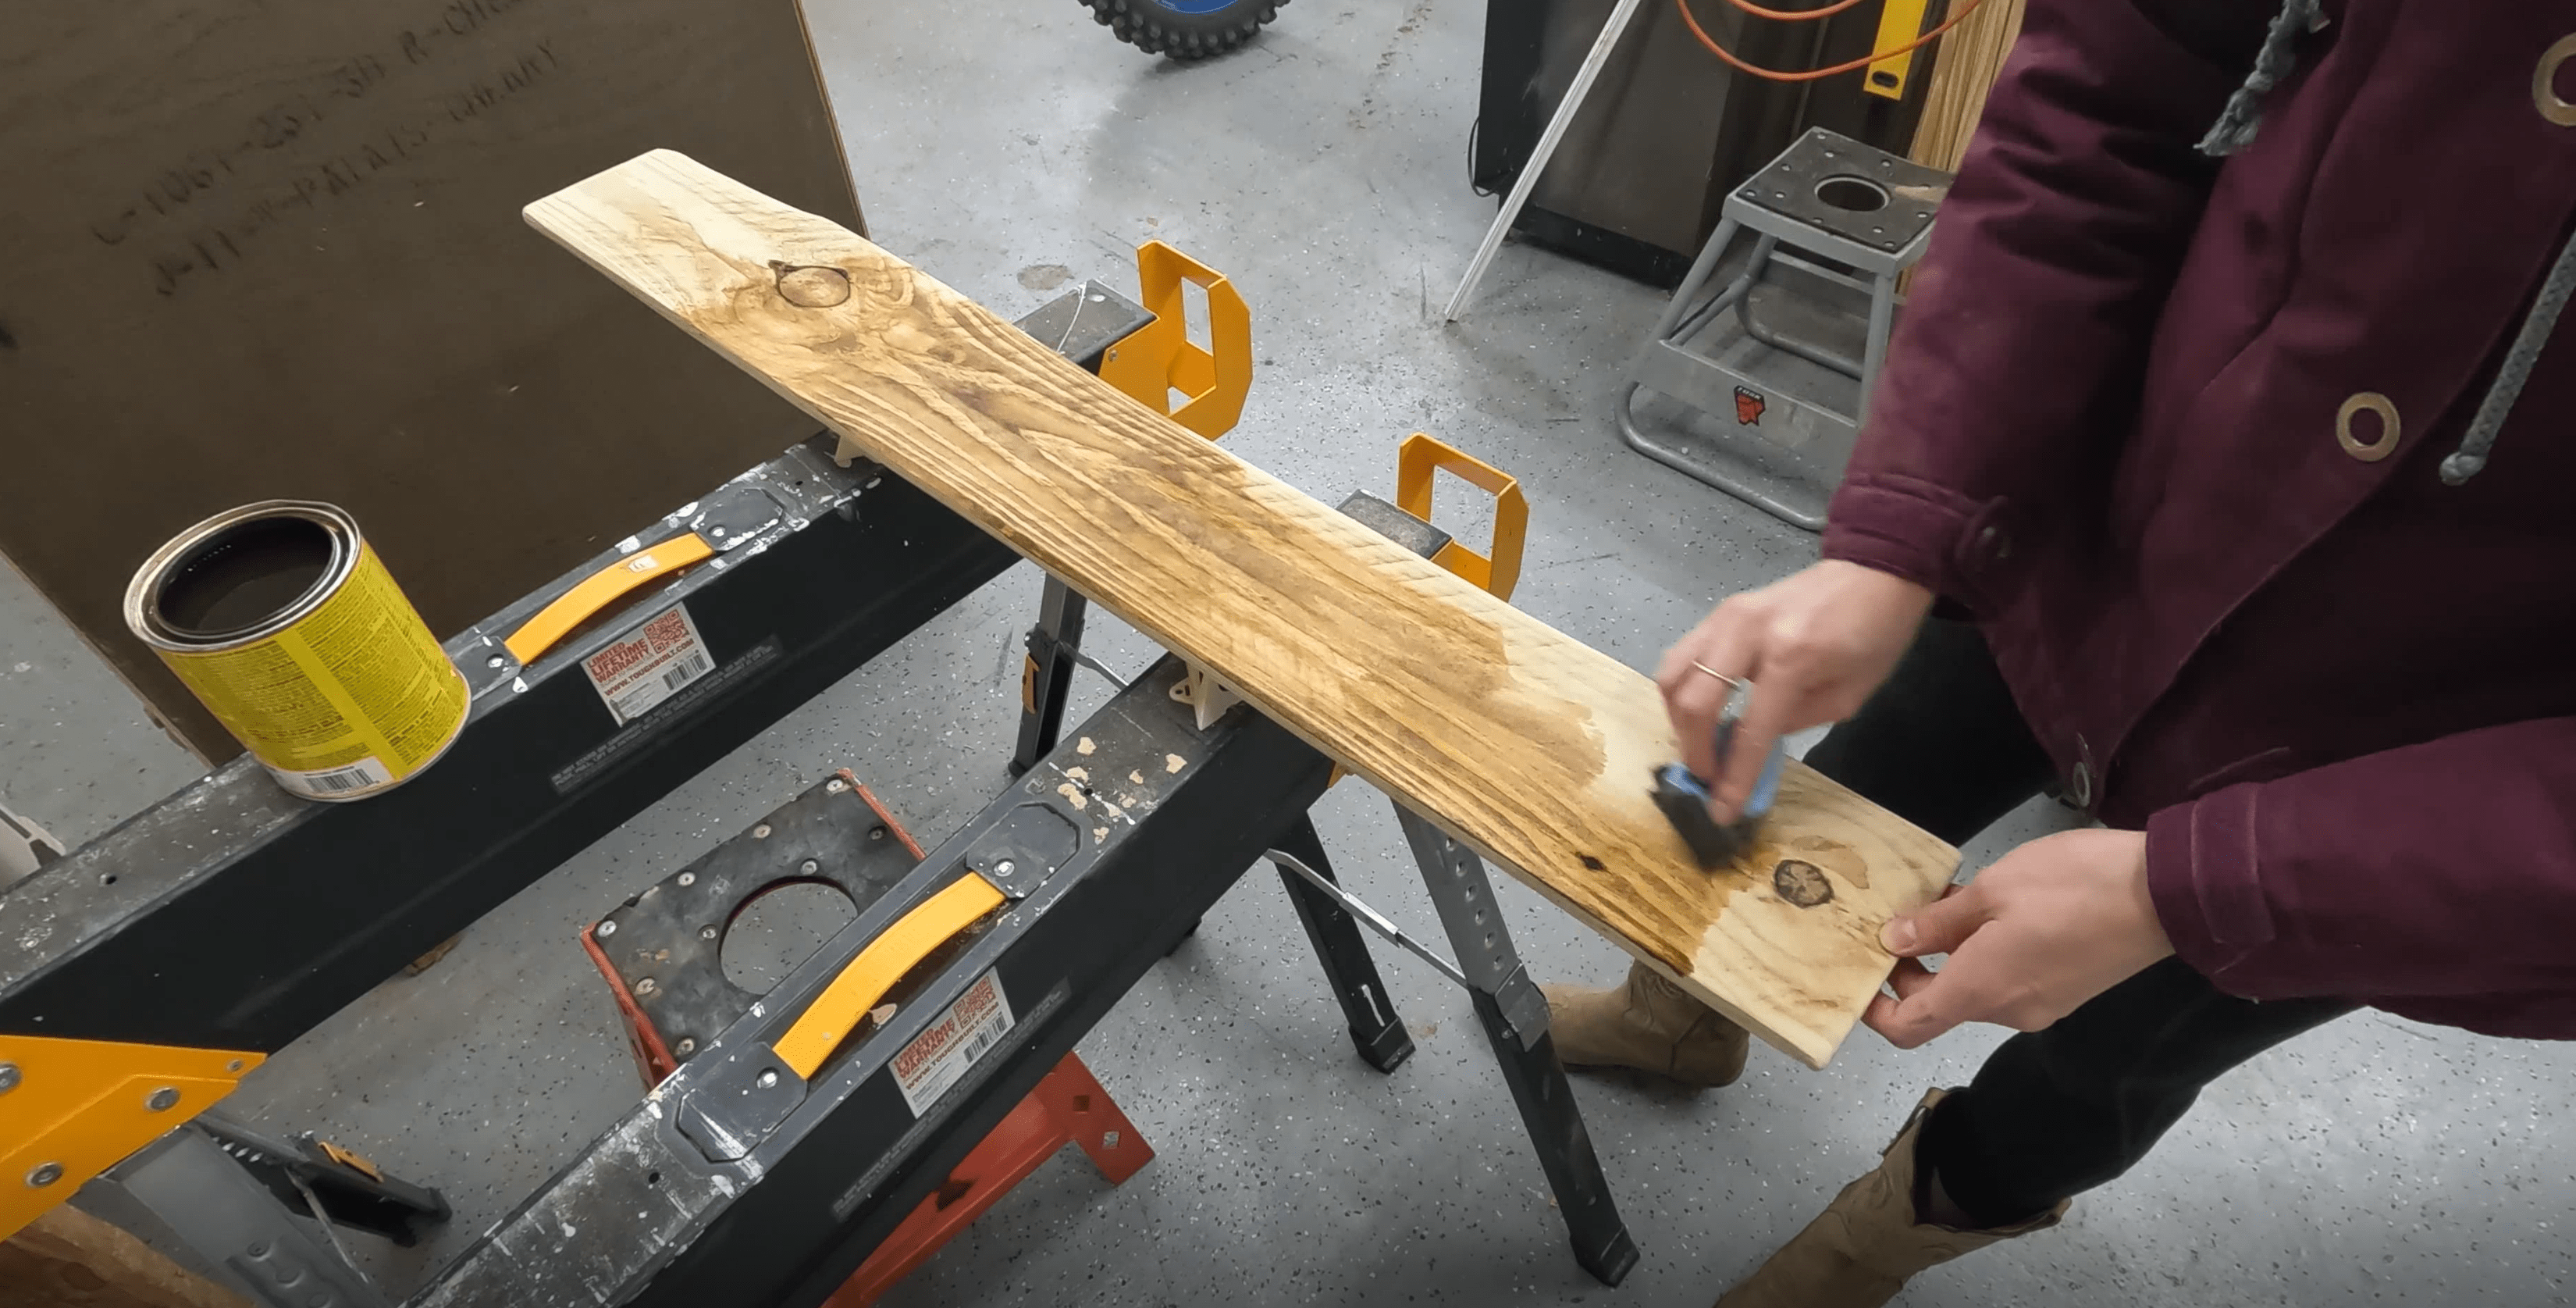 Staining the Plank
The last step is sealing the wood. I grabbed just a bit of clear furniture wax and buffed it into the wood with another lint-free cloth. This isn’t strictly necessary but will help lock in the stain, and makes the wood buttery soft and easy to clean.
 Sealing with Furniture Wax (Optional)
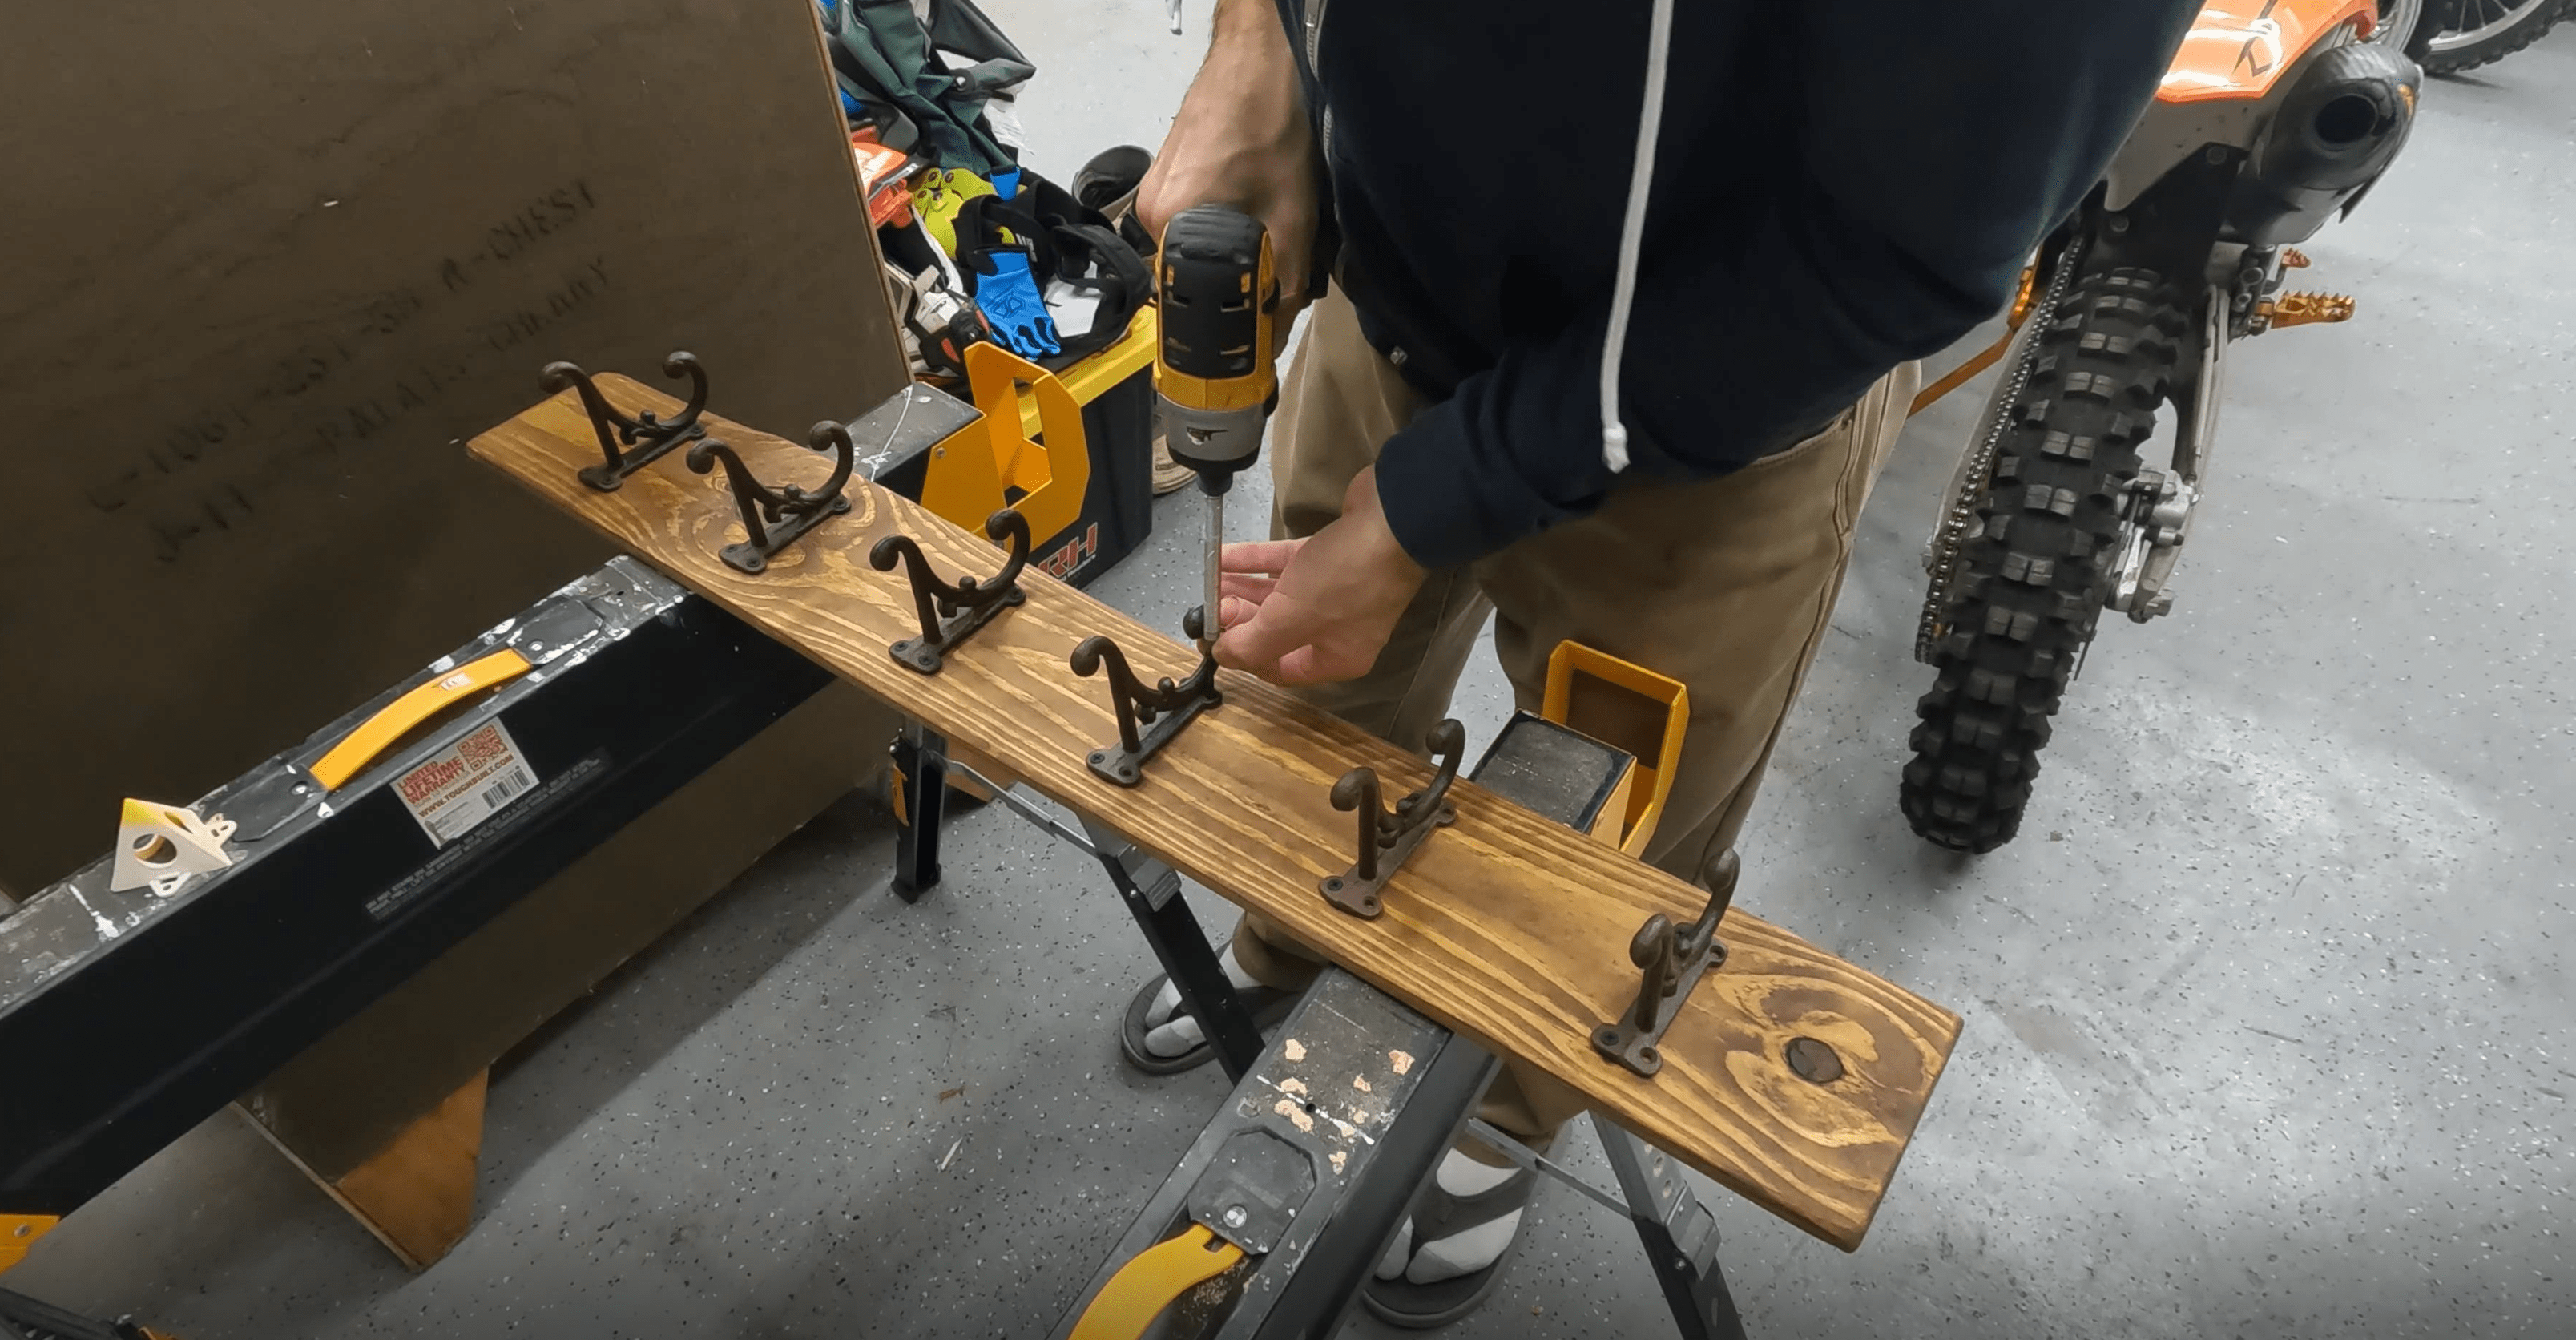
Adding the Coat Hooks
I love these beautiful, heavy cast iron hooks we got off Amazon.
You’ll want your hooks to be 4” to 6” apart. We have six hooks, so we divided the total length of the board by seven (number of hooks + 1) and put small ticks at each interval. Then we laid the hooks out and moved them around until we got the look we were happy with.
 Measuring Hook Placement
The edges on our board are not square and these hooks were not uniform so for us it was a bit of guesswork. Feel free to measure super precisely or totally eyeball it, depending on what you’re into.
Once we had everything in place, we started attaching our hooks, one by one. Make sure your screws are long enough to hold tight but not too long to poke out the other side of your board! It also helps to have an extra set of hands.
 Screwing in the Hooks
Double Duty: Using the Hooks to Mount the Coat Rack
One super awesome hack, if you’re looking to level up your coat rack, is to use some of the mounting holes of your hooks as double duty for installing your coat rack on the wall. I describe this visually in the YouTube video accompanying this blog post.
Normal stud spacing is 16” on center, so if you plan ahead, you can put your hooks in just the right spot such that you can use a single screw to go through the hook, through the board, and right into the stud.
You’ll need to know exactly where you want it on the wall in advance, and where your studs are relative to that, so it can get a bit complicated. But if you’re up for the challenge, definitely give it a try! It’s well worth it for the seamless look.
Installing the Coat Rack
After double-checking the location of our studs, we needed to settle on the right height. A good place to start is about 5’ off the ground. We are planning to build a bench to sit underneath our rack, so we used a coat to figure out the perfect height for our space, which ended up being closer to 5’6”.
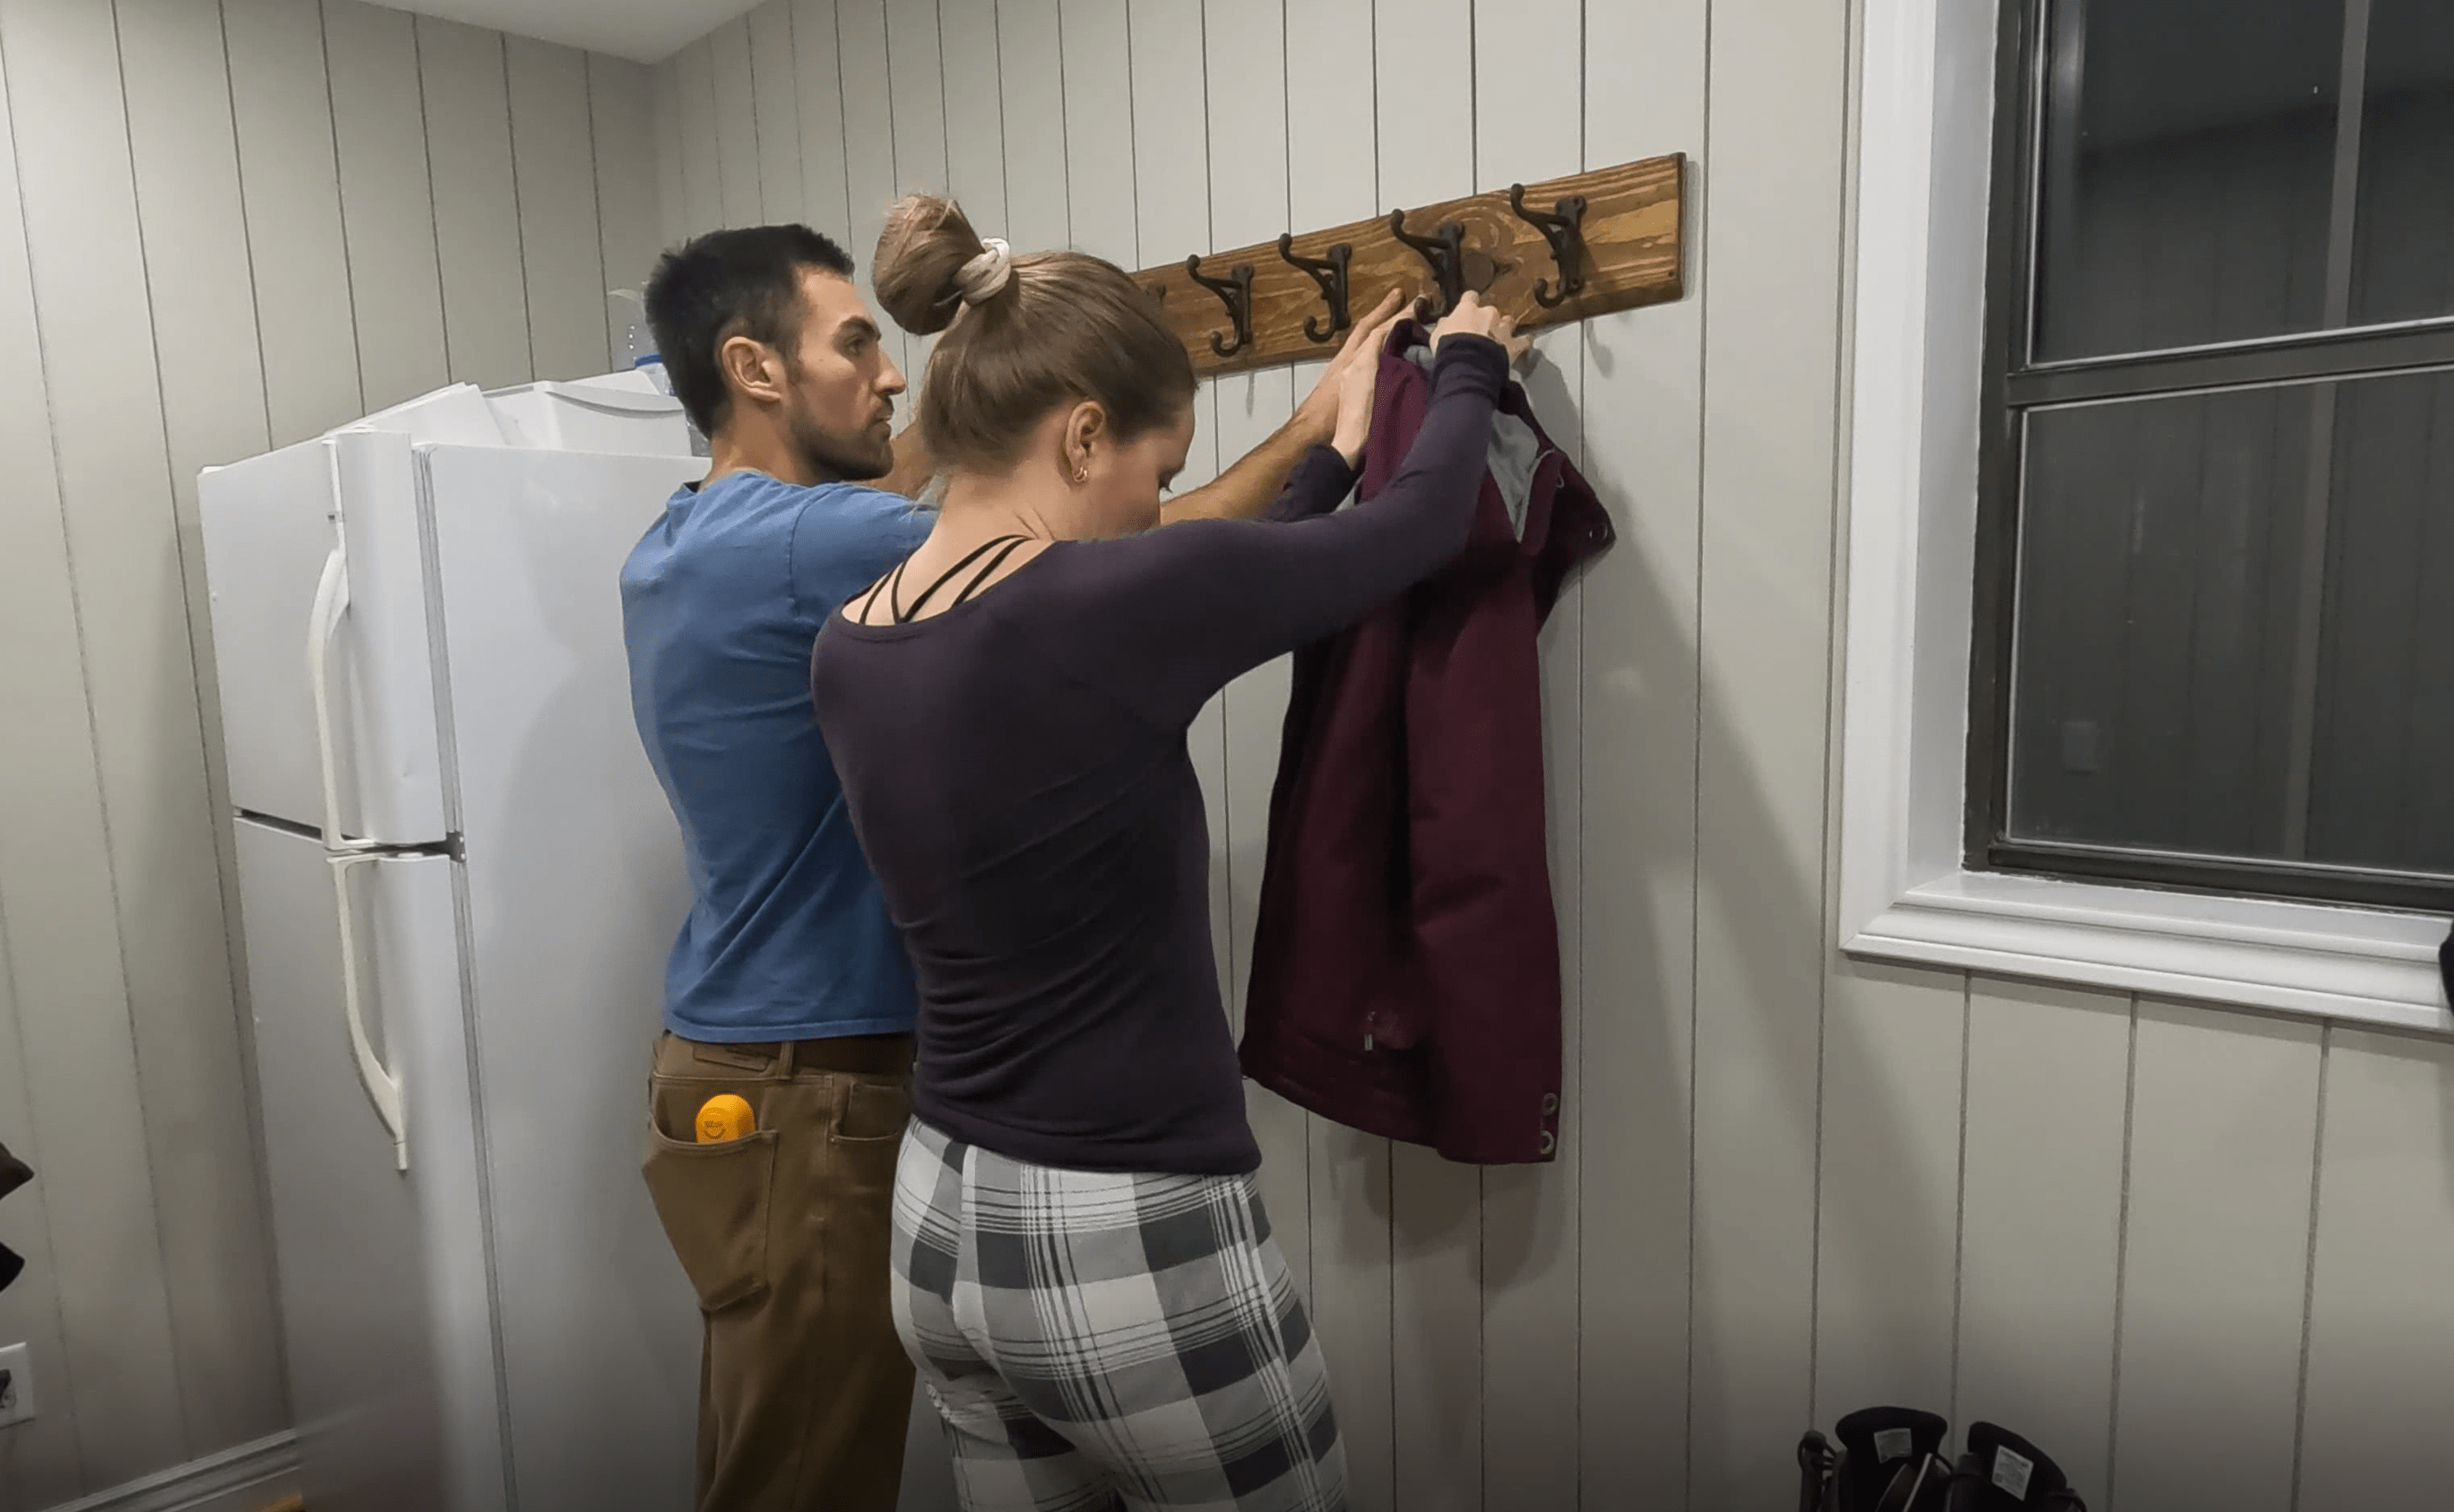 Using a Coat to Determine Height
We used 2.5” screws to make sure we got through the board, through our shiplap, through the drywall, and into the stud. By the way, if you want to see how I installed this vertical shiplap, check out this blog post!
Once we had one screw into the wall, we grabbed a level and made sure everything was even before finishing up the other side.
 Checking for Level
If you didn’t do the “hook-hole-stud” hack that I mentioned earlier, no problem—just pick somewhere discrete to place your mounting screws. You might also find it helpful to drill pilot holes through the coat rack first. If you need to use drywall plugs, that’s okay too, just be sure to get ones with a higher weight allowance
Done!
 Final Result!
I love this coat rack and since the wood was free, all we paid for were the hooks. It’s so much better than anything I could have found at the big box store and best of all, every time I see it I’m reminded that we made it ourselves!
Thanks for reading, I’ll catch you in the next one.