.png)


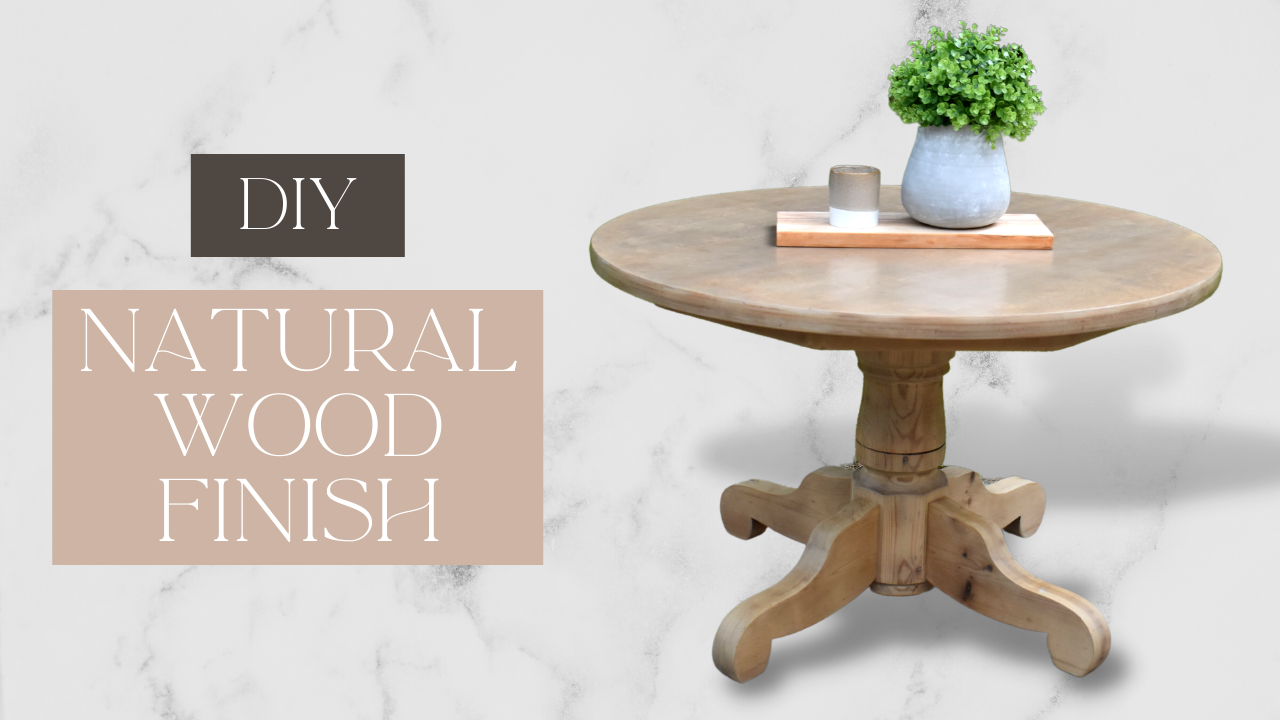
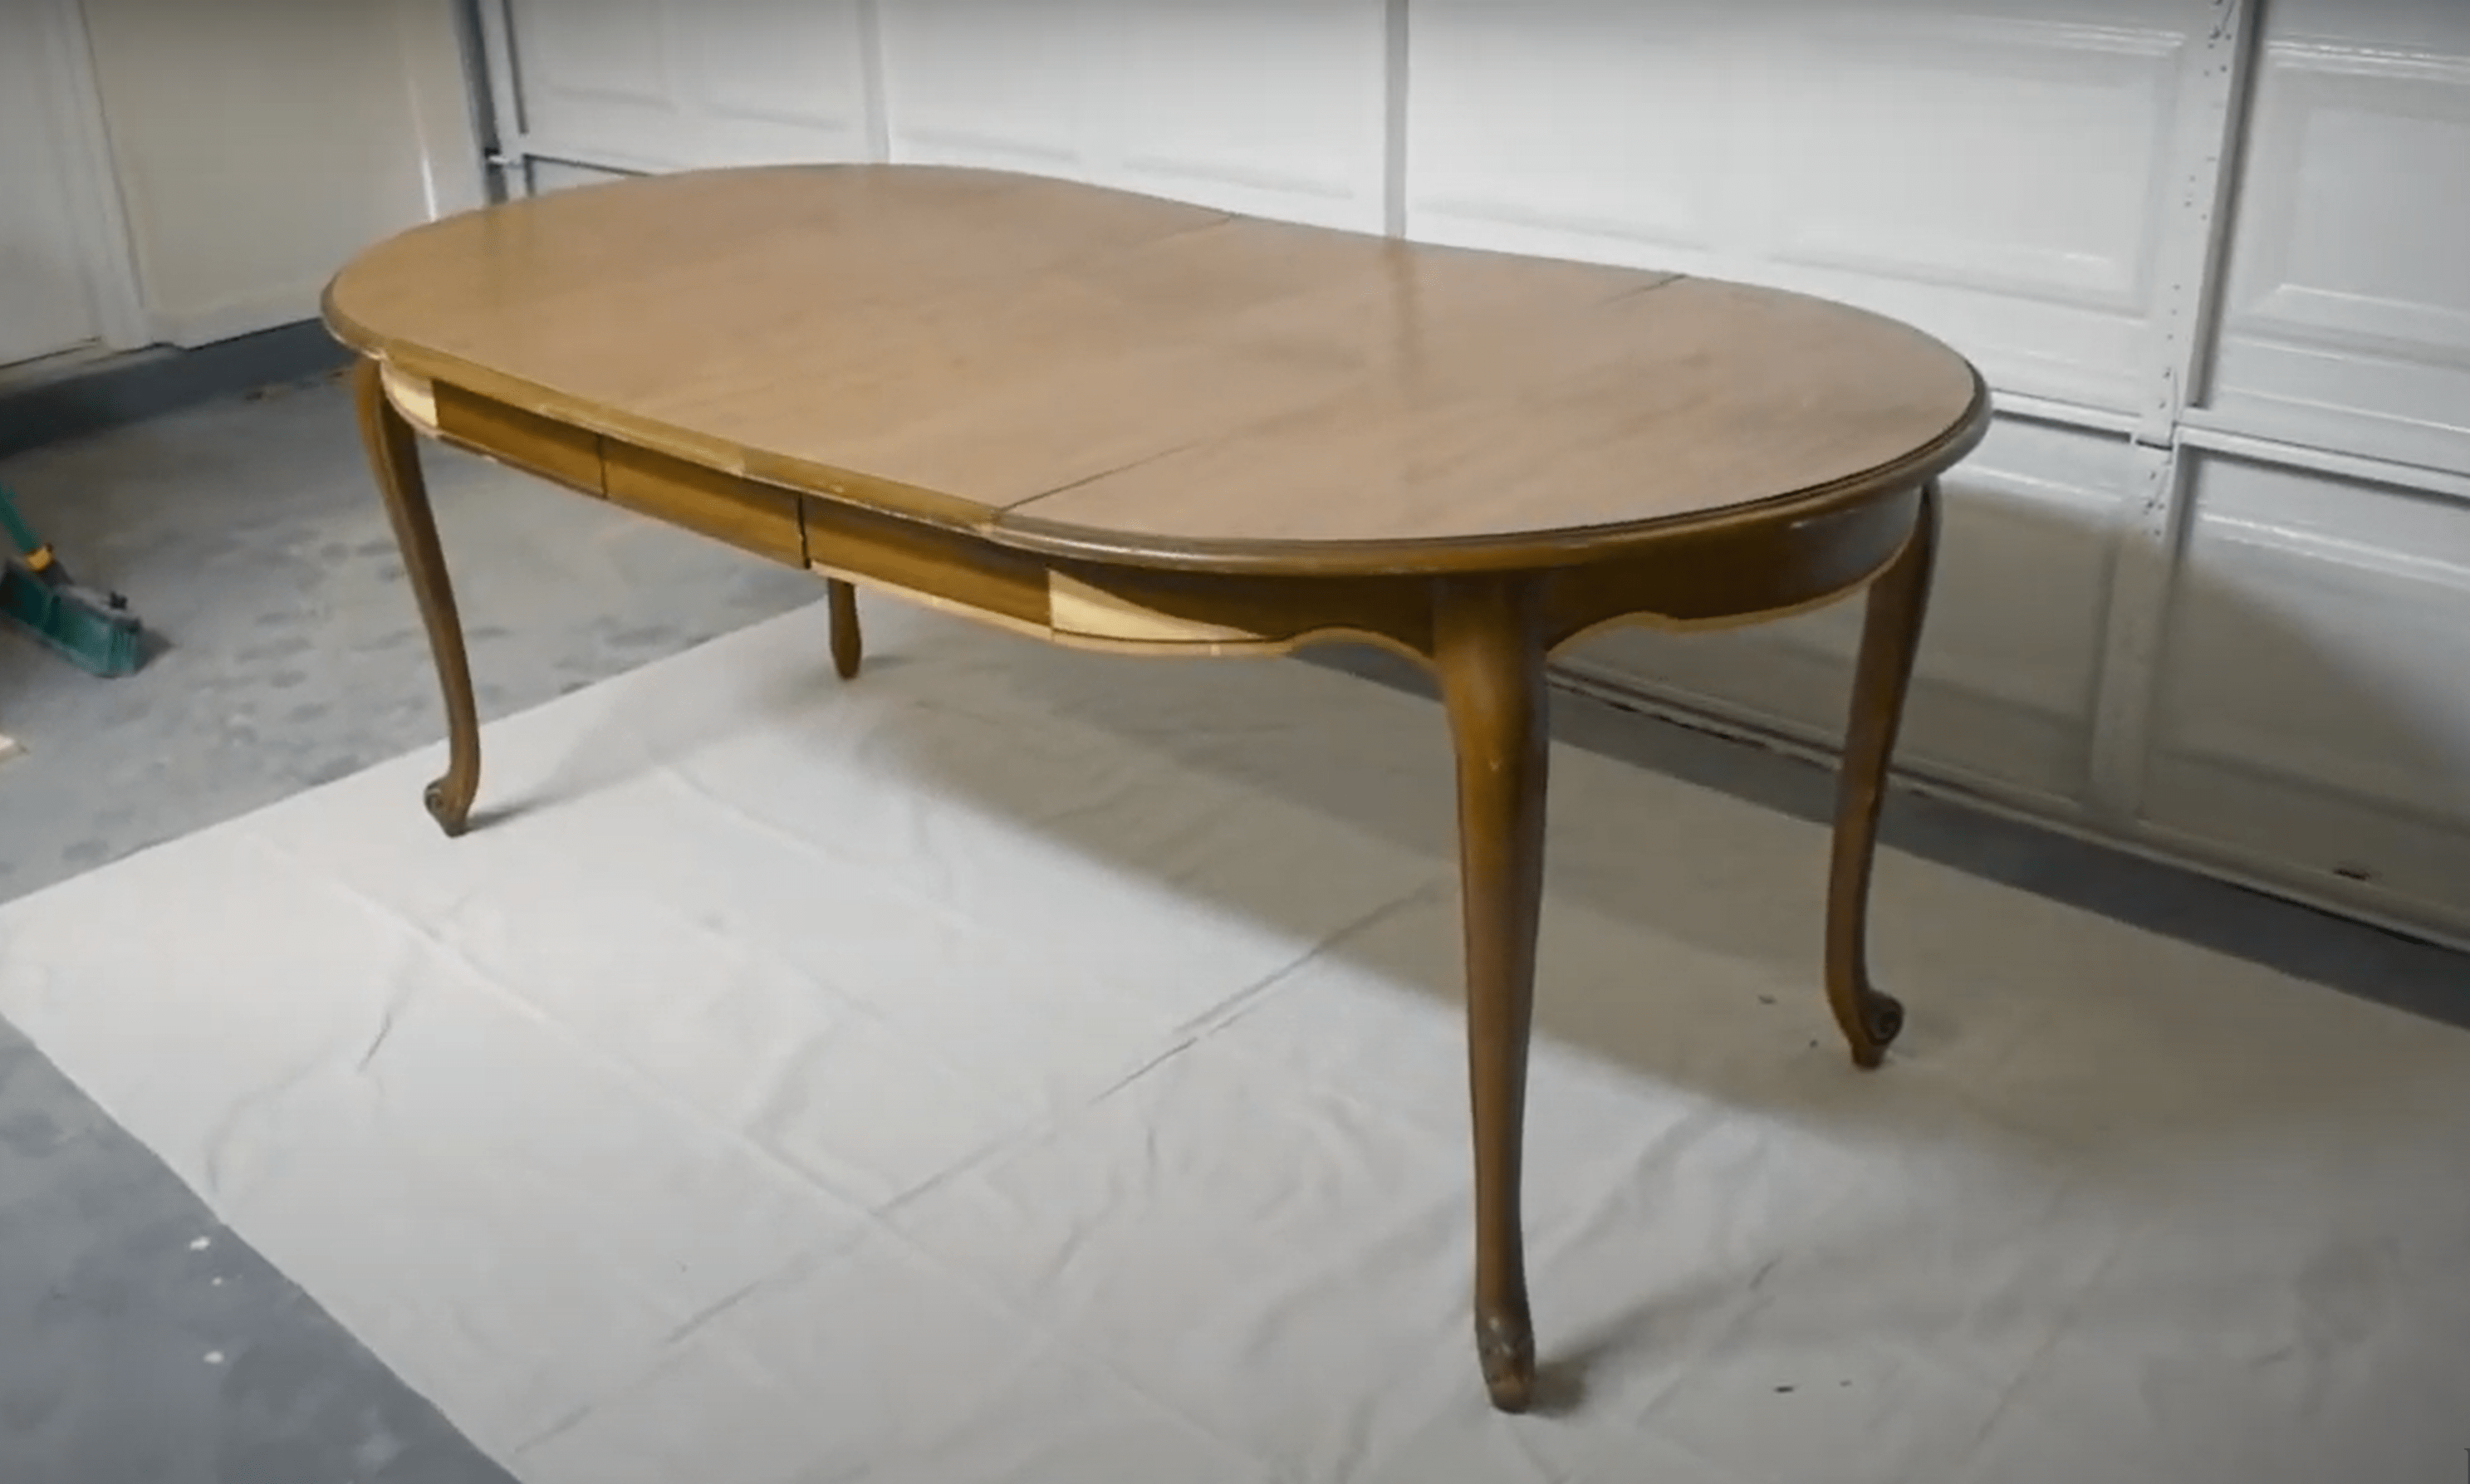
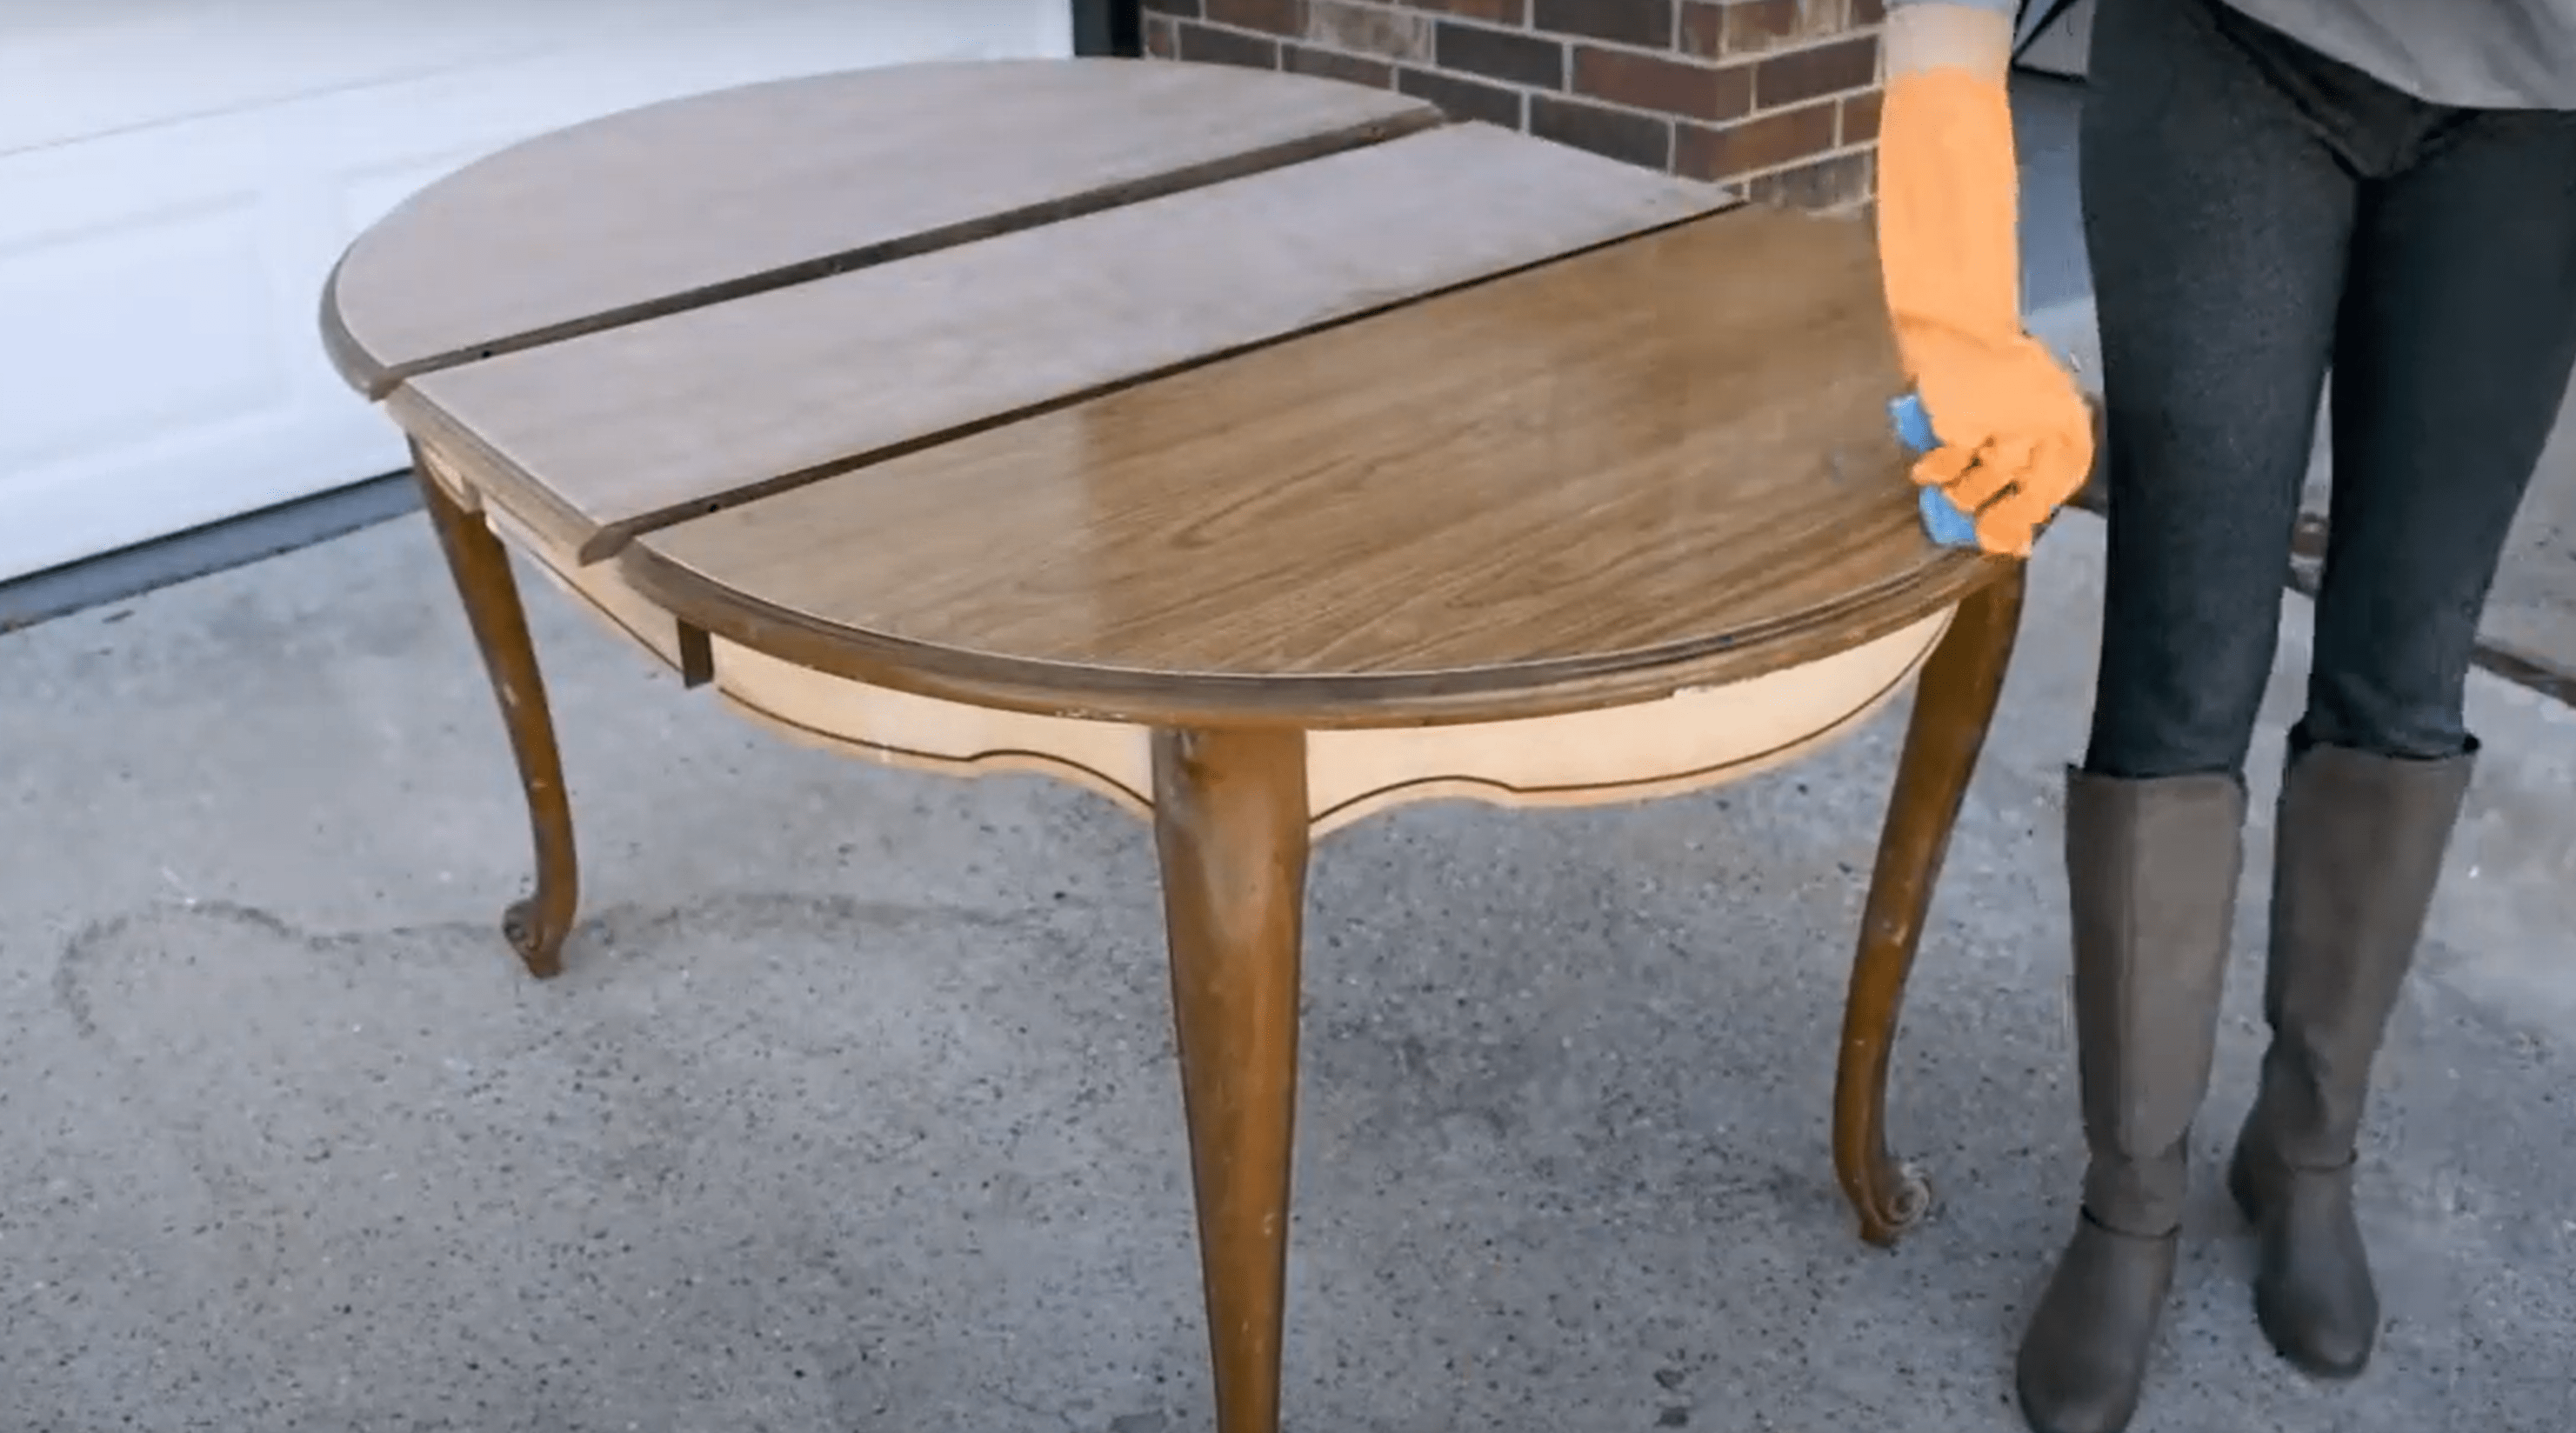
Today, we will be flipping this table that I got off Facebook Marketplace for just fifteen dollars. It's a veneer top which is not ideal, but to me, it's worth practicing on tables like this that aren't too expensive and easy to work with. Plus, I love the shape and I'm a sucker for Queen Anne legs.
We do have some bowing which means there is a bit of structural issue on the leaf sliders underneath, but I have some plans for that so we'll see how it works out. We're also going to be mixing a custom color today which I'm excited about. So, let's dive right in.
Structural Repairs
One thing I found about working on furniture on my own is that it can often be quite heavy and difficult to move around. If you can grab someone to help you, then great, but otherwise, there are some tools you can use. For example, if you have casters, you can put them under each leg to help roll a table or furniture piece like this around. Worst case though, just be methodical and move slowly, disassembling and moving things piece by piece, inch by inch.
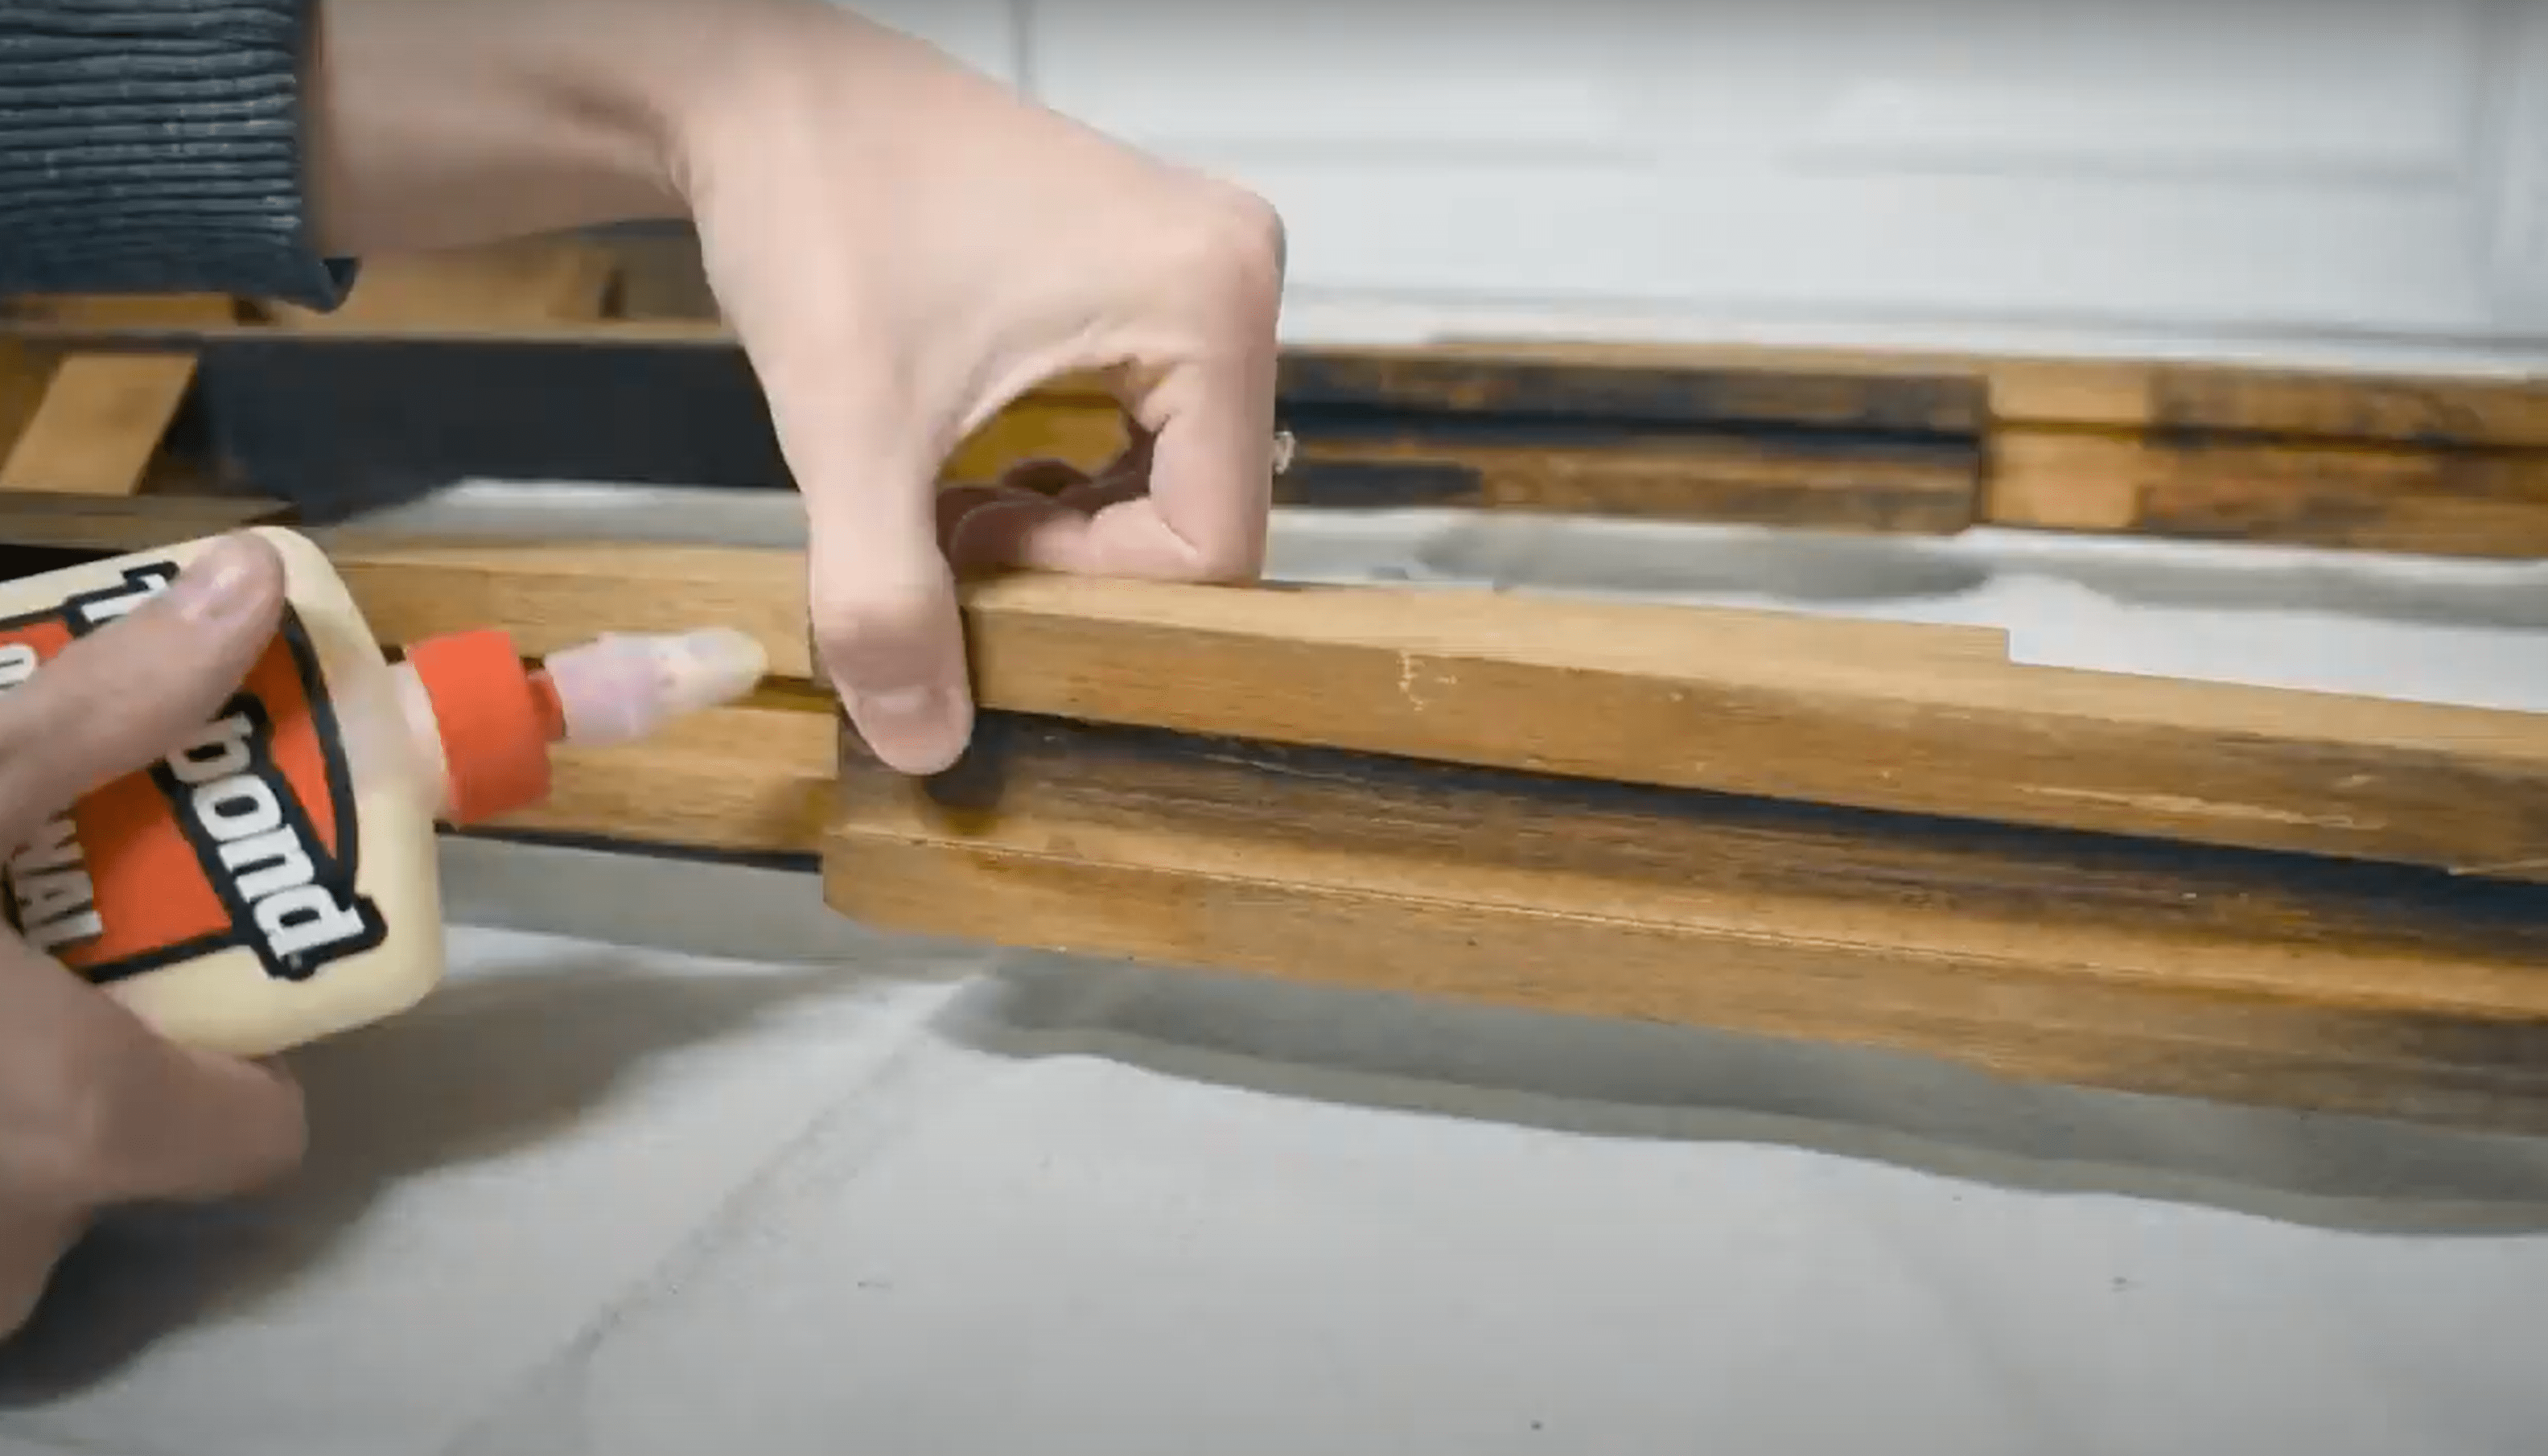
Once I got the table apart, I started inspecting to see where the damage was and how the sliders moved. What I was looking for was to know whether it was just that one crack that I saw that was causing the issue or if there was warping and bowing elsewhere too. I didn't find anything else, so I grabbed some wood glue and squeezed it into the crack, careful not to get too much run out onto the slider track. I clamped it in place and left it to dry overnight.
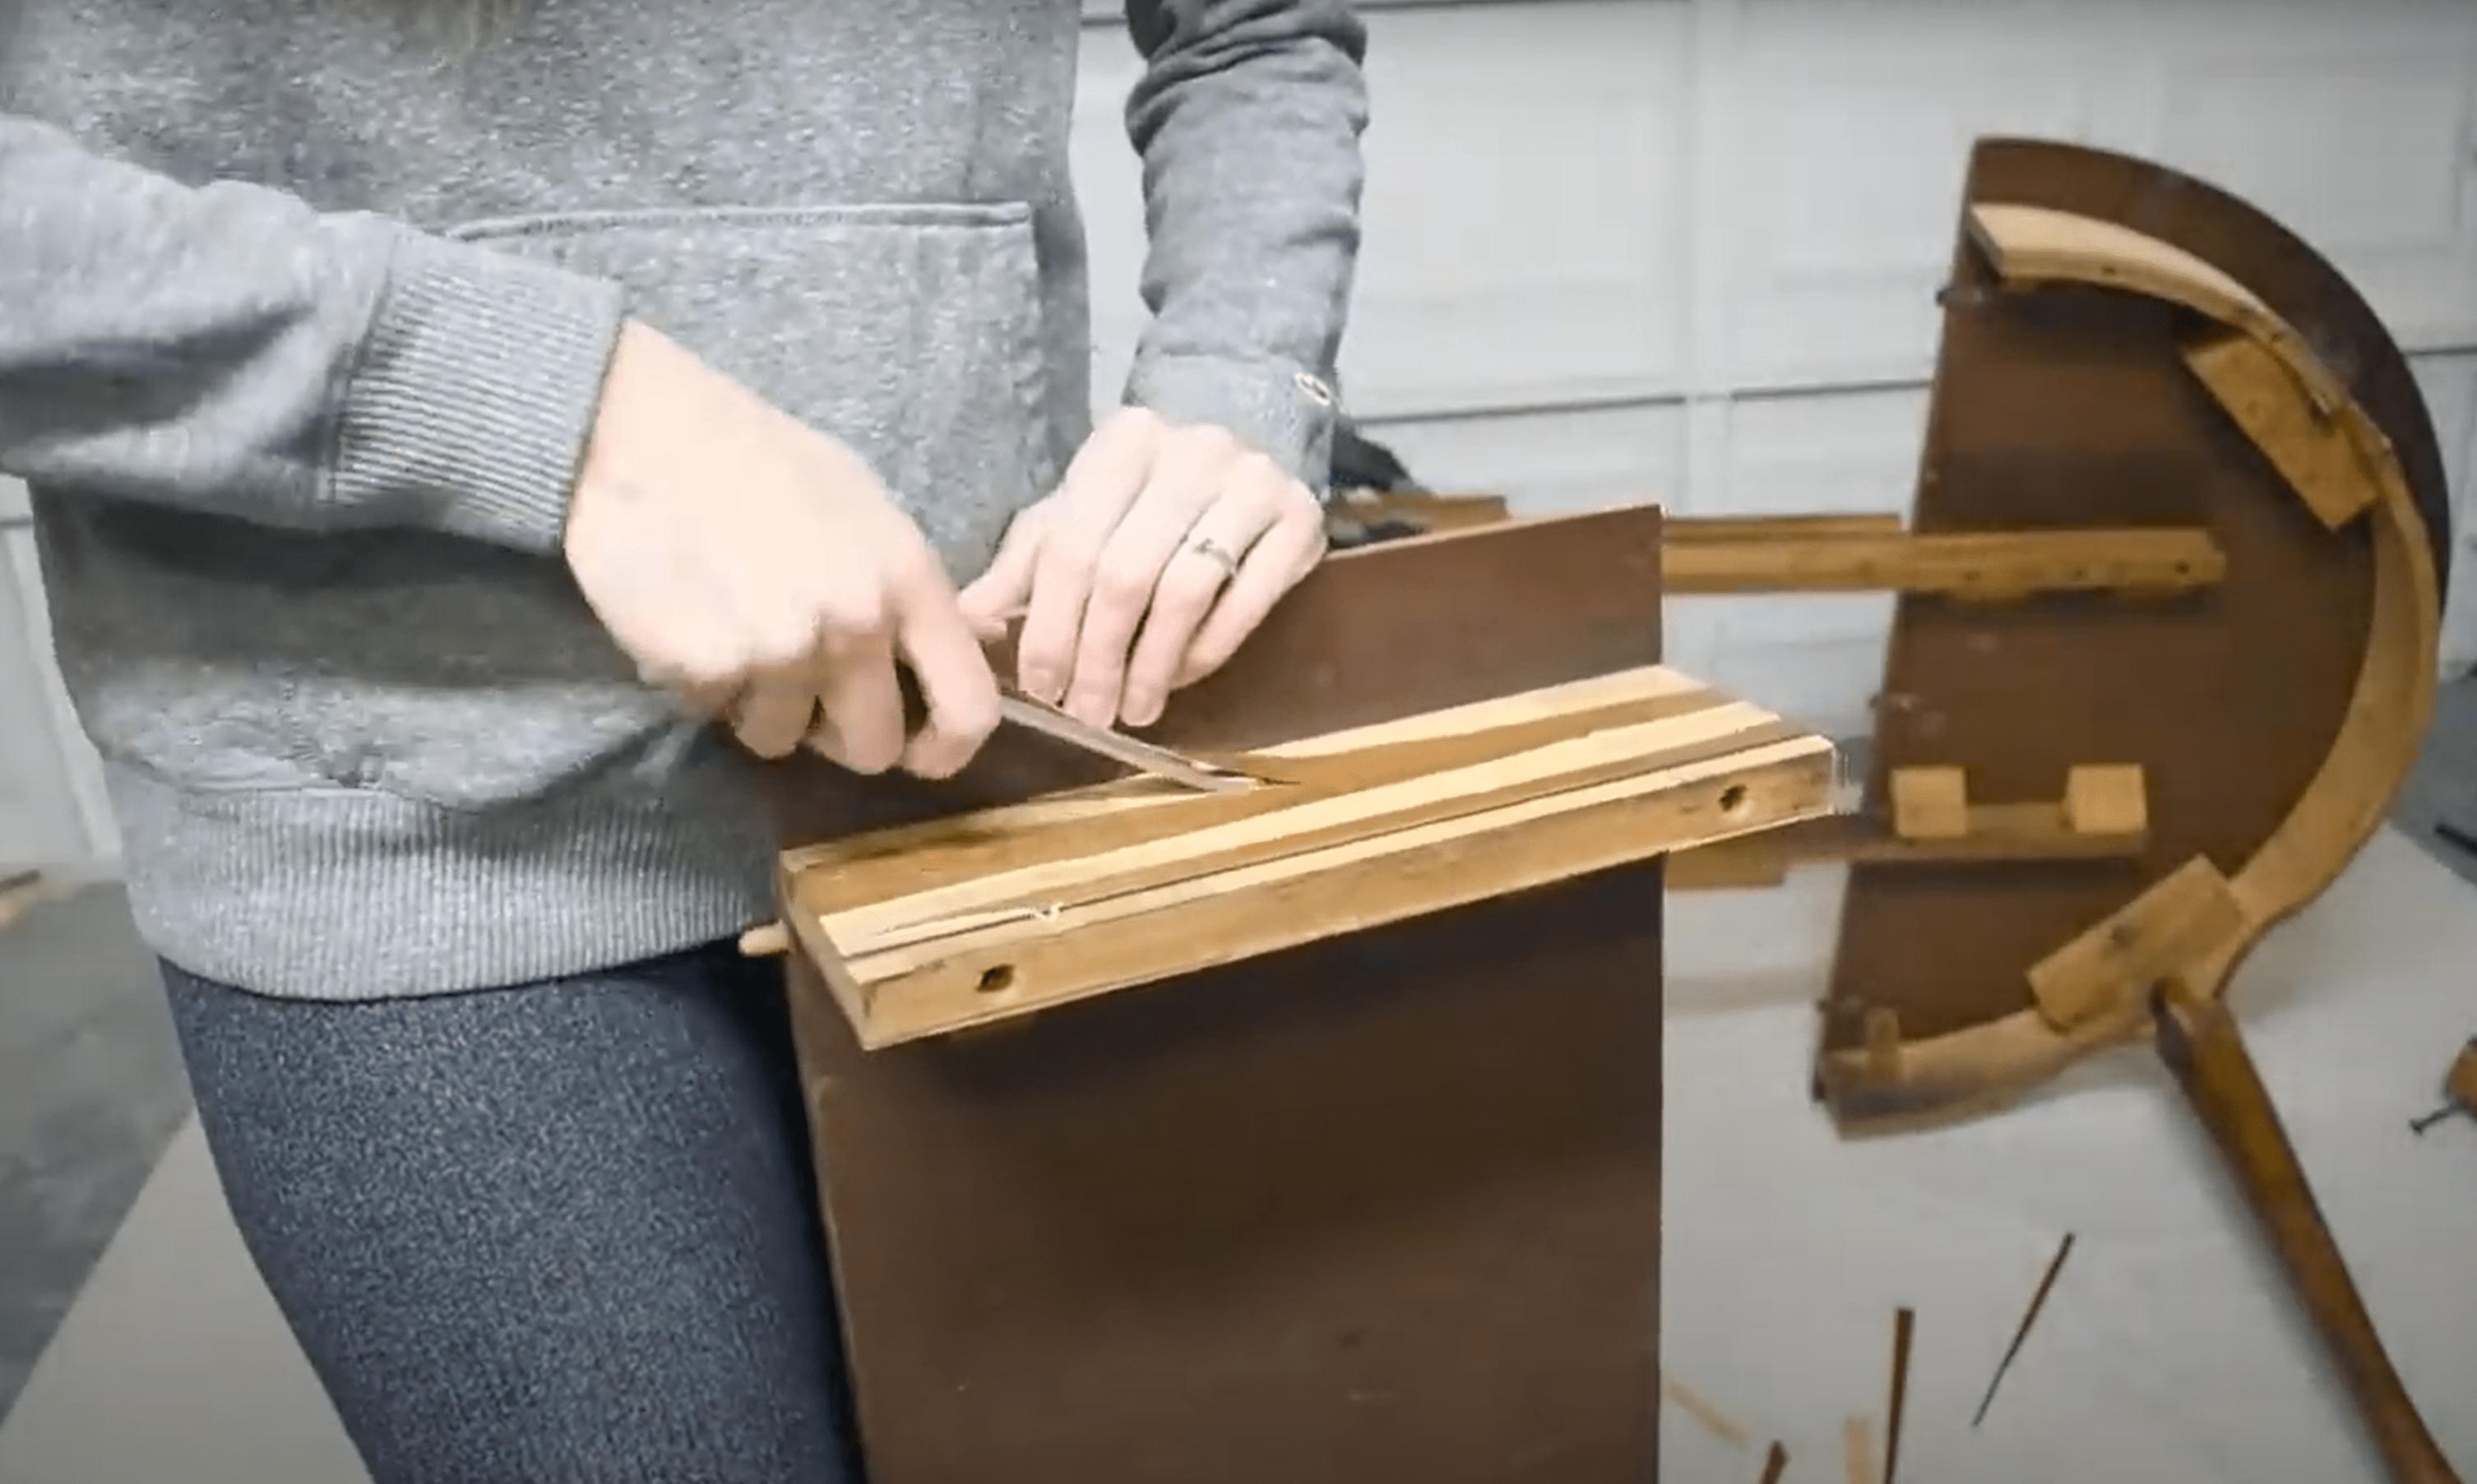
Next, I wanted to address the veneer on the sides. I could have left this, but mine was already quite chipped and peeling. Mine came off mostly easily as it wasn't very well adhered, but if you ever run into this issue and you're having a difficult time, you can also grab an iron and a damp cloth to heat up or seam off the glue that's holding this veneer in place. Then it should peel straight off. Also, fair warning, this stuff can be really sharp, so I would recommend wearing gloves and safety glasses, especially if yours is having a hard time coming off.
Finally, I took the opportunity to repair some other cosmetic issues with either wood filler or wood glue. These weren't structural, but I just wanted a nice flat surface to paint on. Again, I clamped where necessary and left this all to dry overnight. In the morning, I came back with a sanding block to smooth it all back out. So now, we are good to go, and everything is ready. I know prep is no fun compared to painting, but it really does make a world of difference. So make sure you take the time to at least hit the basics. It will make the end result so much more rewarding.

The next morning, I also found my leaf slider repairs made it a lot better, but they were not perfect. So, I went to plan B, which was to scrap a few of the leaves. I've been thinking about this for a while, and I think it's a good call. It gives the table much better proportions, and it's also much better suited for smaller spaces like apartments. The extra leaves also gave me the opportunity to test drive my plan to overhaul the veneer. The veneer has a very thick and shiny topcoat on it, so what I was hoping to do was sand through this gloss and then use a wood stain to almost richen that top layer.
Preparing for Paint
The veneer has a very thick and shiny top coat on it. So, what I was hoping to do was sand through this gloss and then use a wood stain to almost richen that top layer, and then seal it again with something a bit more matte. I had done this on one of the leaves with a brown stain, and it actually turned out quite well. Veneer is just a very thin piece of wood glued on top of, in this case, plywood, so it's important to be careful when you're sanding because you don't want to burn through that top layer that's showing the pretty grain.
Once I was happy with the sanding, I moved on to cleaning with Fusion's TSP Alternative, which did double duty as, to this point, I had not cleaned the piece at all, and it also helped get off all the sanding dust from the top. And, you guys, this piece smelled so badly of cat pee. It actually boggles my mind how every single piece of furniture I pick up off Facebook Marketplace smells the exact same. Anyways, very important steps, so do not skip.
Painting
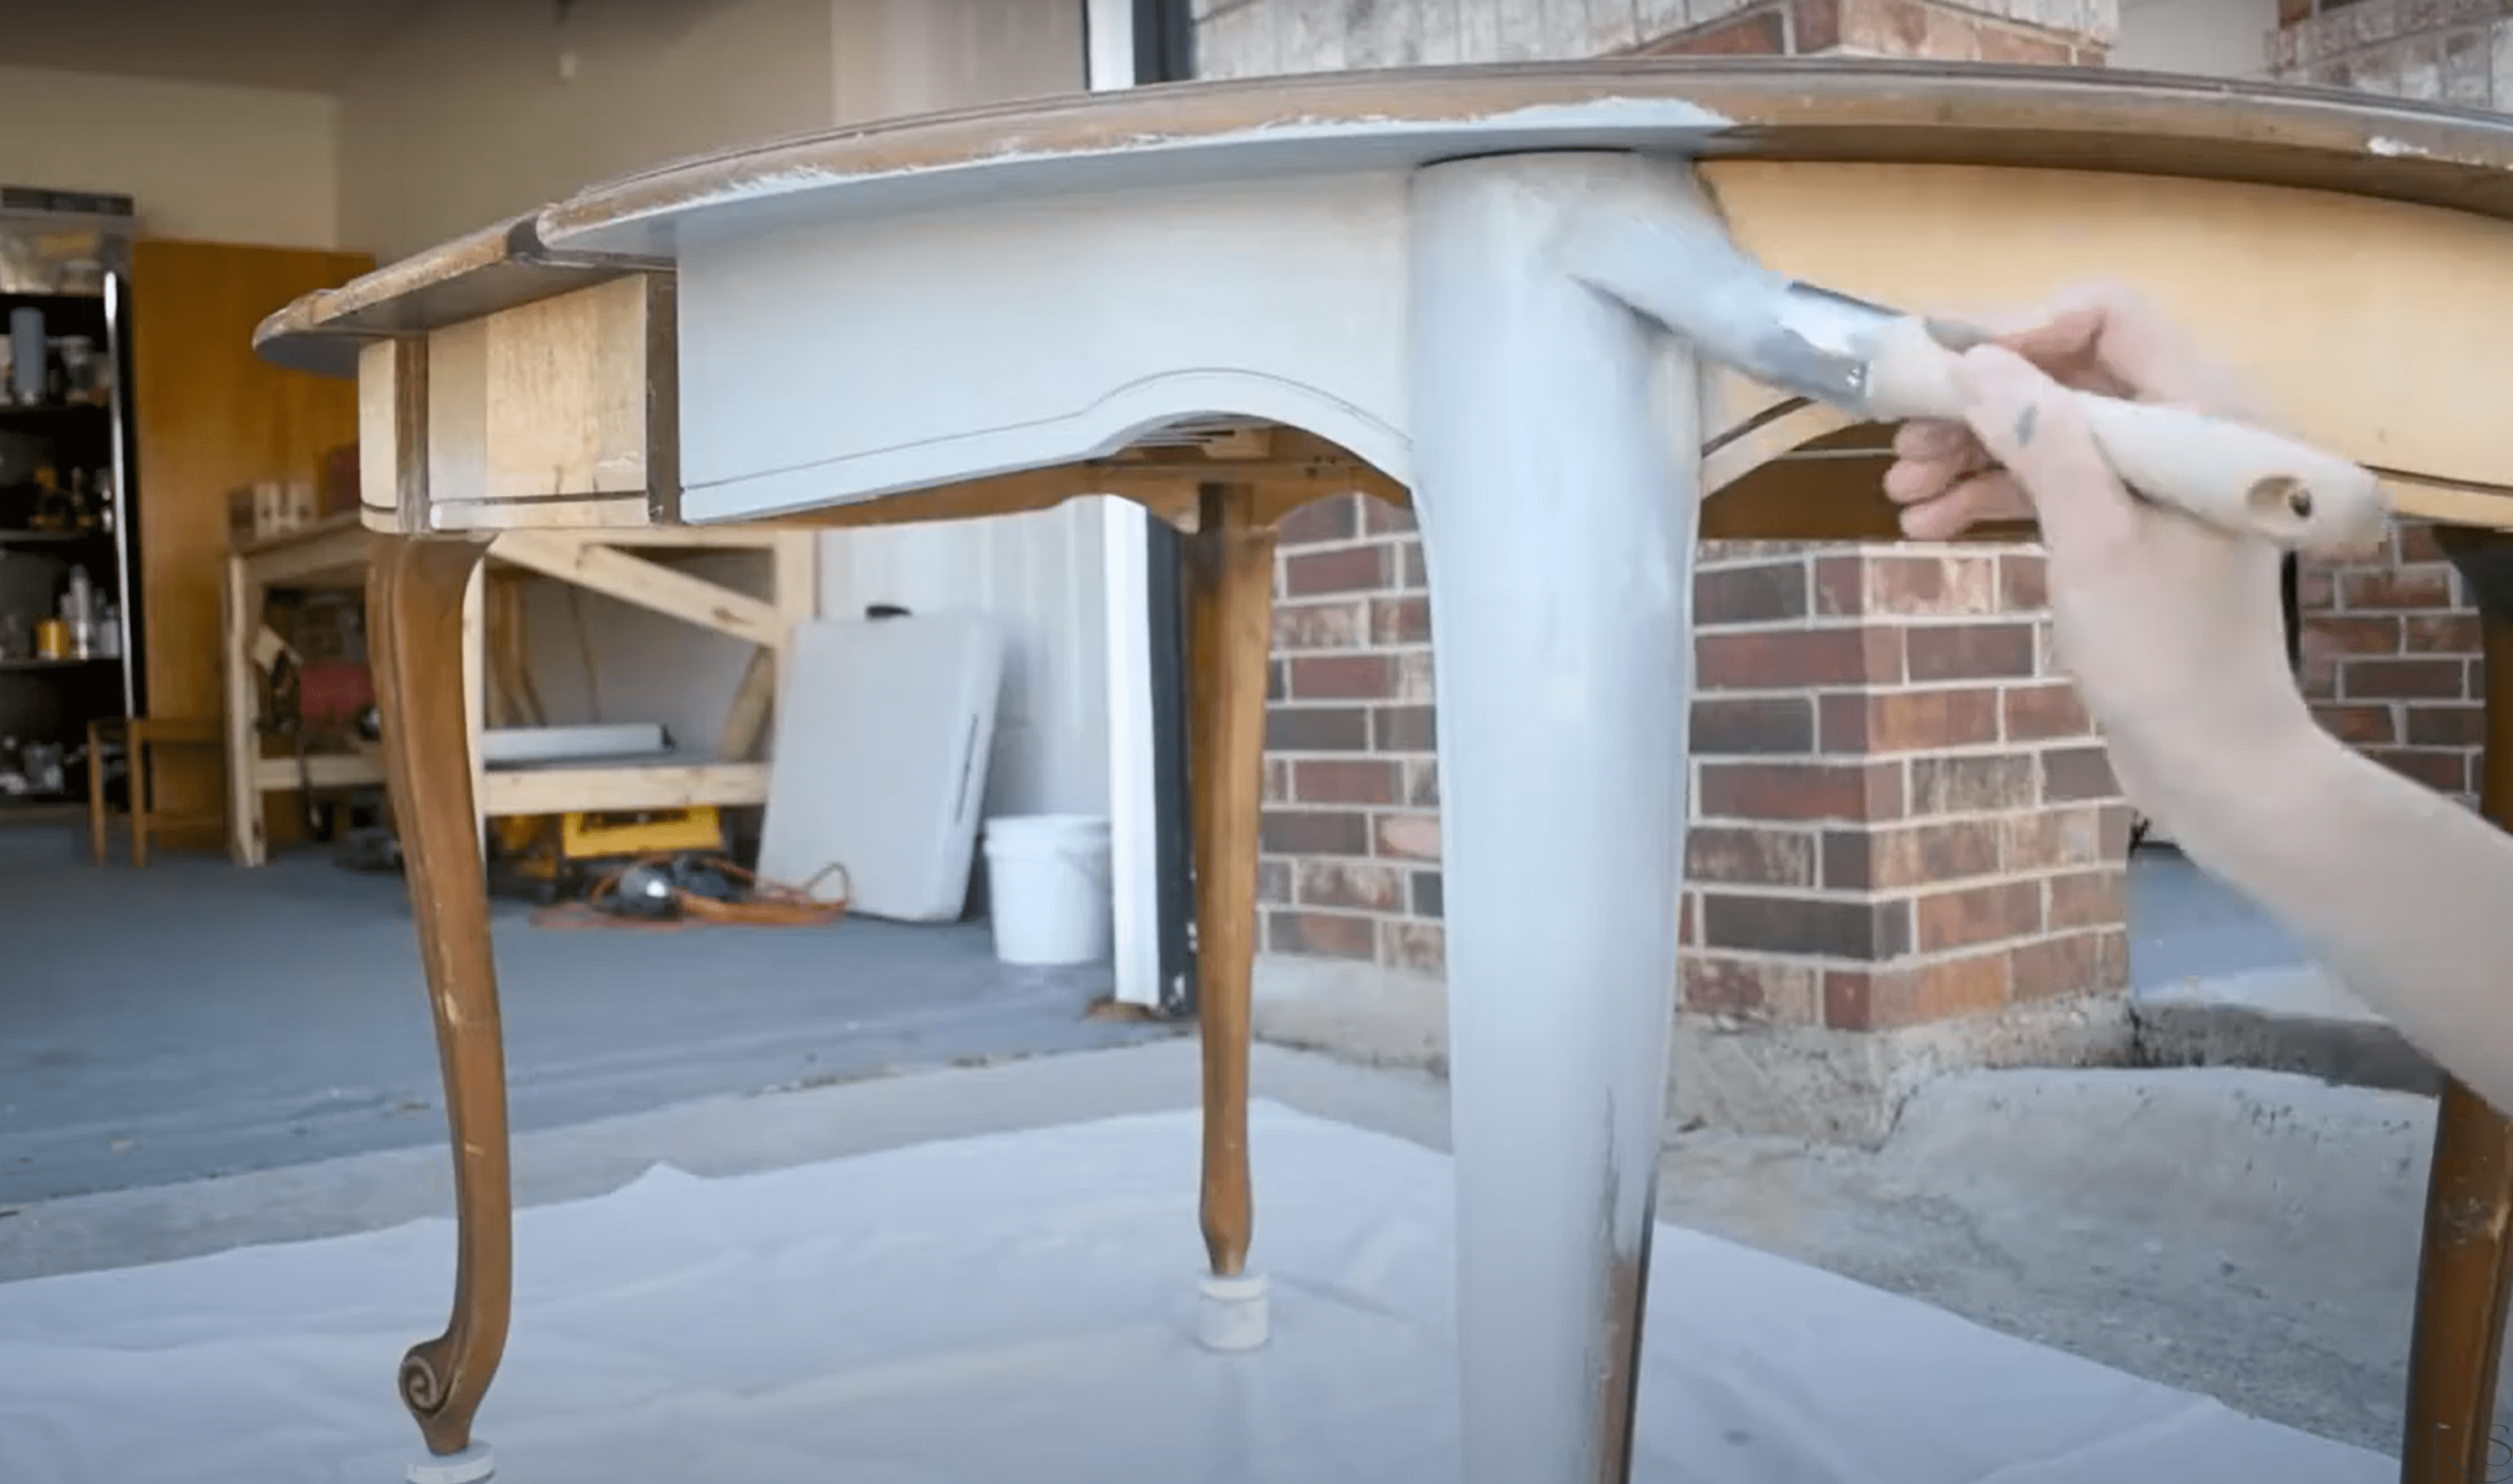
The next day, I decided to jump right into painting the legs instead of continuing to work on the top. We are mixing Eucalyptus and Legacy chalk paints by Jolie in a one-to-one ratio to get a medium green-gray color. I know Jolie paint is expensive, and I think I will try some alternatives in the future, but what I absolutely love about their stock is that they have only soft, muted colors. Their color palette is just beautiful. They only have 42 colors total, which is not a lot, but they also sell a fan deck color mixing guide, which is where I picked this color, and I knew how to mix the ratio correctly.
I applied two coats of this paint all around the bottom of the table, so the legs, the side skirts, as well as the underneath of the table top, and I waited at least an hour, probably closer to two, between layers. I am using my one-inch round brush by Zebra. I really like this one, and it worked well for this project. It's made for curves just like the legs on this table, but it was also small and nimble enough for me to get up into some of the cracks and crevices, so the underside of the table, for example. You definitely don't need fancy brushes to do any of this, but it is interesting to see the differences in how they apply paint and how quickly they make the work go for different tasks.
Staining the Veneer Top
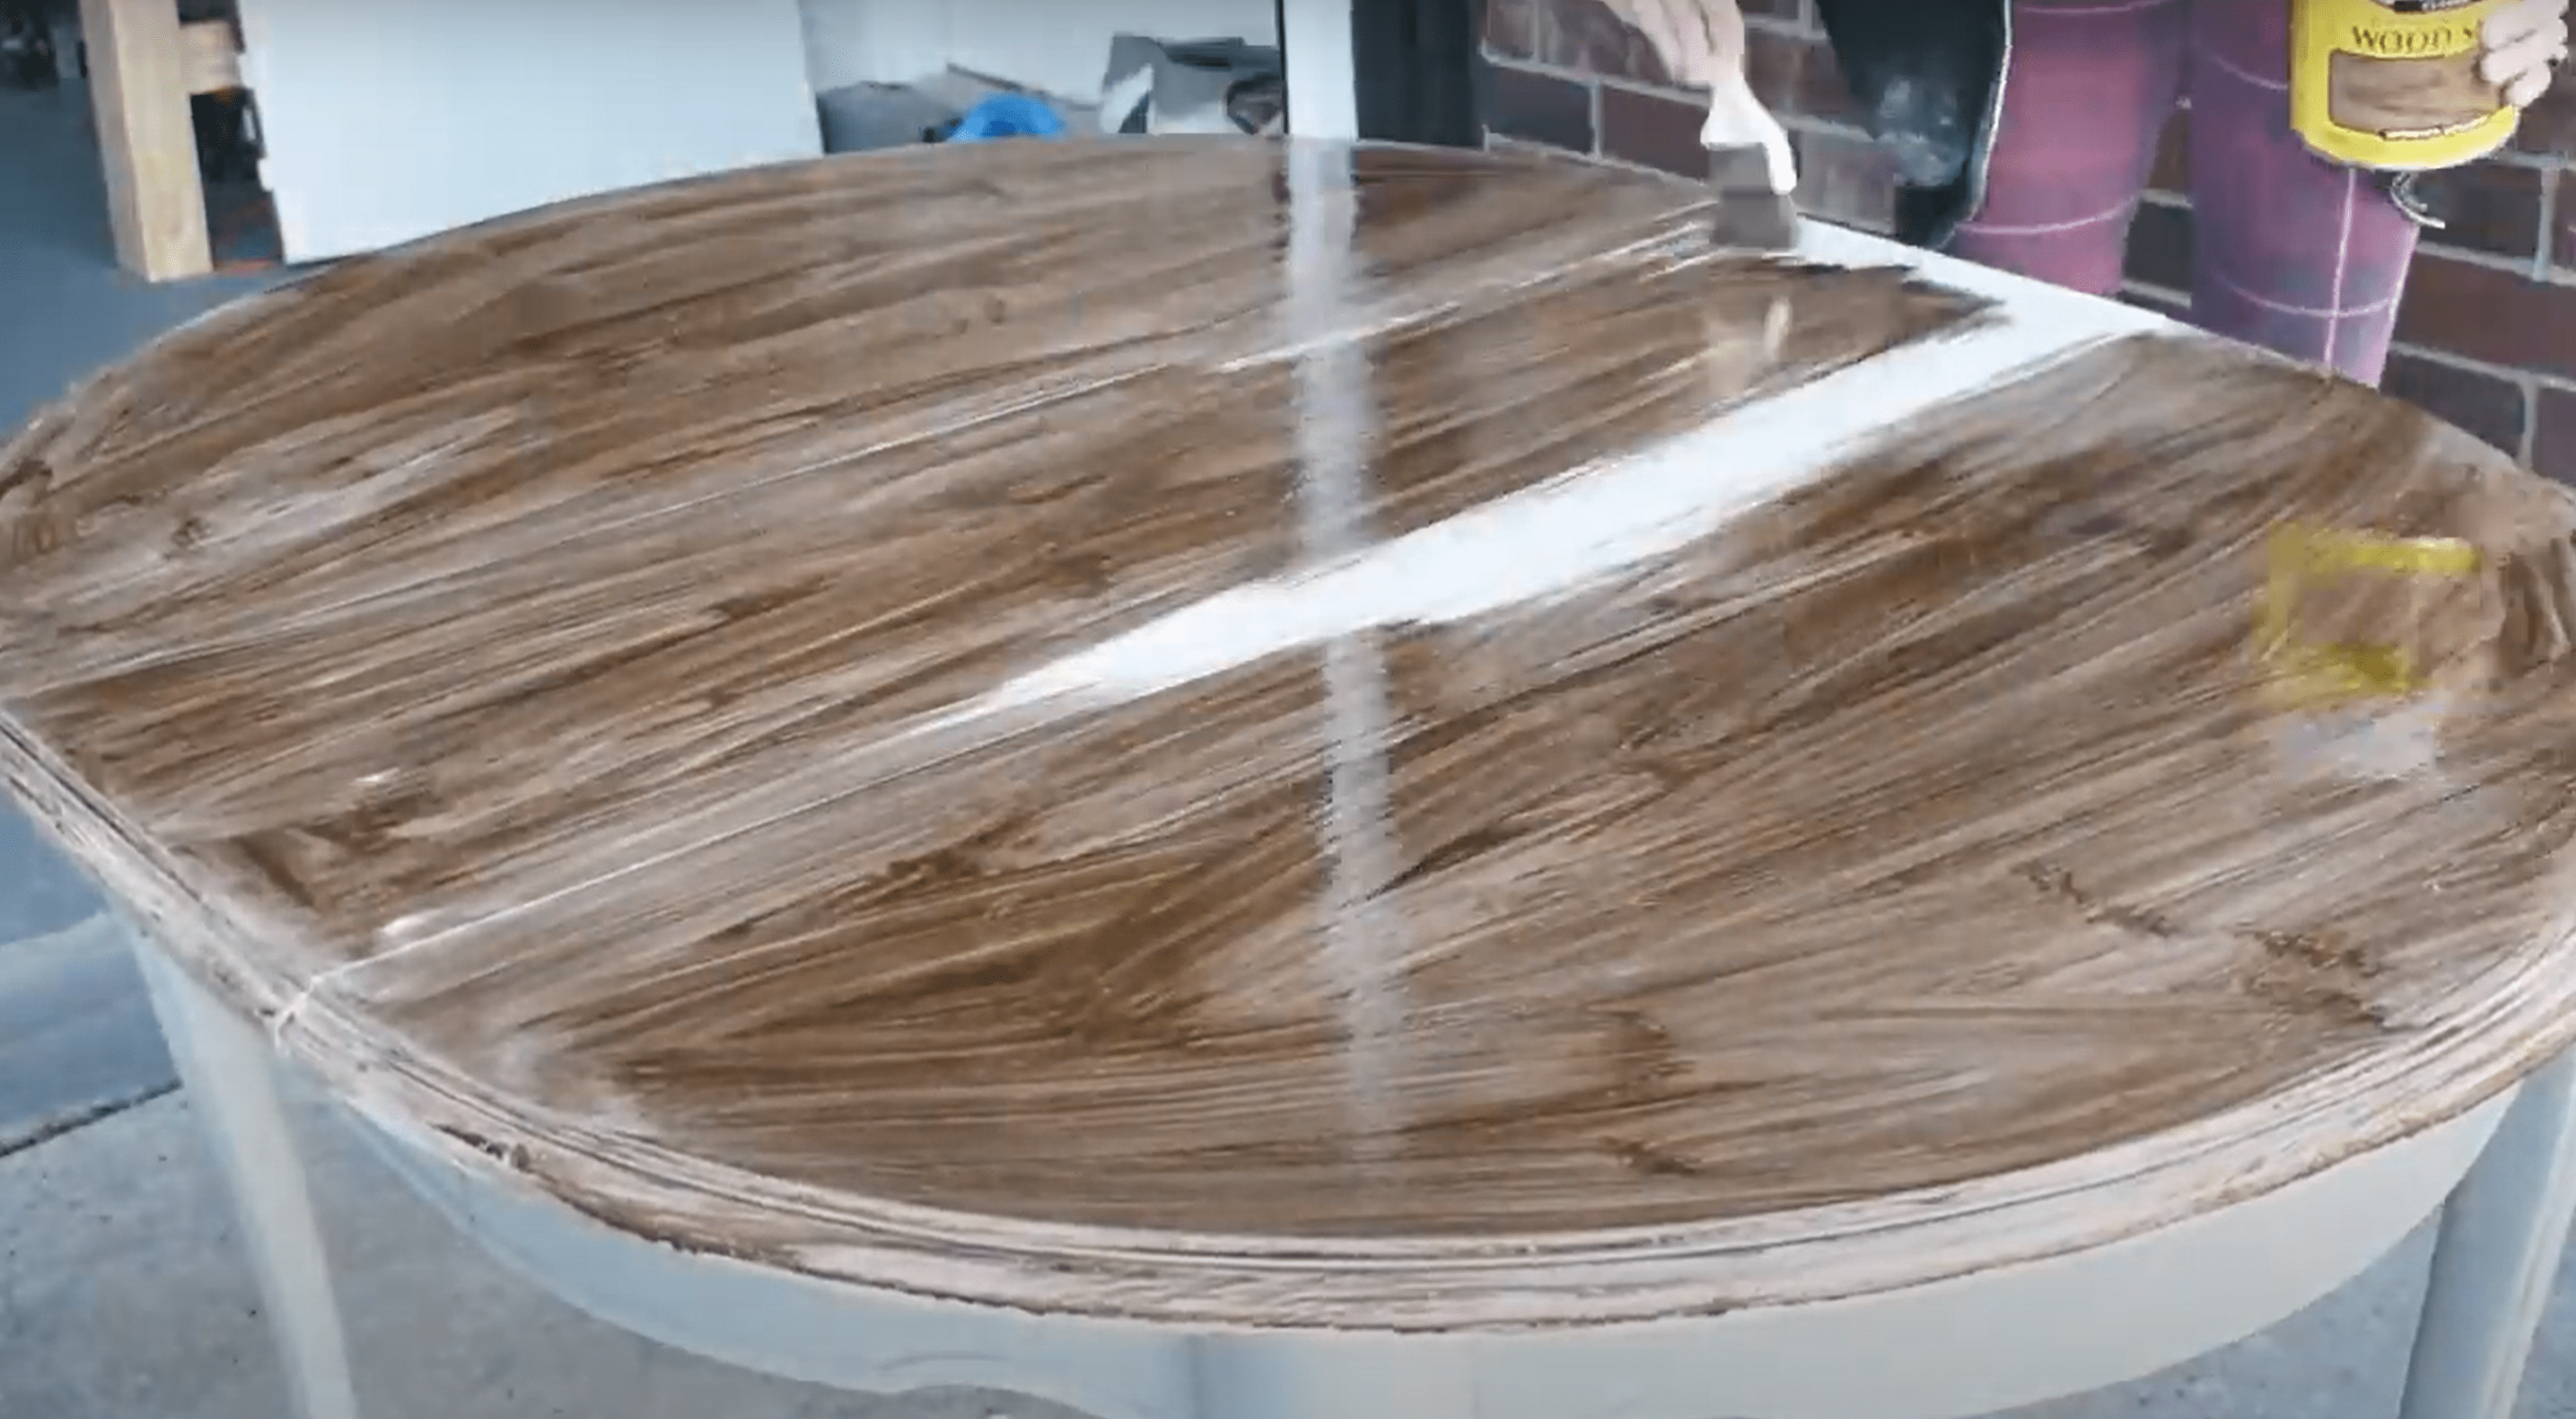
Once that was done, it was time to go back to the tabletop. Overnight, I had changed my mind and decided I wanted to try a white stain to create a white-washed look. Mistake number one was this just made the remaining topcoat look really cloudy. Mistake number two was letting the stain sit for too long and having it dry before I wiped it up. You can see when I get back to where I started it won't come up, so I tried to re-wet it with a bit more stain, but it was super messy, super streaky, plus the cloudiness of the white.
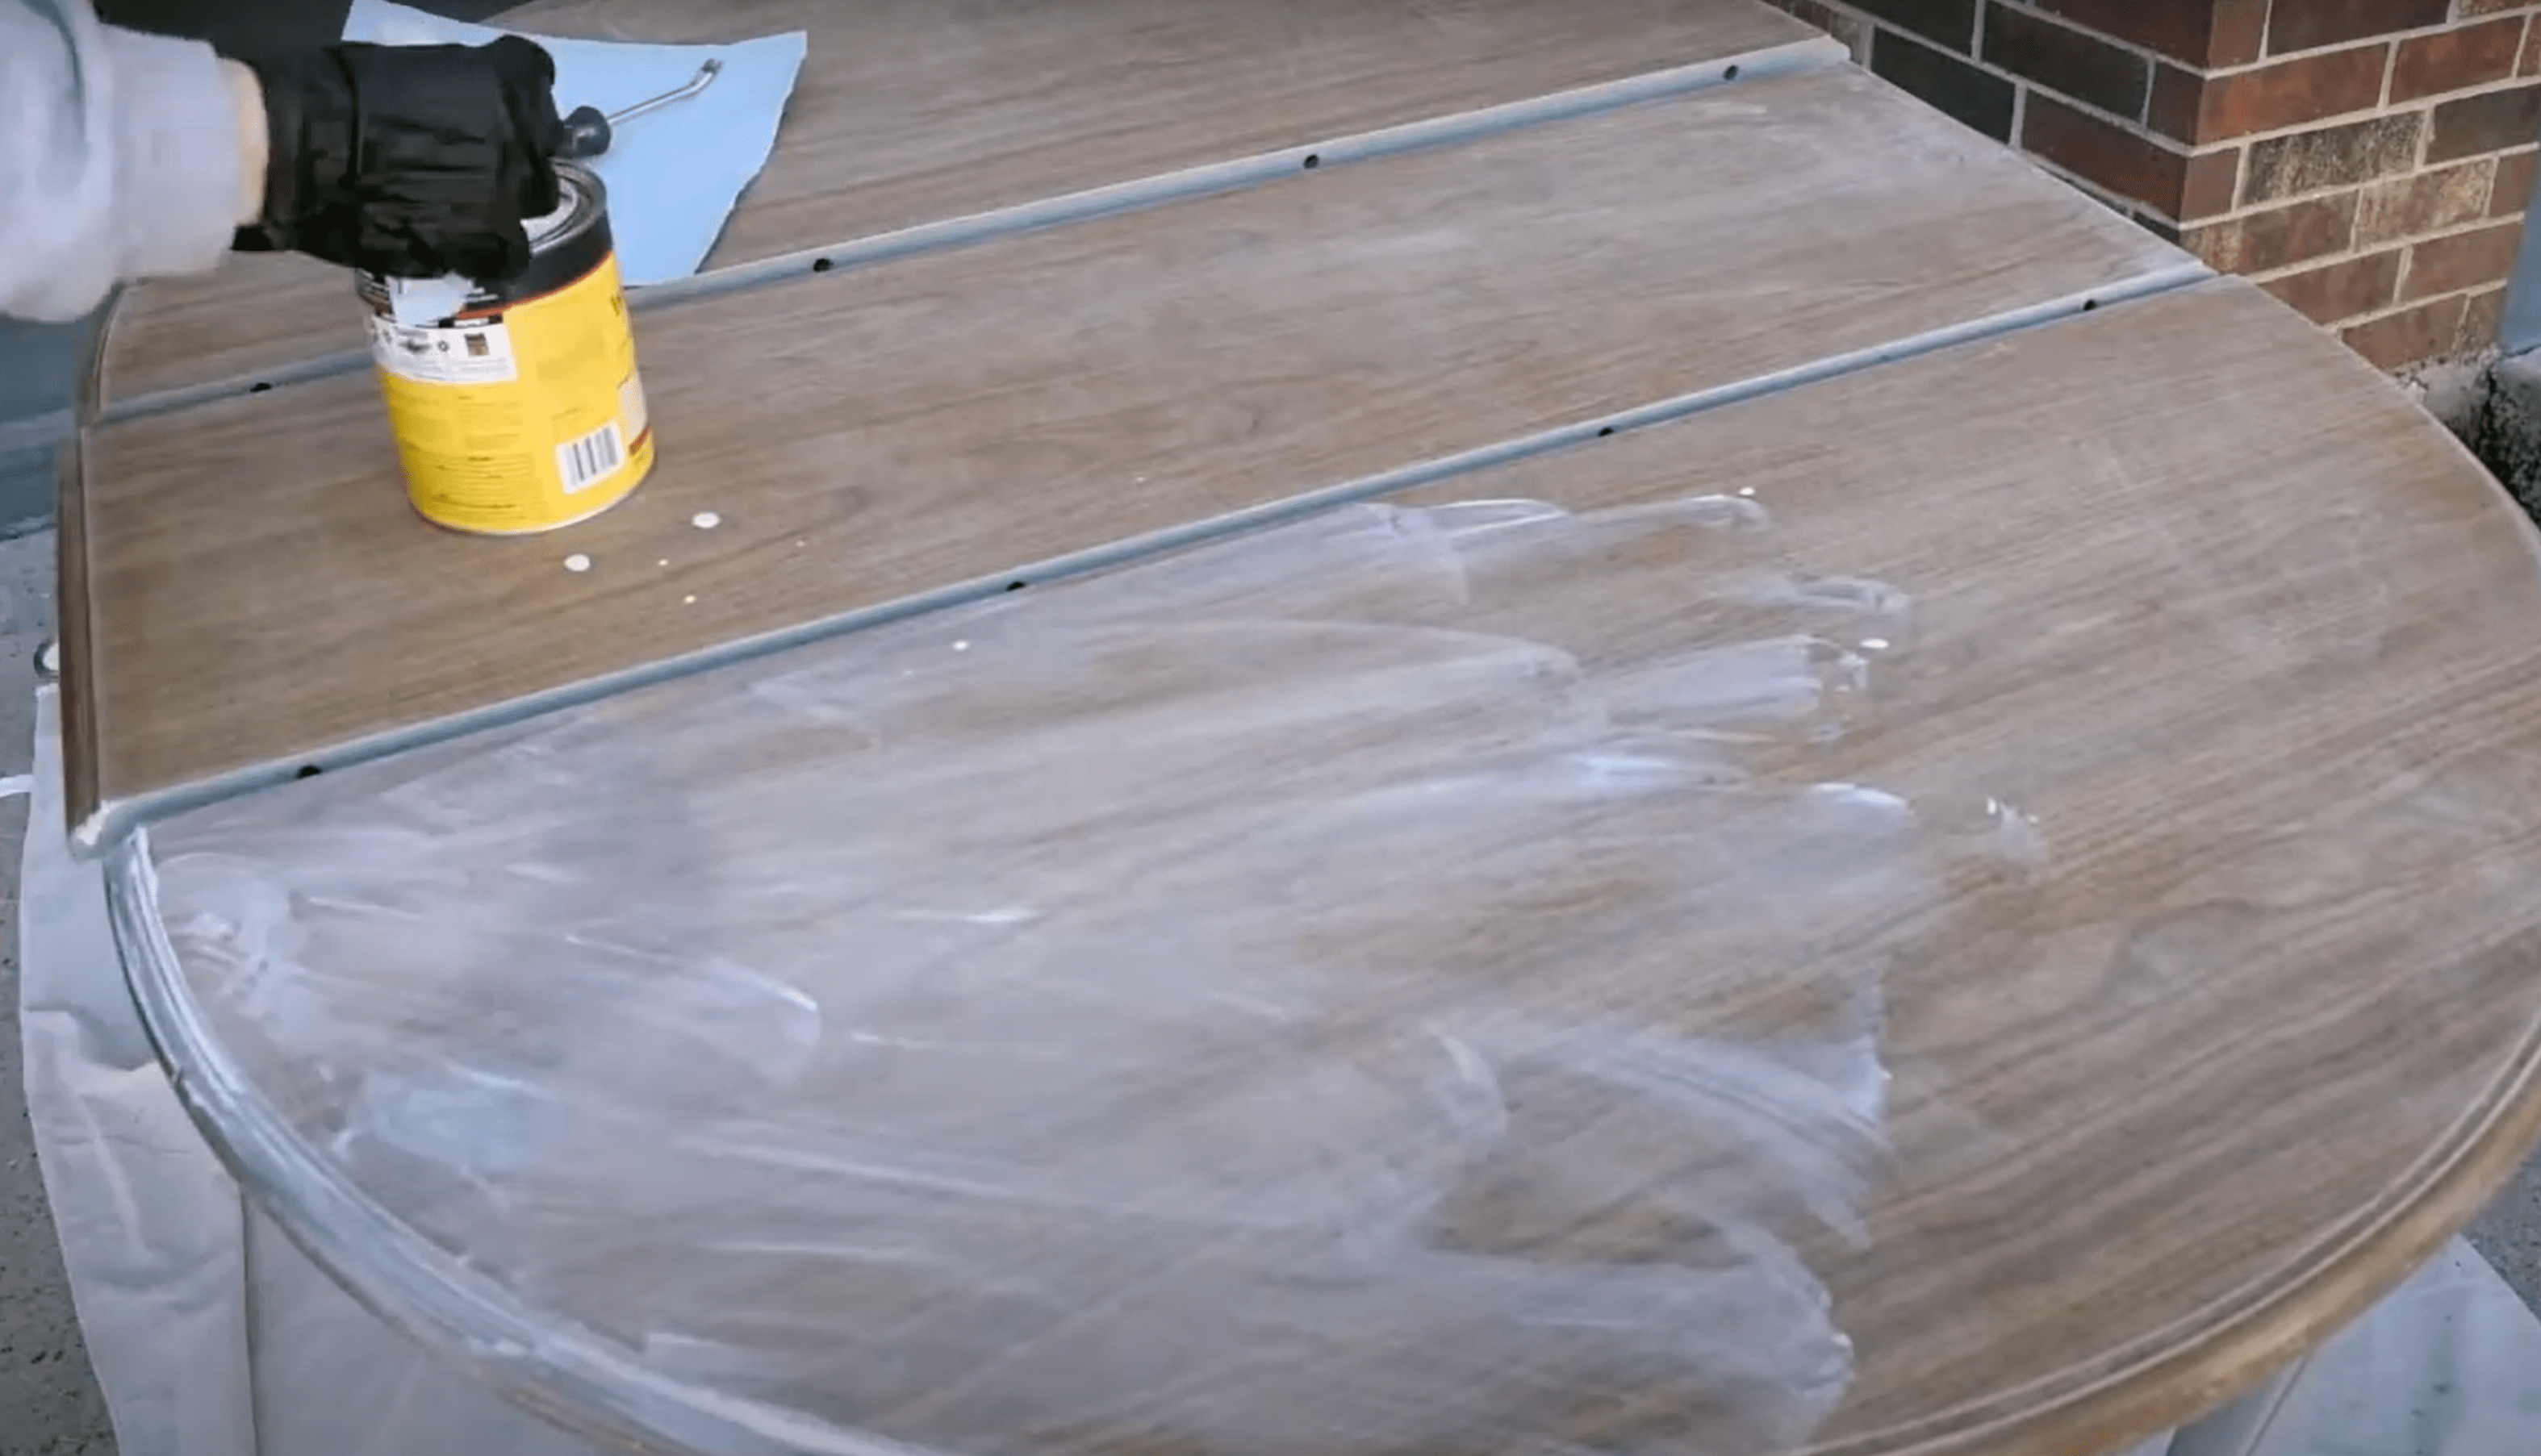
It was just one big hot mess, so I gave up. And that's the end of the tutorial.
Just kidding!
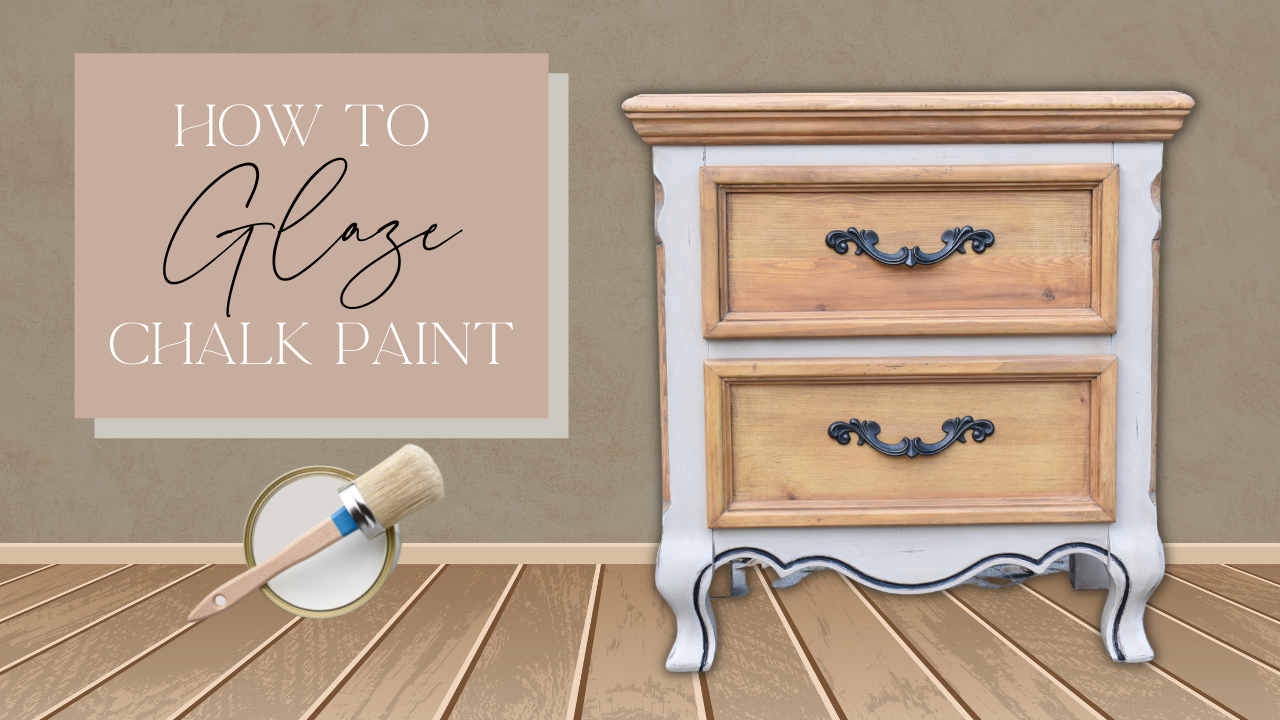
Redoing the Top with Paint and Glaze
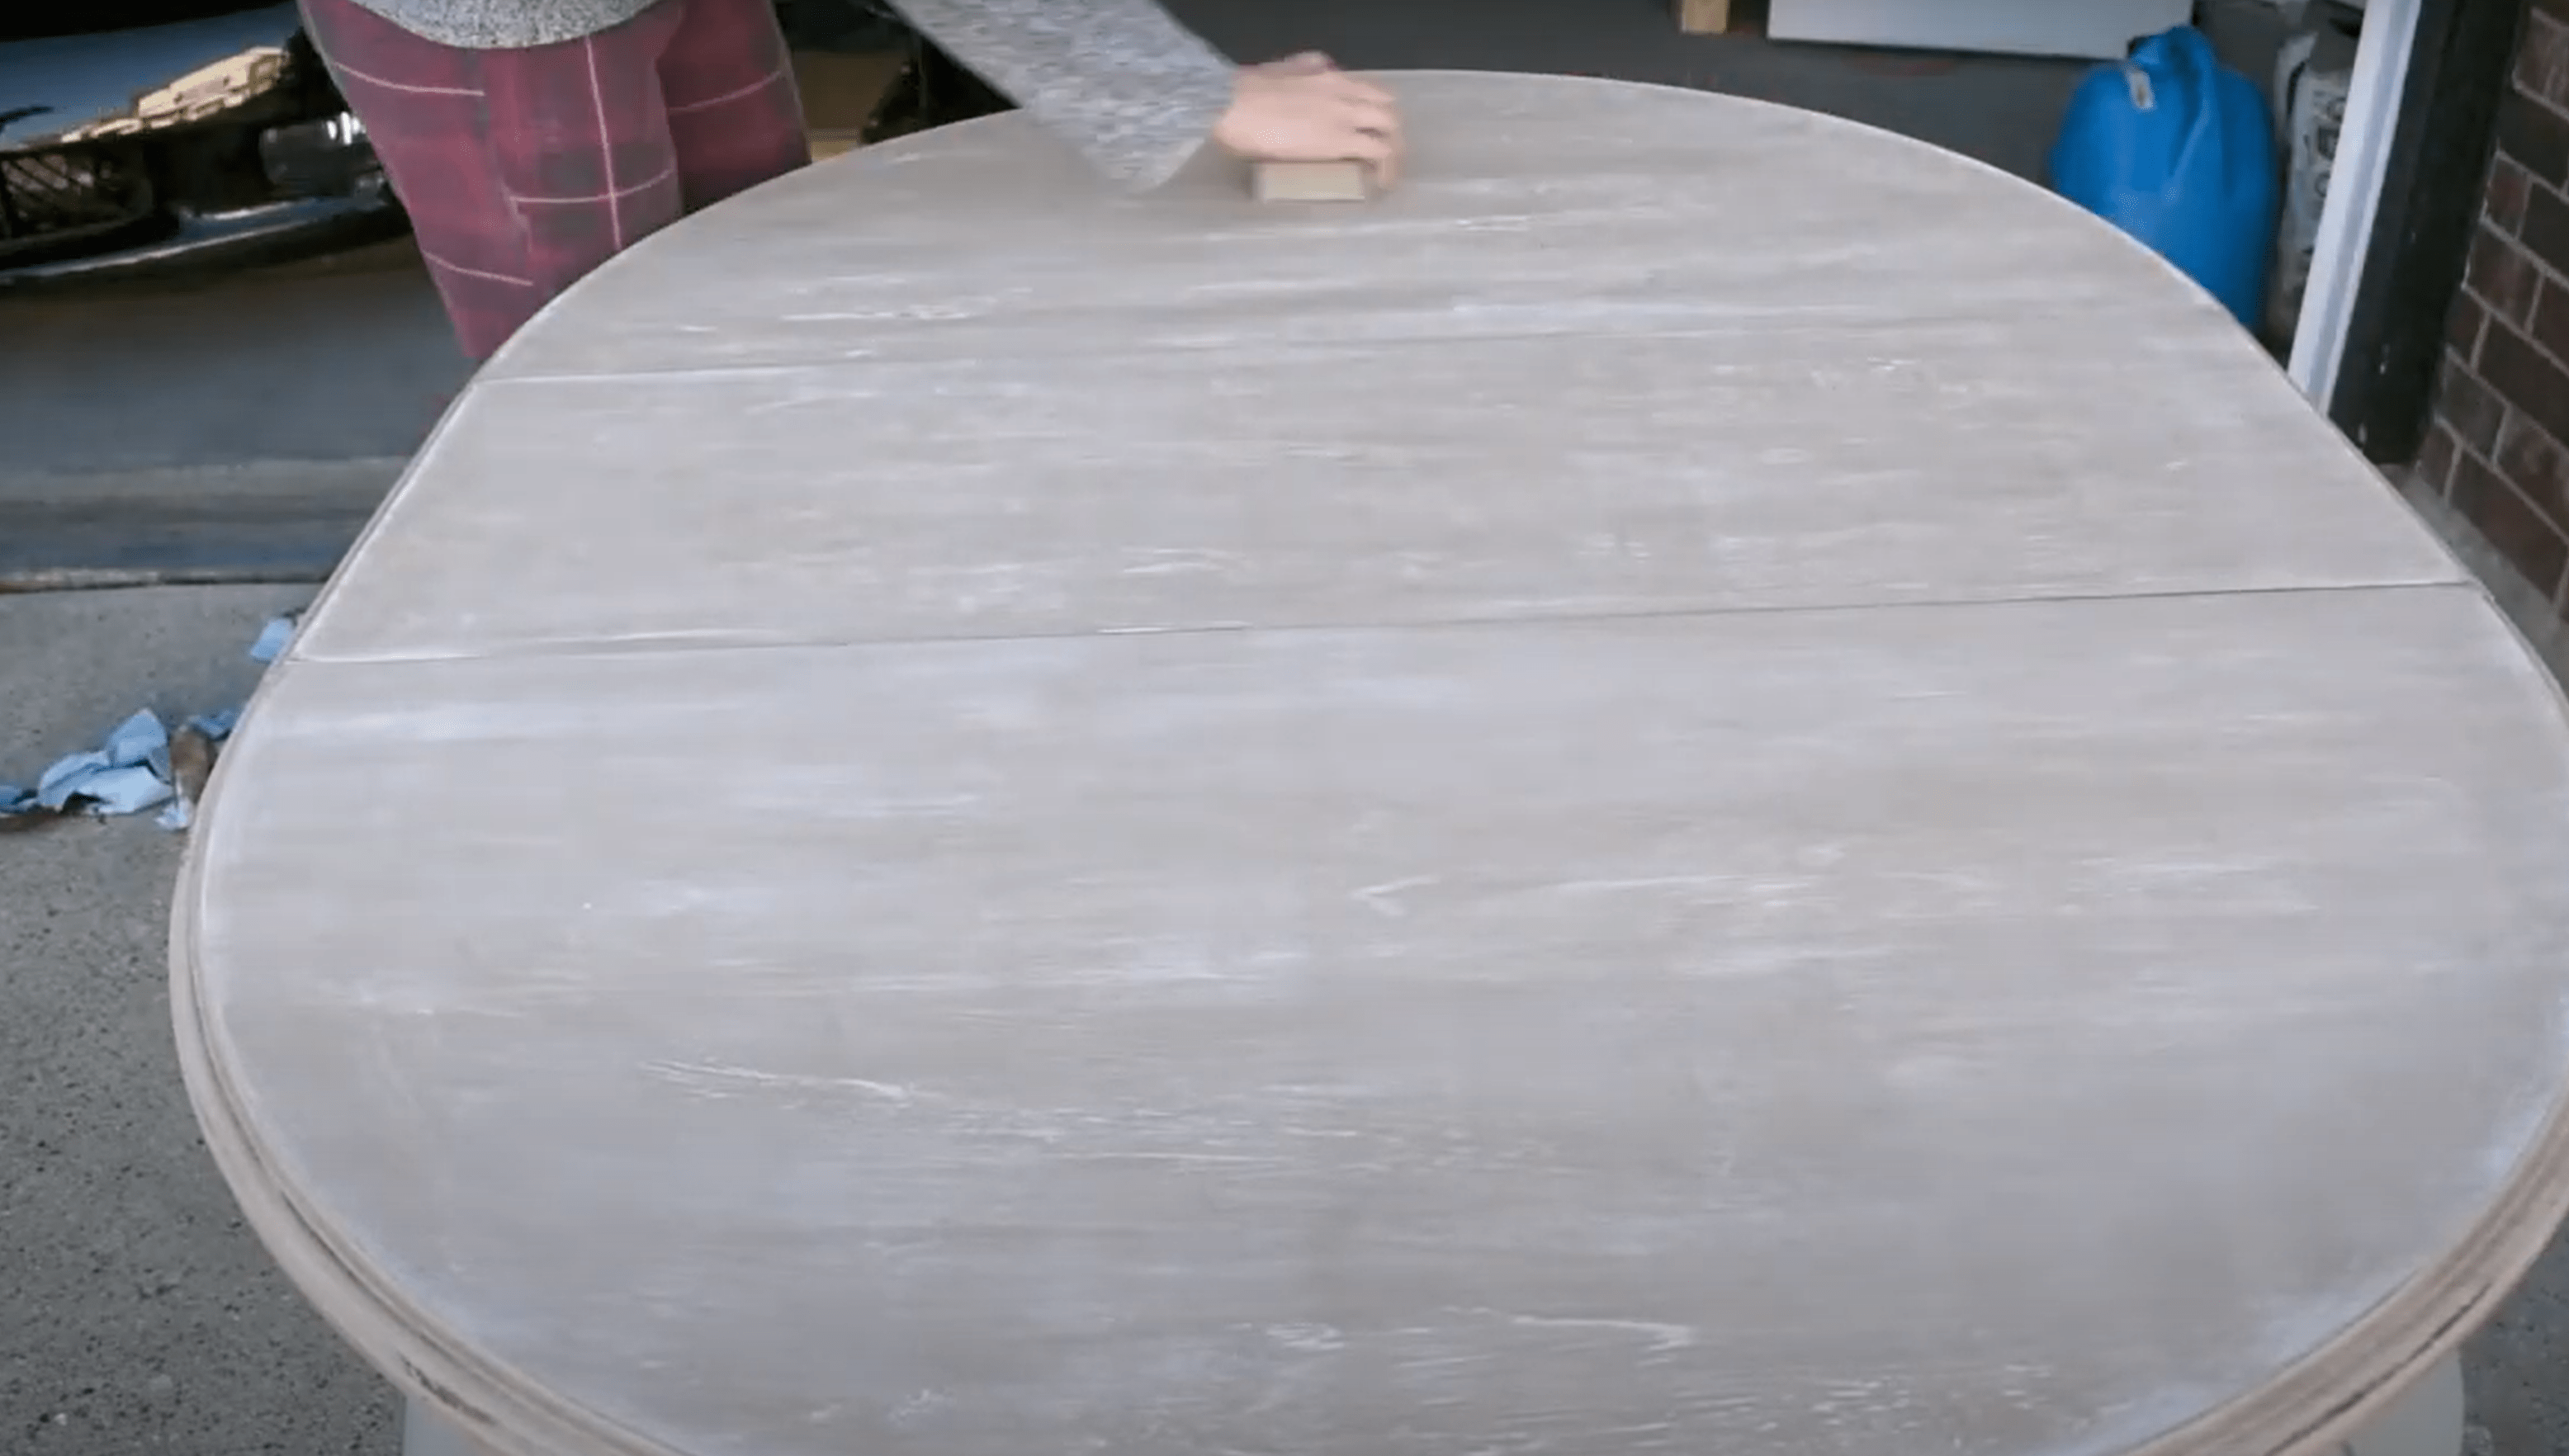
This threw me for a loop for a couple of days, and I may have thrown this table to the back of the garage and ignored it, but I came back eventually with a new plan. I decided to go back to basics, which for me is a two-tone glazed top. So I started with two layers of white chalk paint. It's okay to take a break, and sometimes it's better to just cut your losses and move on, but I knew in this case I was just being tired. And that's another lesson too often we have a better eye for the things that we're doing than our hands can actually keep up with. It can be discouraging when something doesn't look how you know it should in your head. This is a roadblock on the path to getting better that everyone has to face. Don't let it make you turn around.
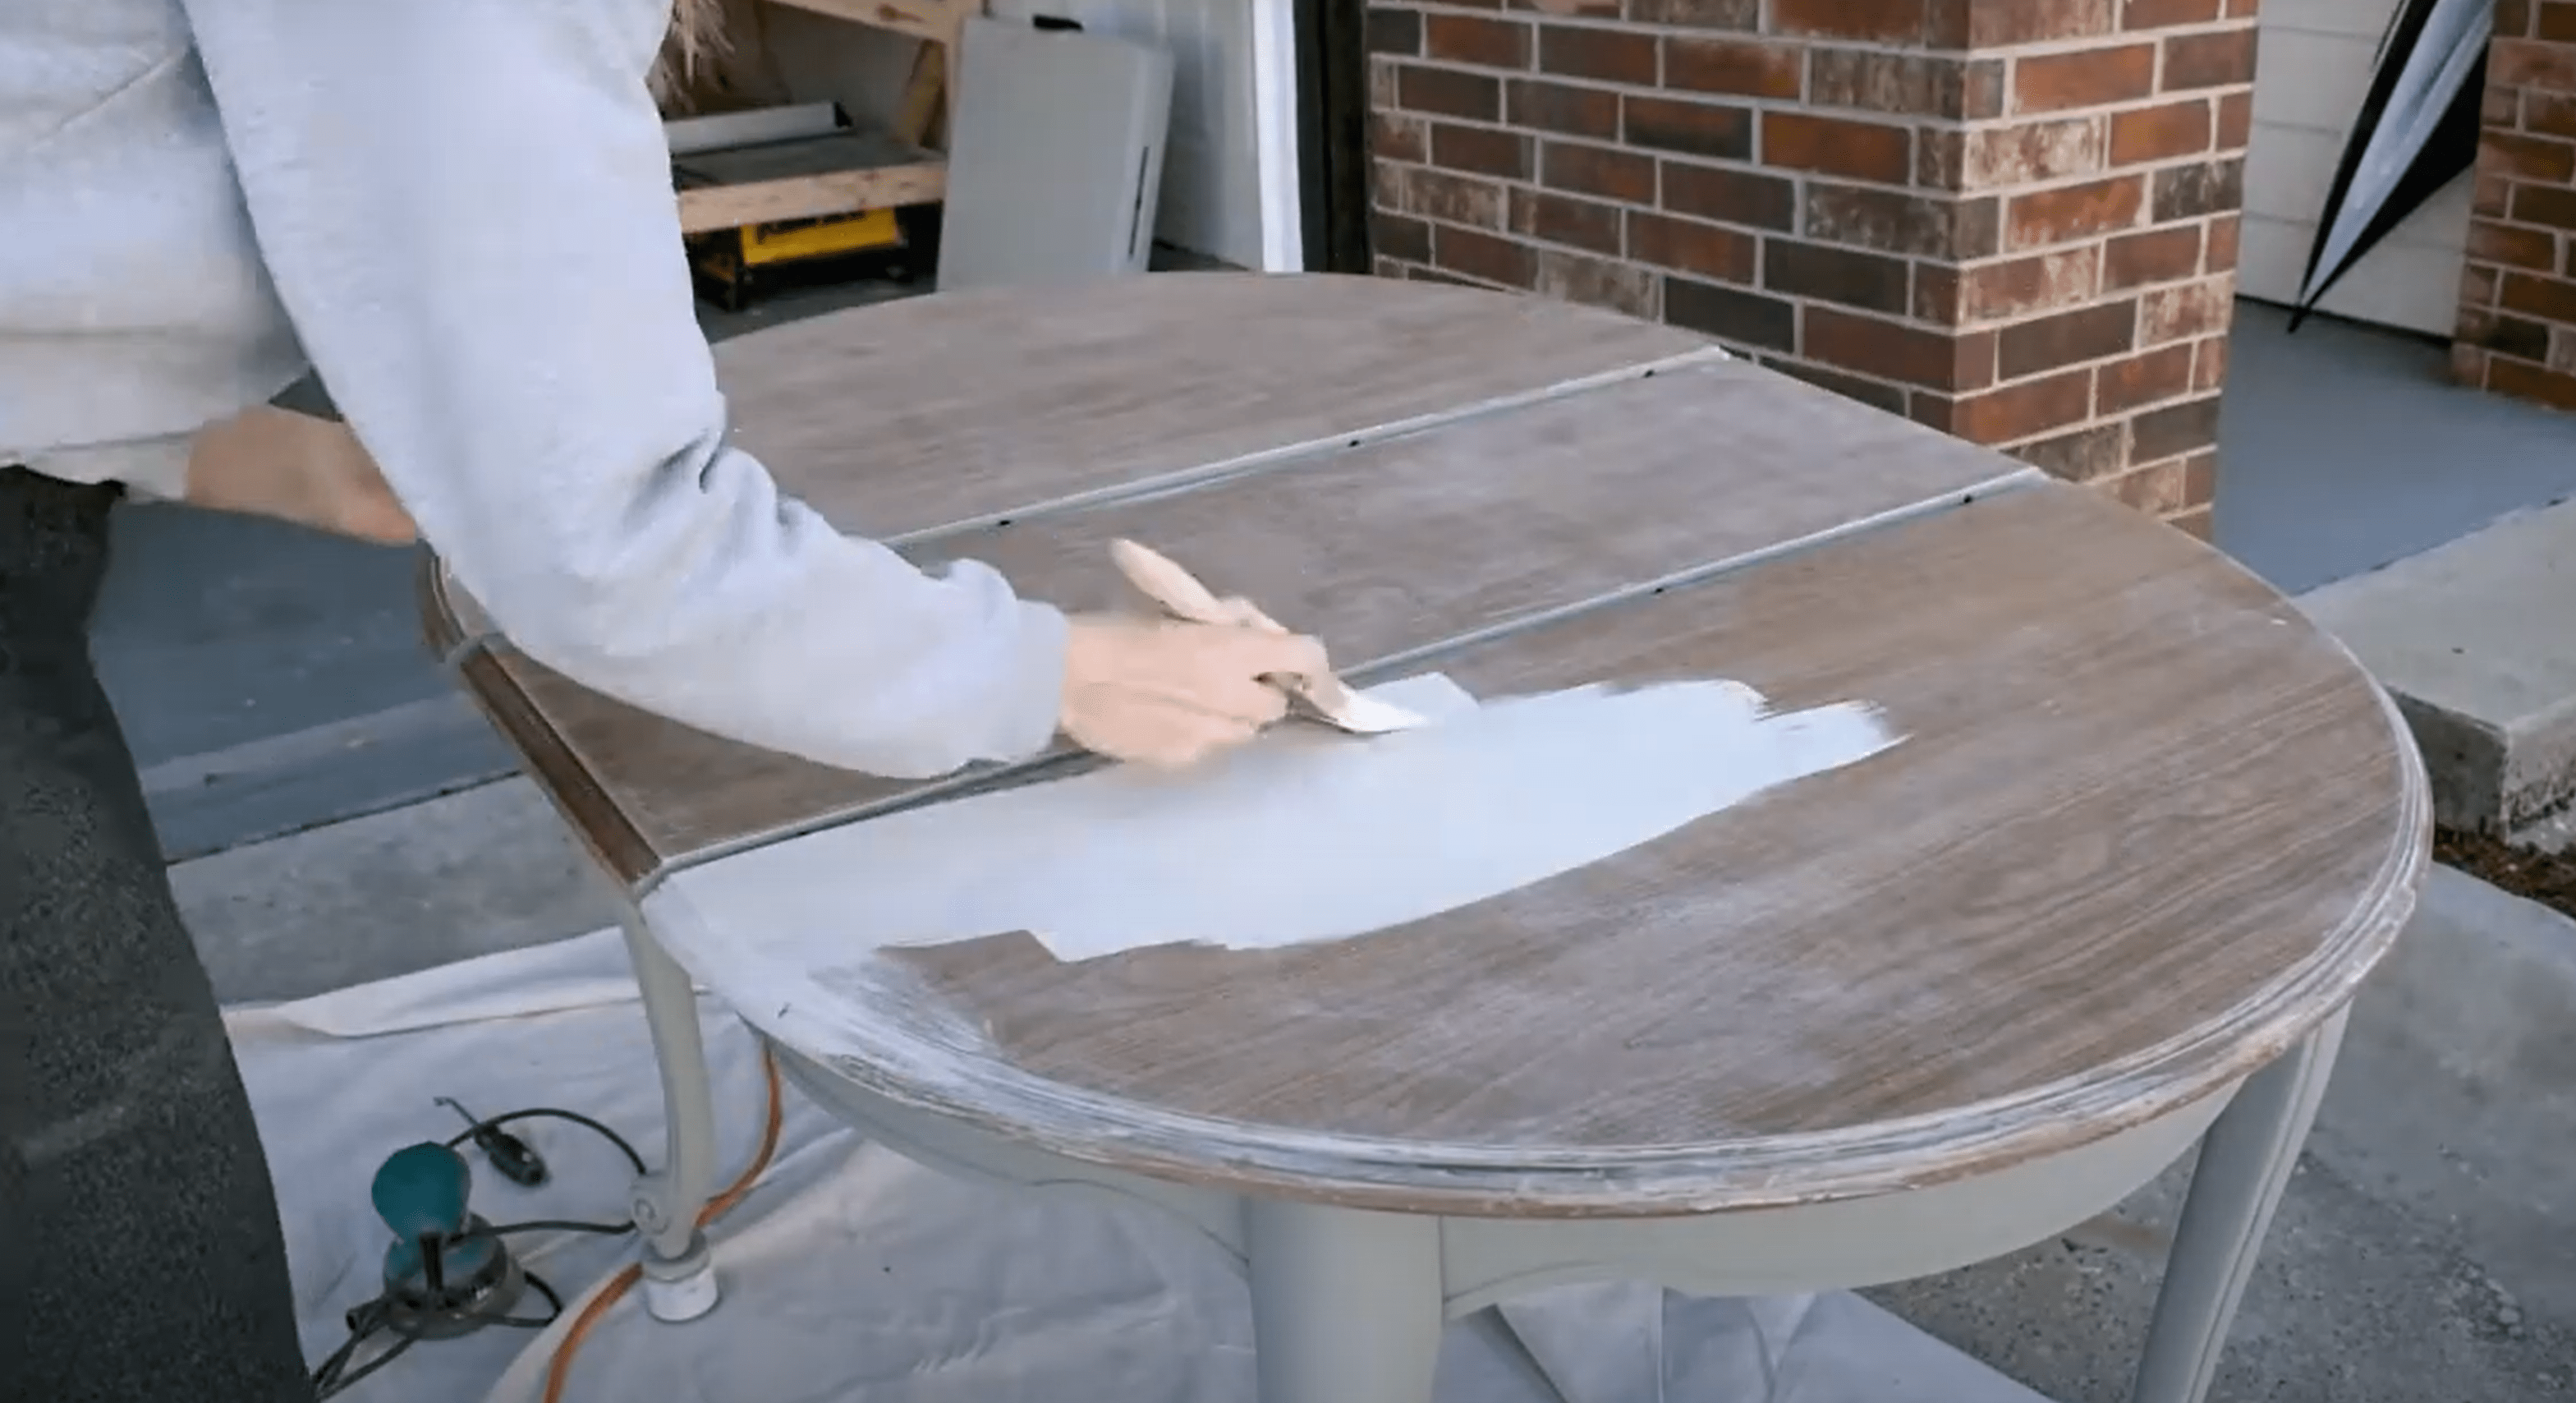
Once that was dry, I grabbed a dark brown stain and applied it generously across the top. Here I'm using Varathane Special Walnut. The stain is going to sink into the top porous layer of the chalk paint. I give it a second to set and then wipe it back with a few shop towels. I went back and forth trying to make sure the table had a nice consistent color from end to end. And you can apply a bit more stain to re-wet and retry any areas that aren't conforming. I like this technique because it's an easy way to spice up just putting on plain old chalk paint. It also gives quite an organic finish because you can't really control where the stain is going. You can achieve a similar look with brown wax as well.
Now that the stain has soaked into the top layer, it's time to reveal a bit of the white left underneath. This is my favorite part, and it works very well because of the texture that the chalk paint has left behind. So I'm going to grab a sanding sponge and slowly work very gently on the top. This will start to reveal the brush strokes of the chalk paint underneath, and how they will look will depend on how you apply the chalk paint. I'm also keeping in mind that I don't want to go overboard on the top and burn through too much of that stained paint. I'm curious to keep playing around with this technique.
Right now, with these side-to-side brush strokes, it looks almost like a wood grain. But there are other techniques, like stippling or circular brush strokes, that could also look quite unique. Once I was happy with the top, of course, I could not forget about distressing the rest of the piece. Again, this means working in areas that would wear the most, like corners and edges. I'm going to clean off all that dust, and then we are on to the last step, which is top coat.
Sealing the Piece
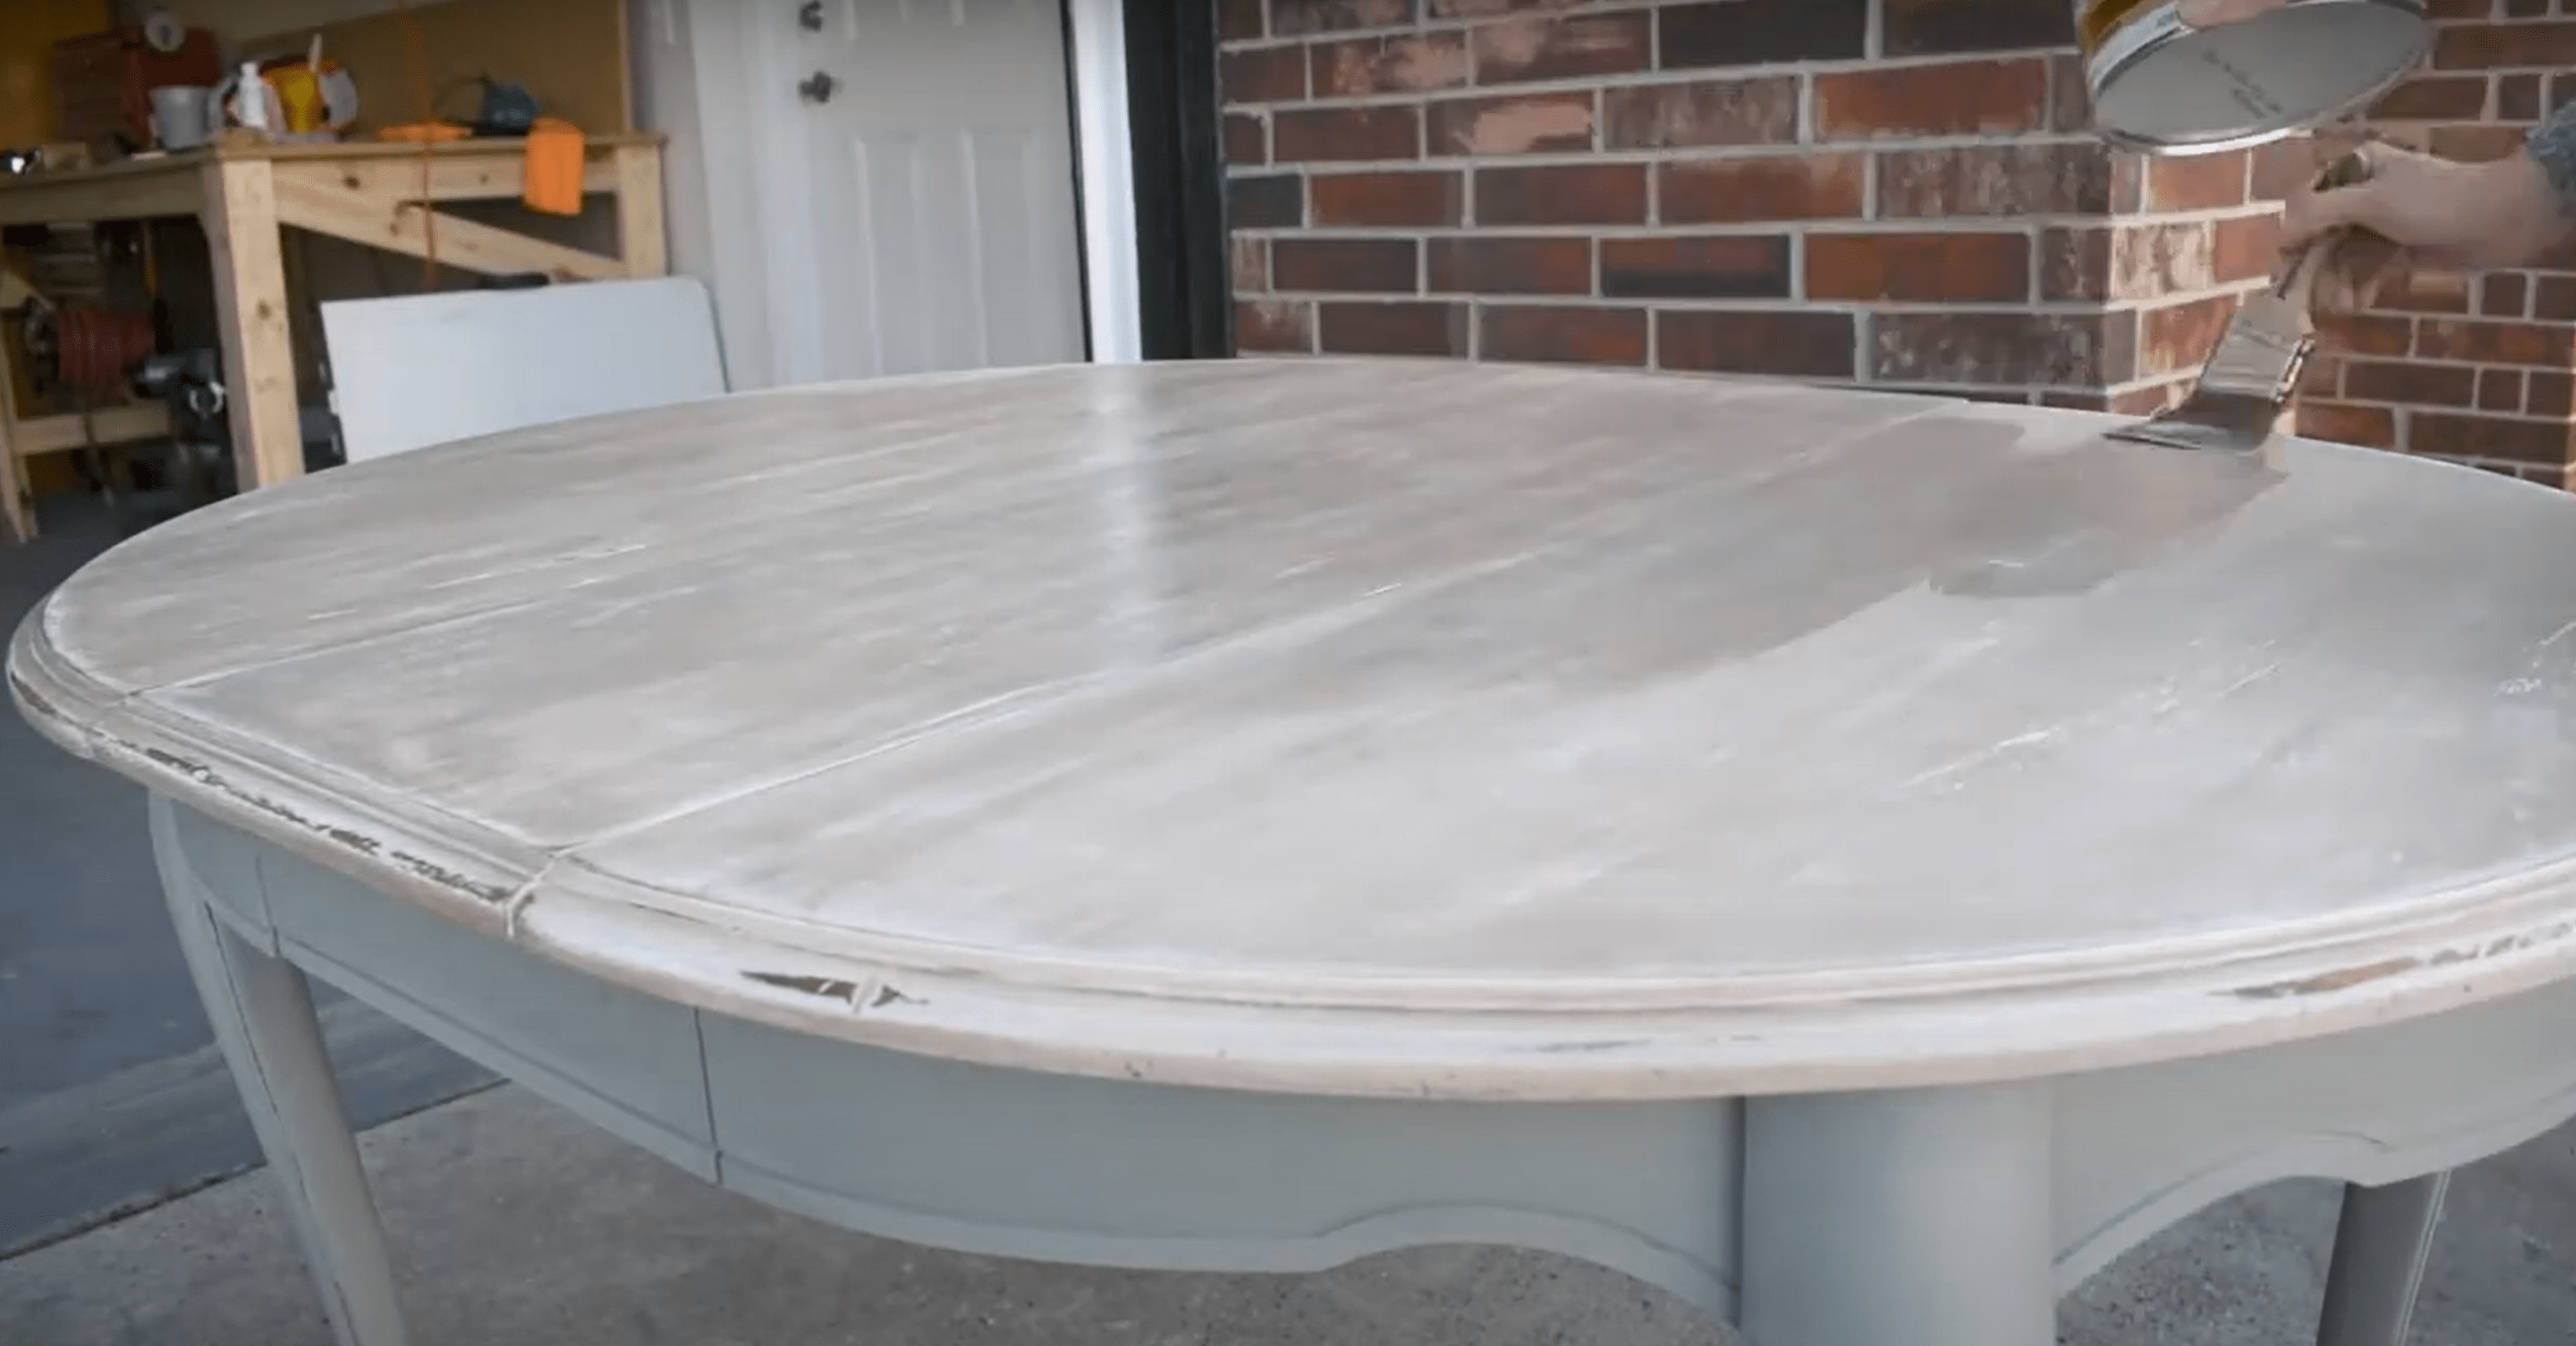
I am going to be using a water-based polyurethane for both the top and the legs of this table. For a table top or anything else that will be used quite heavily, I would recommend a polyurethane or a very high-quality, durable top coat. I could have gotten away with furniture wax on these legs; however, I was out and this was what I had.
I like water-based polyurethane as opposed to oil-based because it is much easier to clean up and it's also non-yellowing, which means it's not going to change the color of this table over time. And that's a wrap! We are ready for the final result.
The Reveal
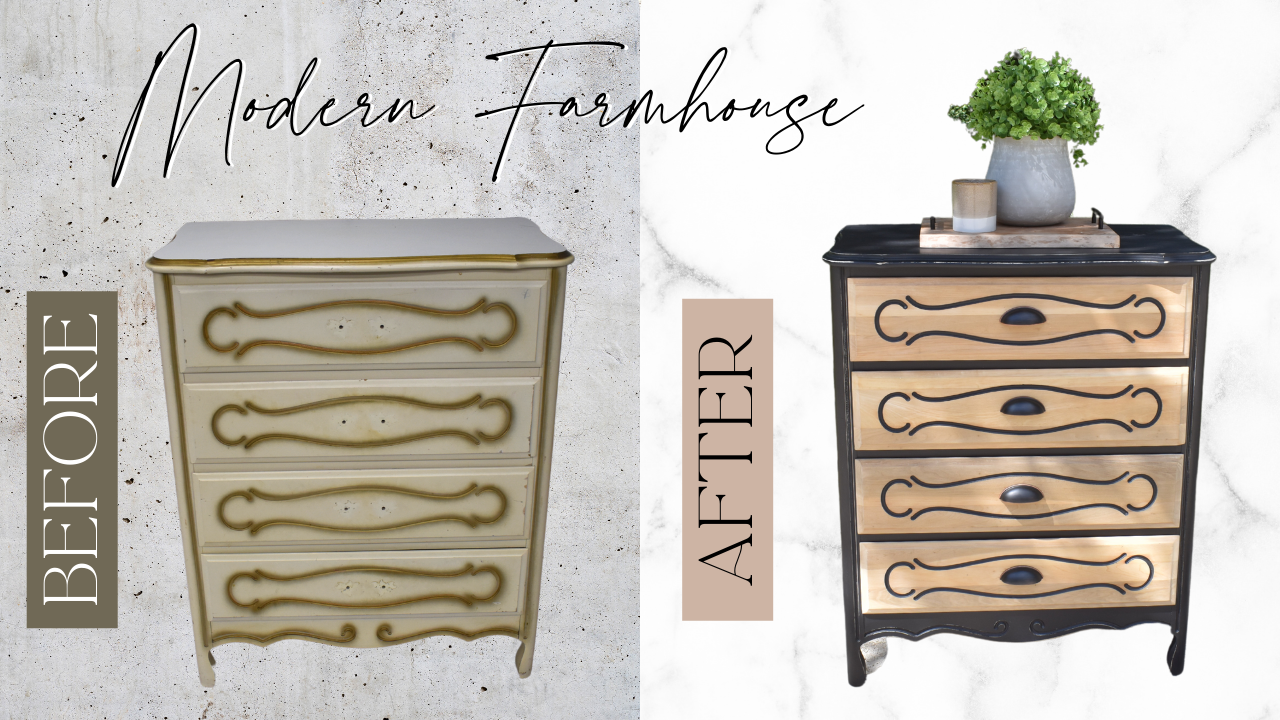
So what do you guys think? I do like the way this turned out. In particular, I really loved the green-gray color that I mixed for the legs. The top was not what I expected, but I think it turned out well. But most importantly, I sold it to a very happy young woman who loved it. Such a great feeling, and that's the only thing I need to keep going.
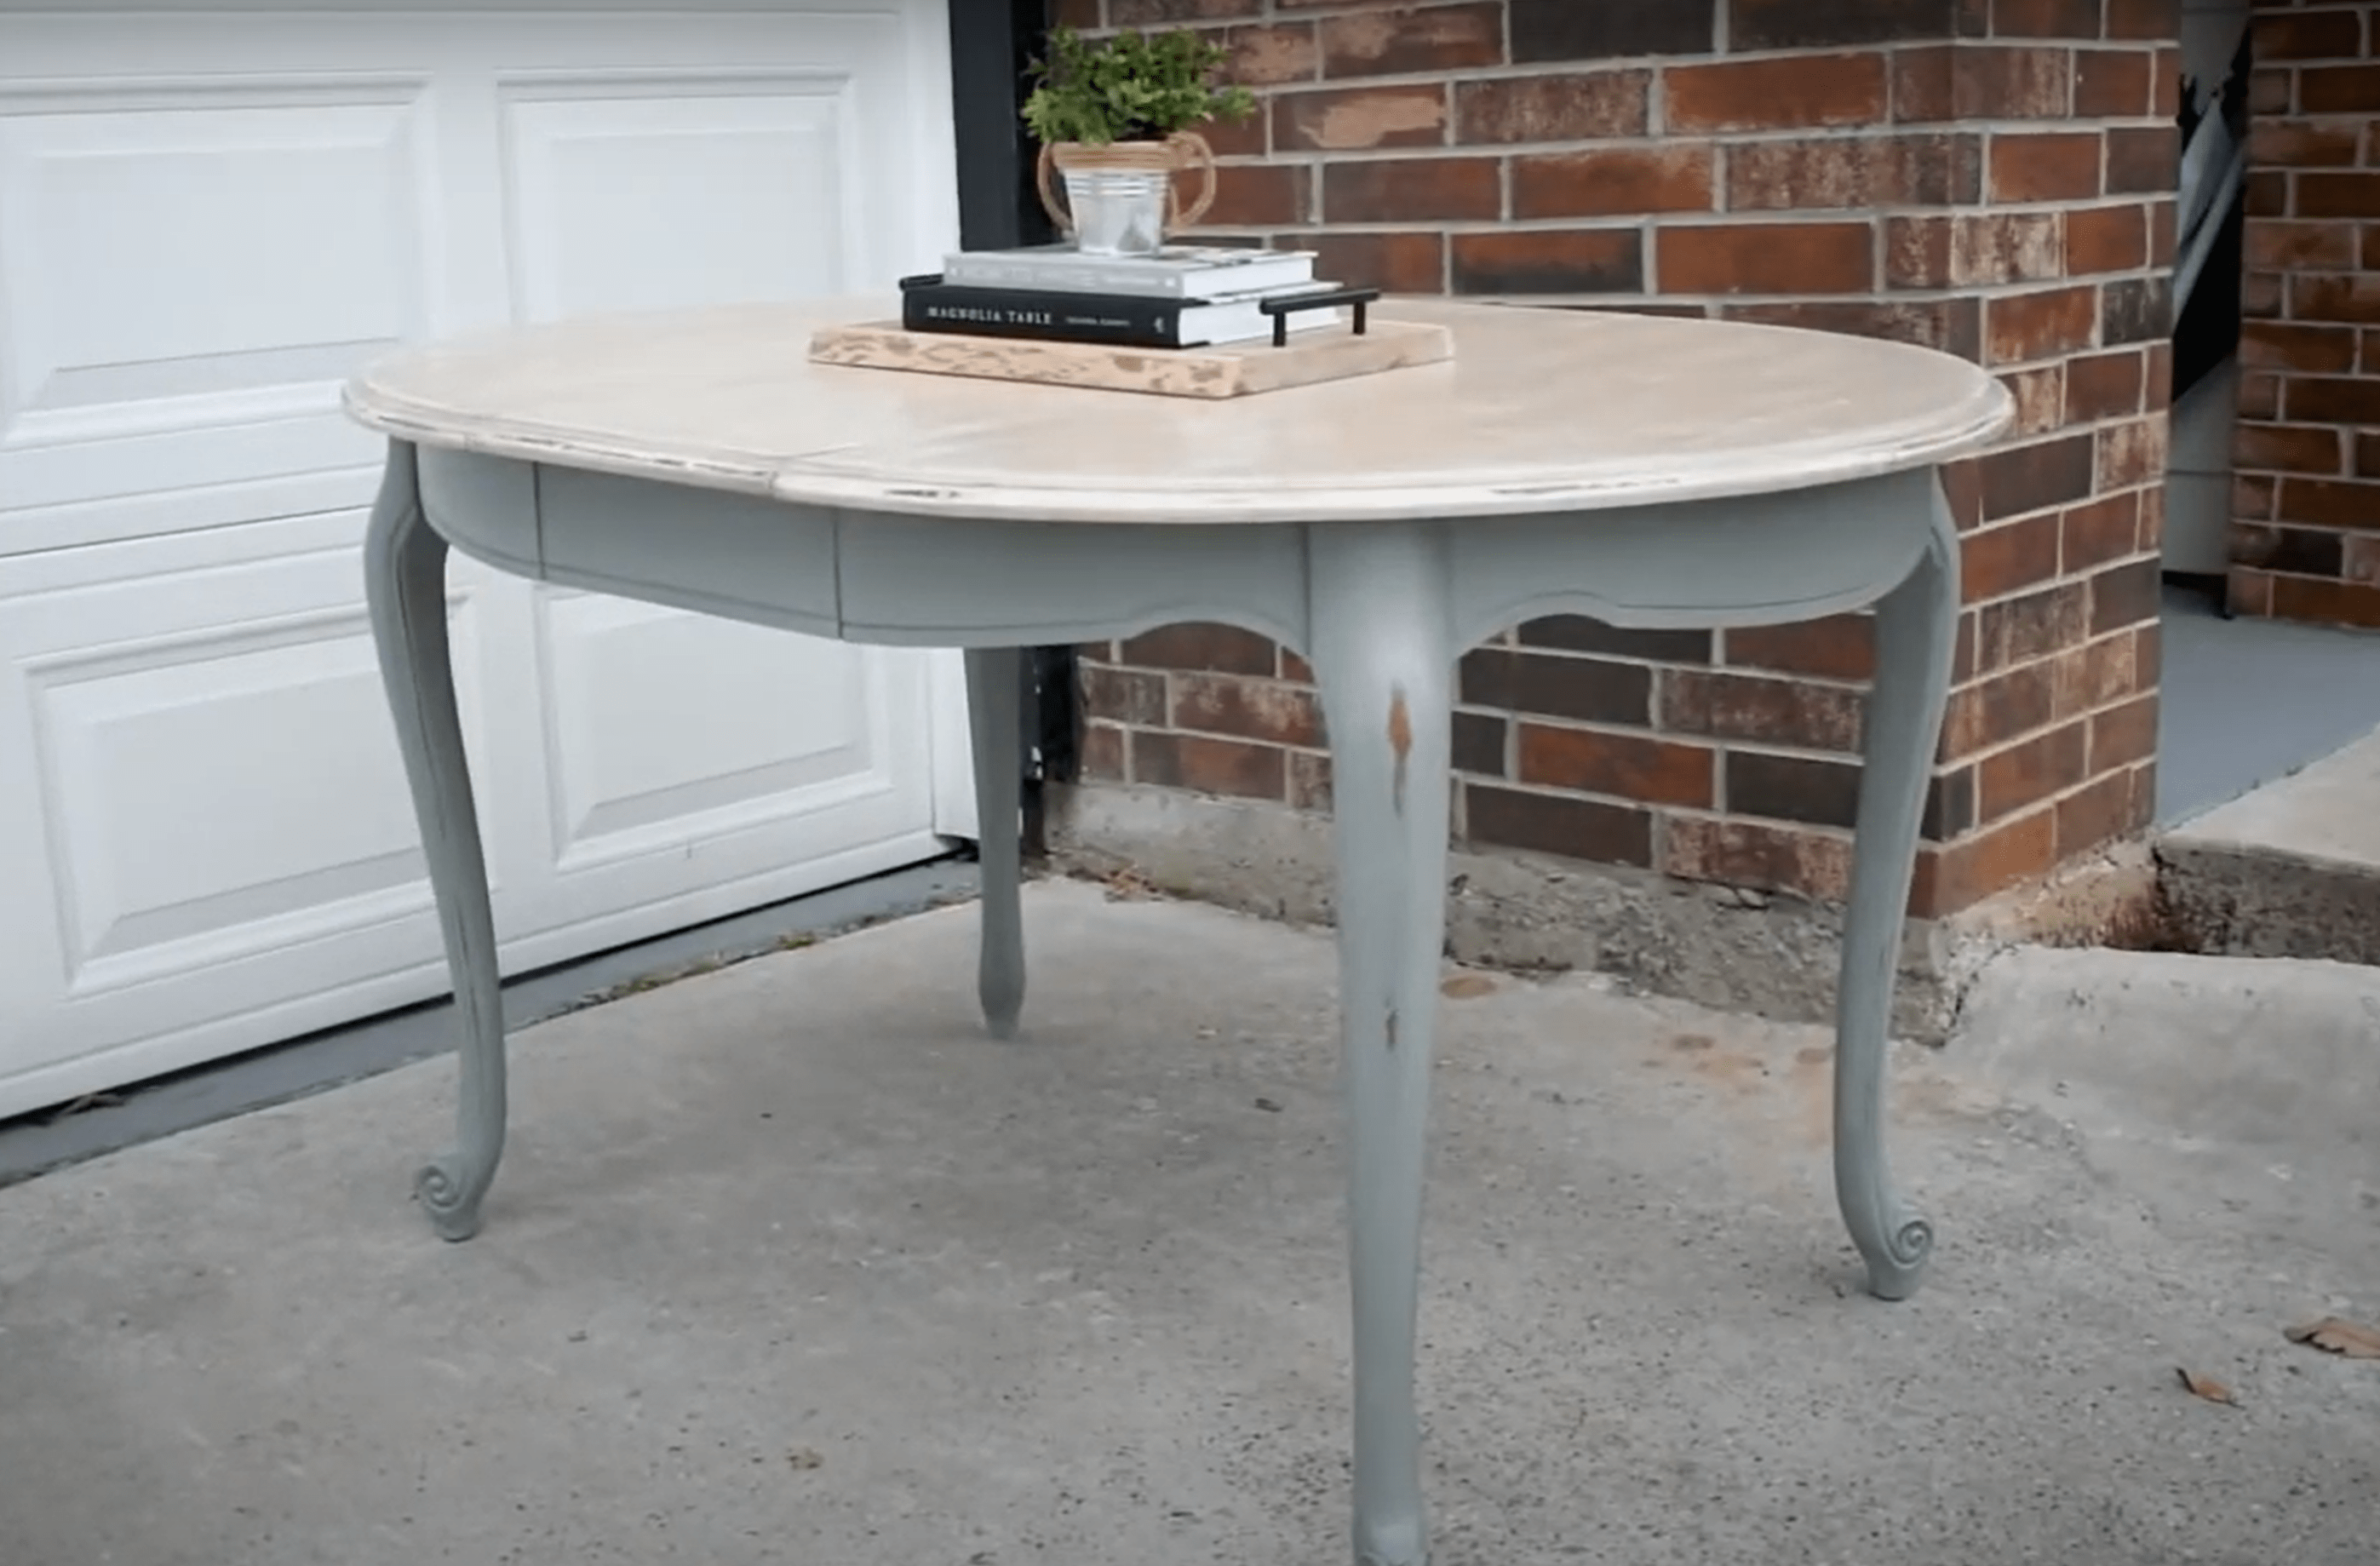
Lessons from today: Don't be afraid to experiment. Even if things go wrong, I still have hope for the veneer overhaul that I had planned. It didn't work out this time, but I'm not going to give up on it just like I didn't give up on this piece. It's okay to take a break, it's okay to step back, but make sure you don't give up on your projects because you're only giving up on yourself. But also, don't take it too seriously. This is just for fun, right?
I'll catch you on the next one.

.png)