.png)


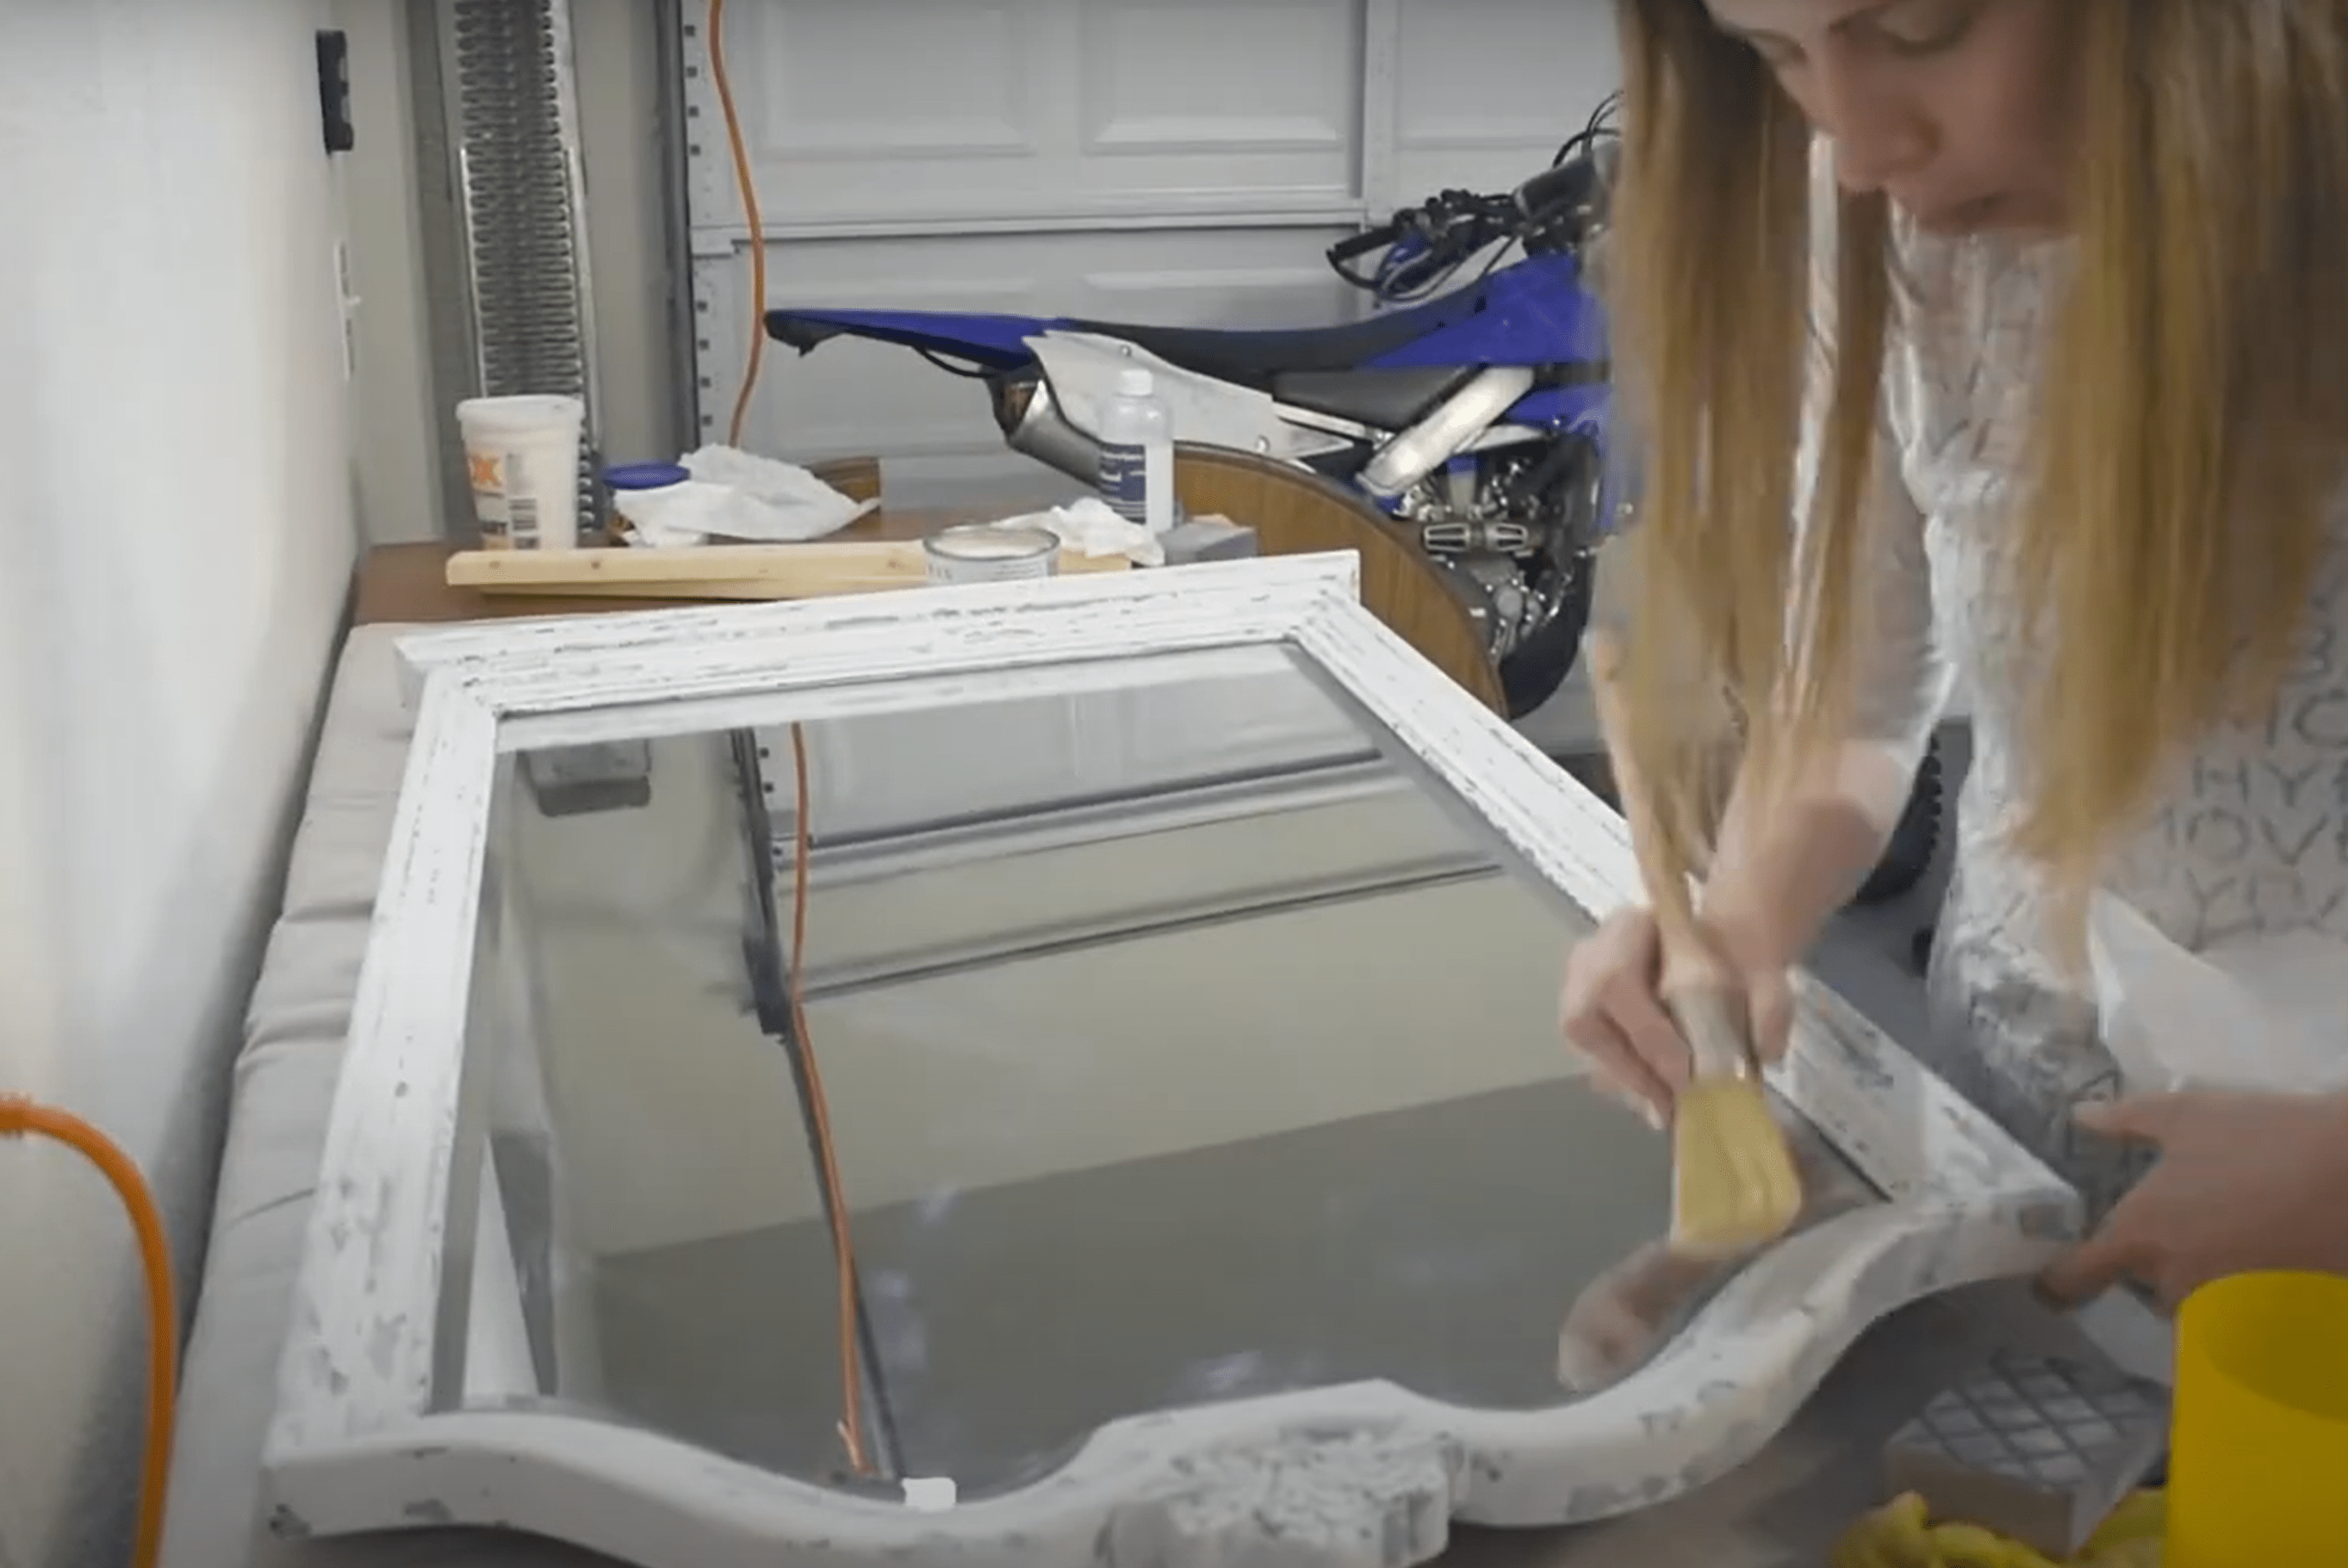
Today we are flipping this traditional french provincial style mirror that I got from the thrift store for just $15. My goal for this piece is to make kind of an aged and chippy finish that's white and gold. This one was fun, so let's jump right in.

Cleaning
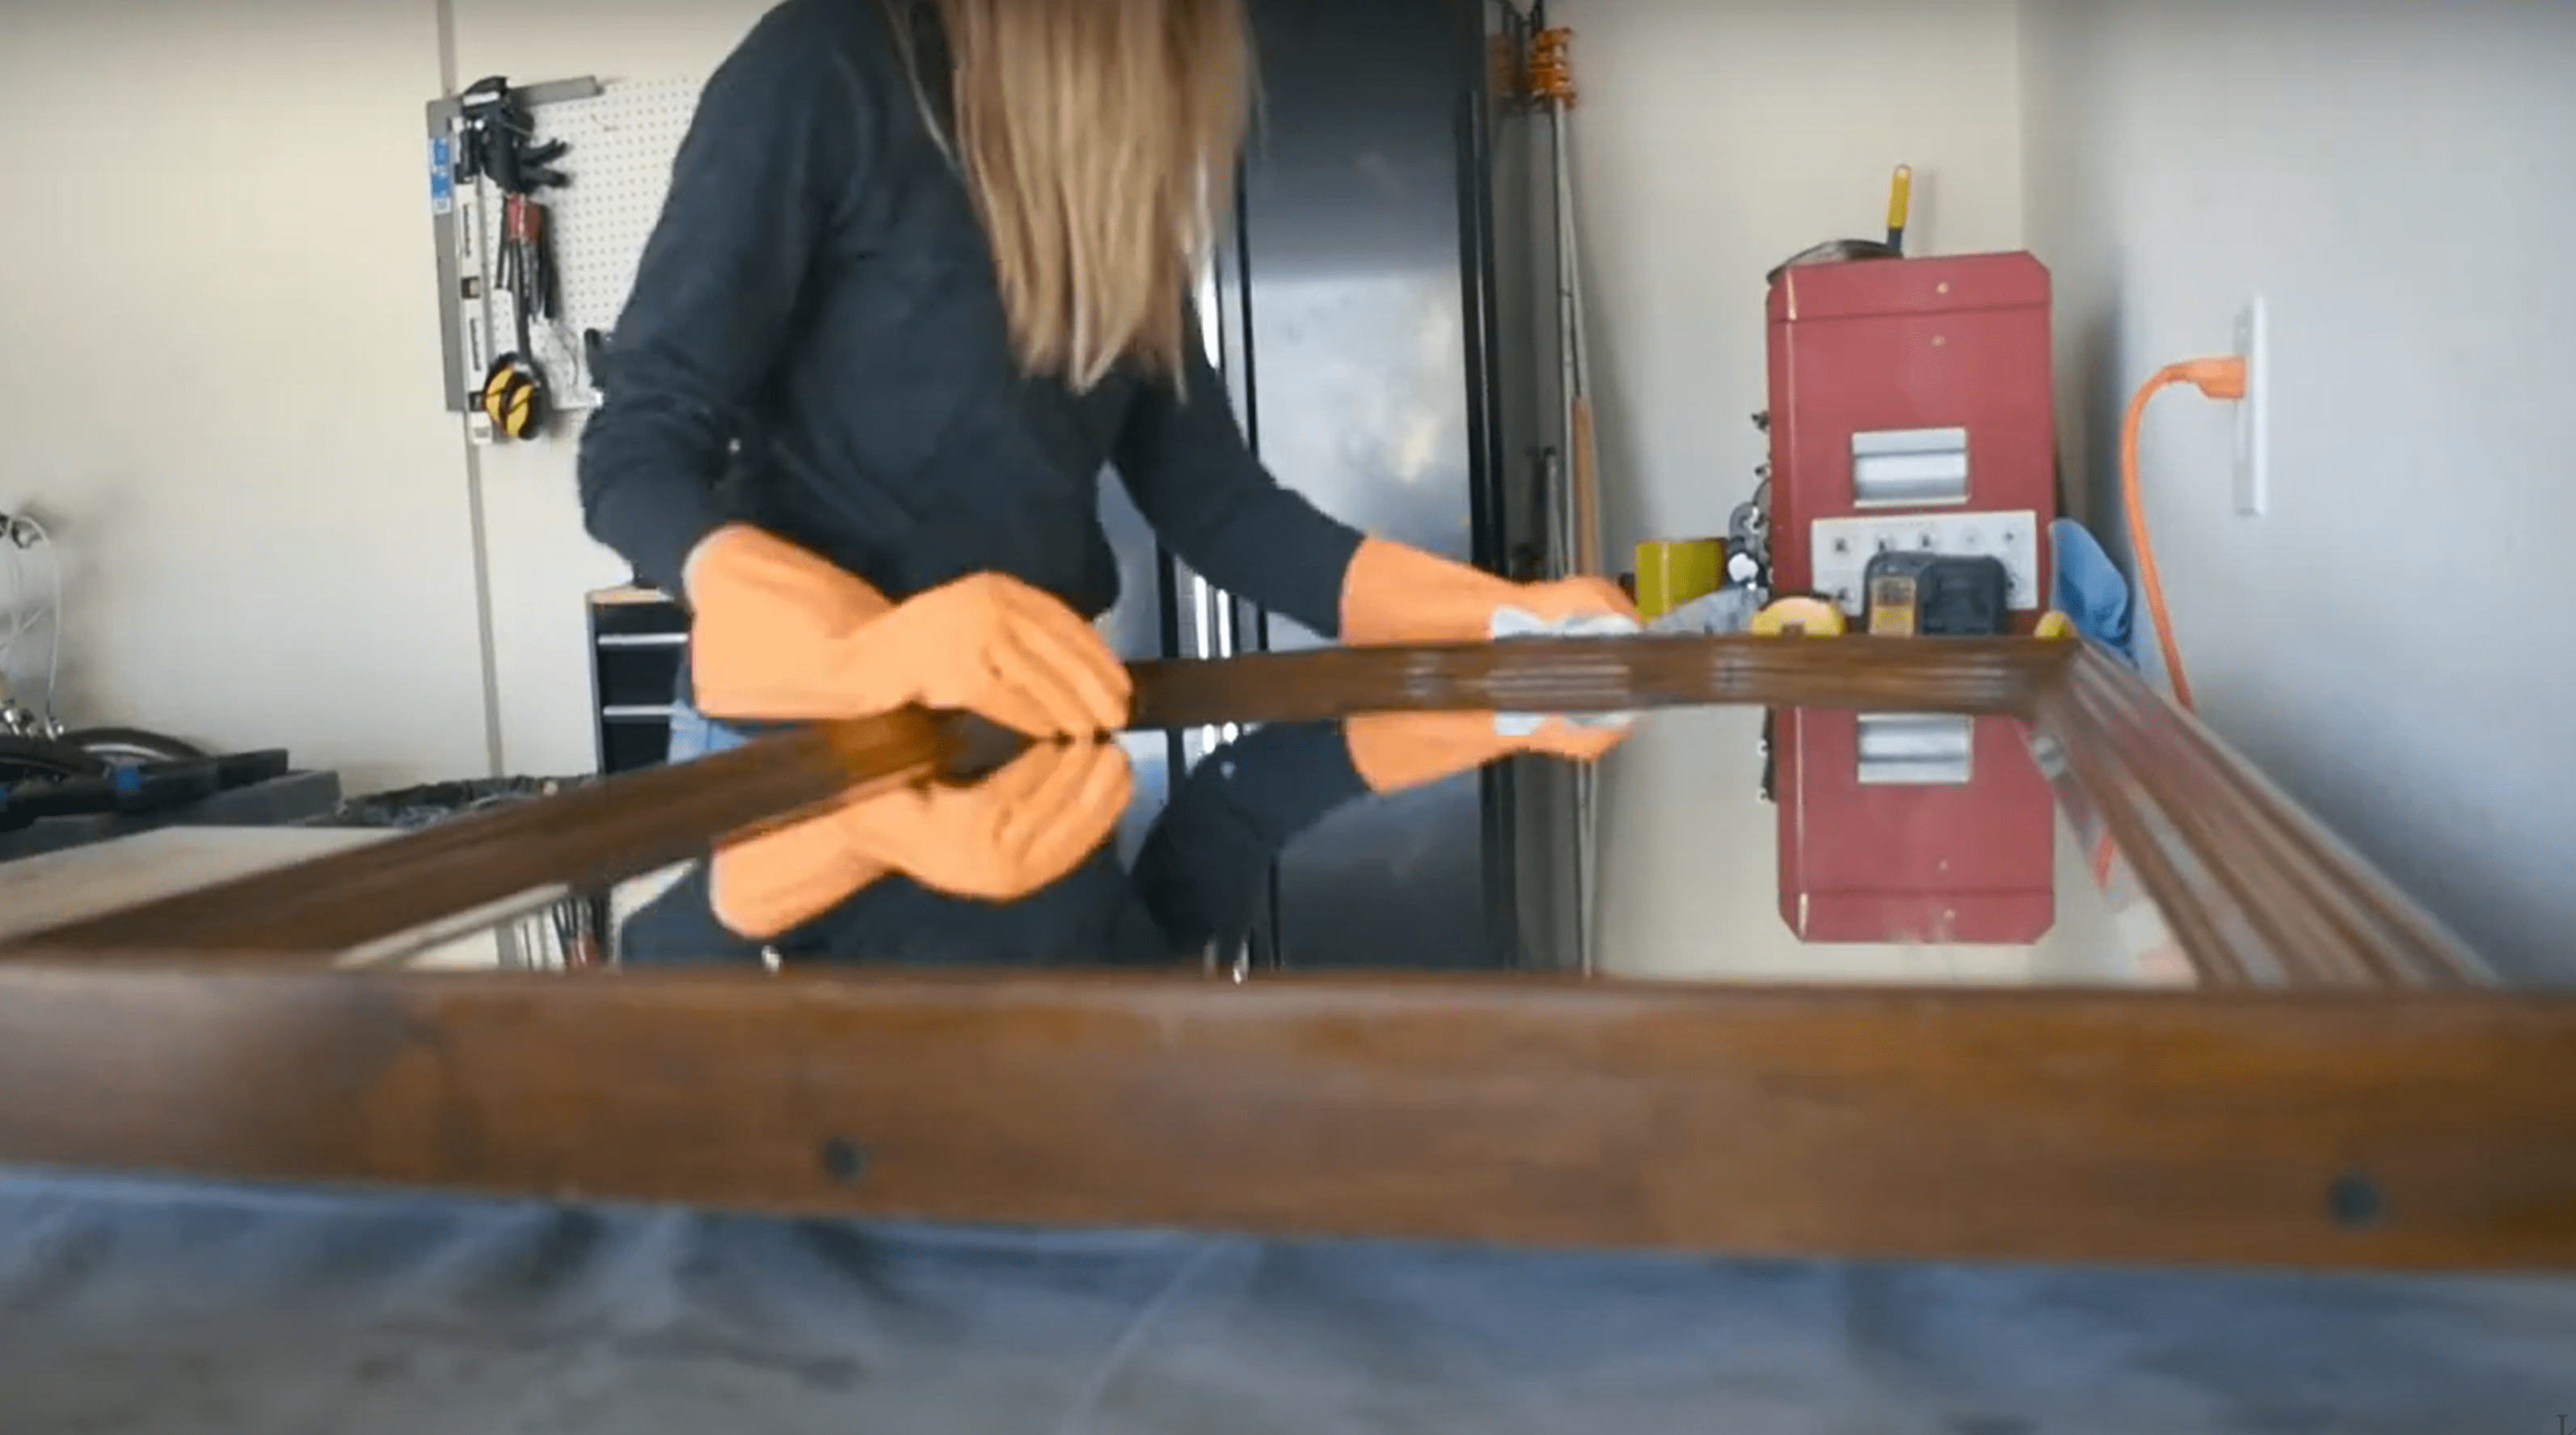
This piece was really dusty coming out of the store so I started the flip with some cleaning. I filled up my mini bucket with some warm water and two capfuls of Fusion's TSP Alternative. Then I grabbed my gloves and a scrubbing sponge and got right to it. Once everything was clean, I went back with some water to wipe the TSP residue all off.
When everything was dry, I contemplated adding painters tape to protect the mirror, but ended up backing out. My thought was that the paint would be easy to clean off the glass surface. This was a mistake and made for a lot of work later on, so definitely tape up your mirror!
Painting
I used Shackteau Interiors Milk Paint in the color White Beach for this project. Milk Paint which is a really old style of paint that comes in a powdered form. It's very natural containing just milk, lime, clay, and some natural coloring.
If you've seen my Blue-Black Old-World Dresser project, you'll know that mixing bonding agent 50/50 with milk paint makes for a beautifully flat finish similar to chalk paint. But, if you don't add bonding agent, the finish won’t adhere as well and will create a chippy texture instead.
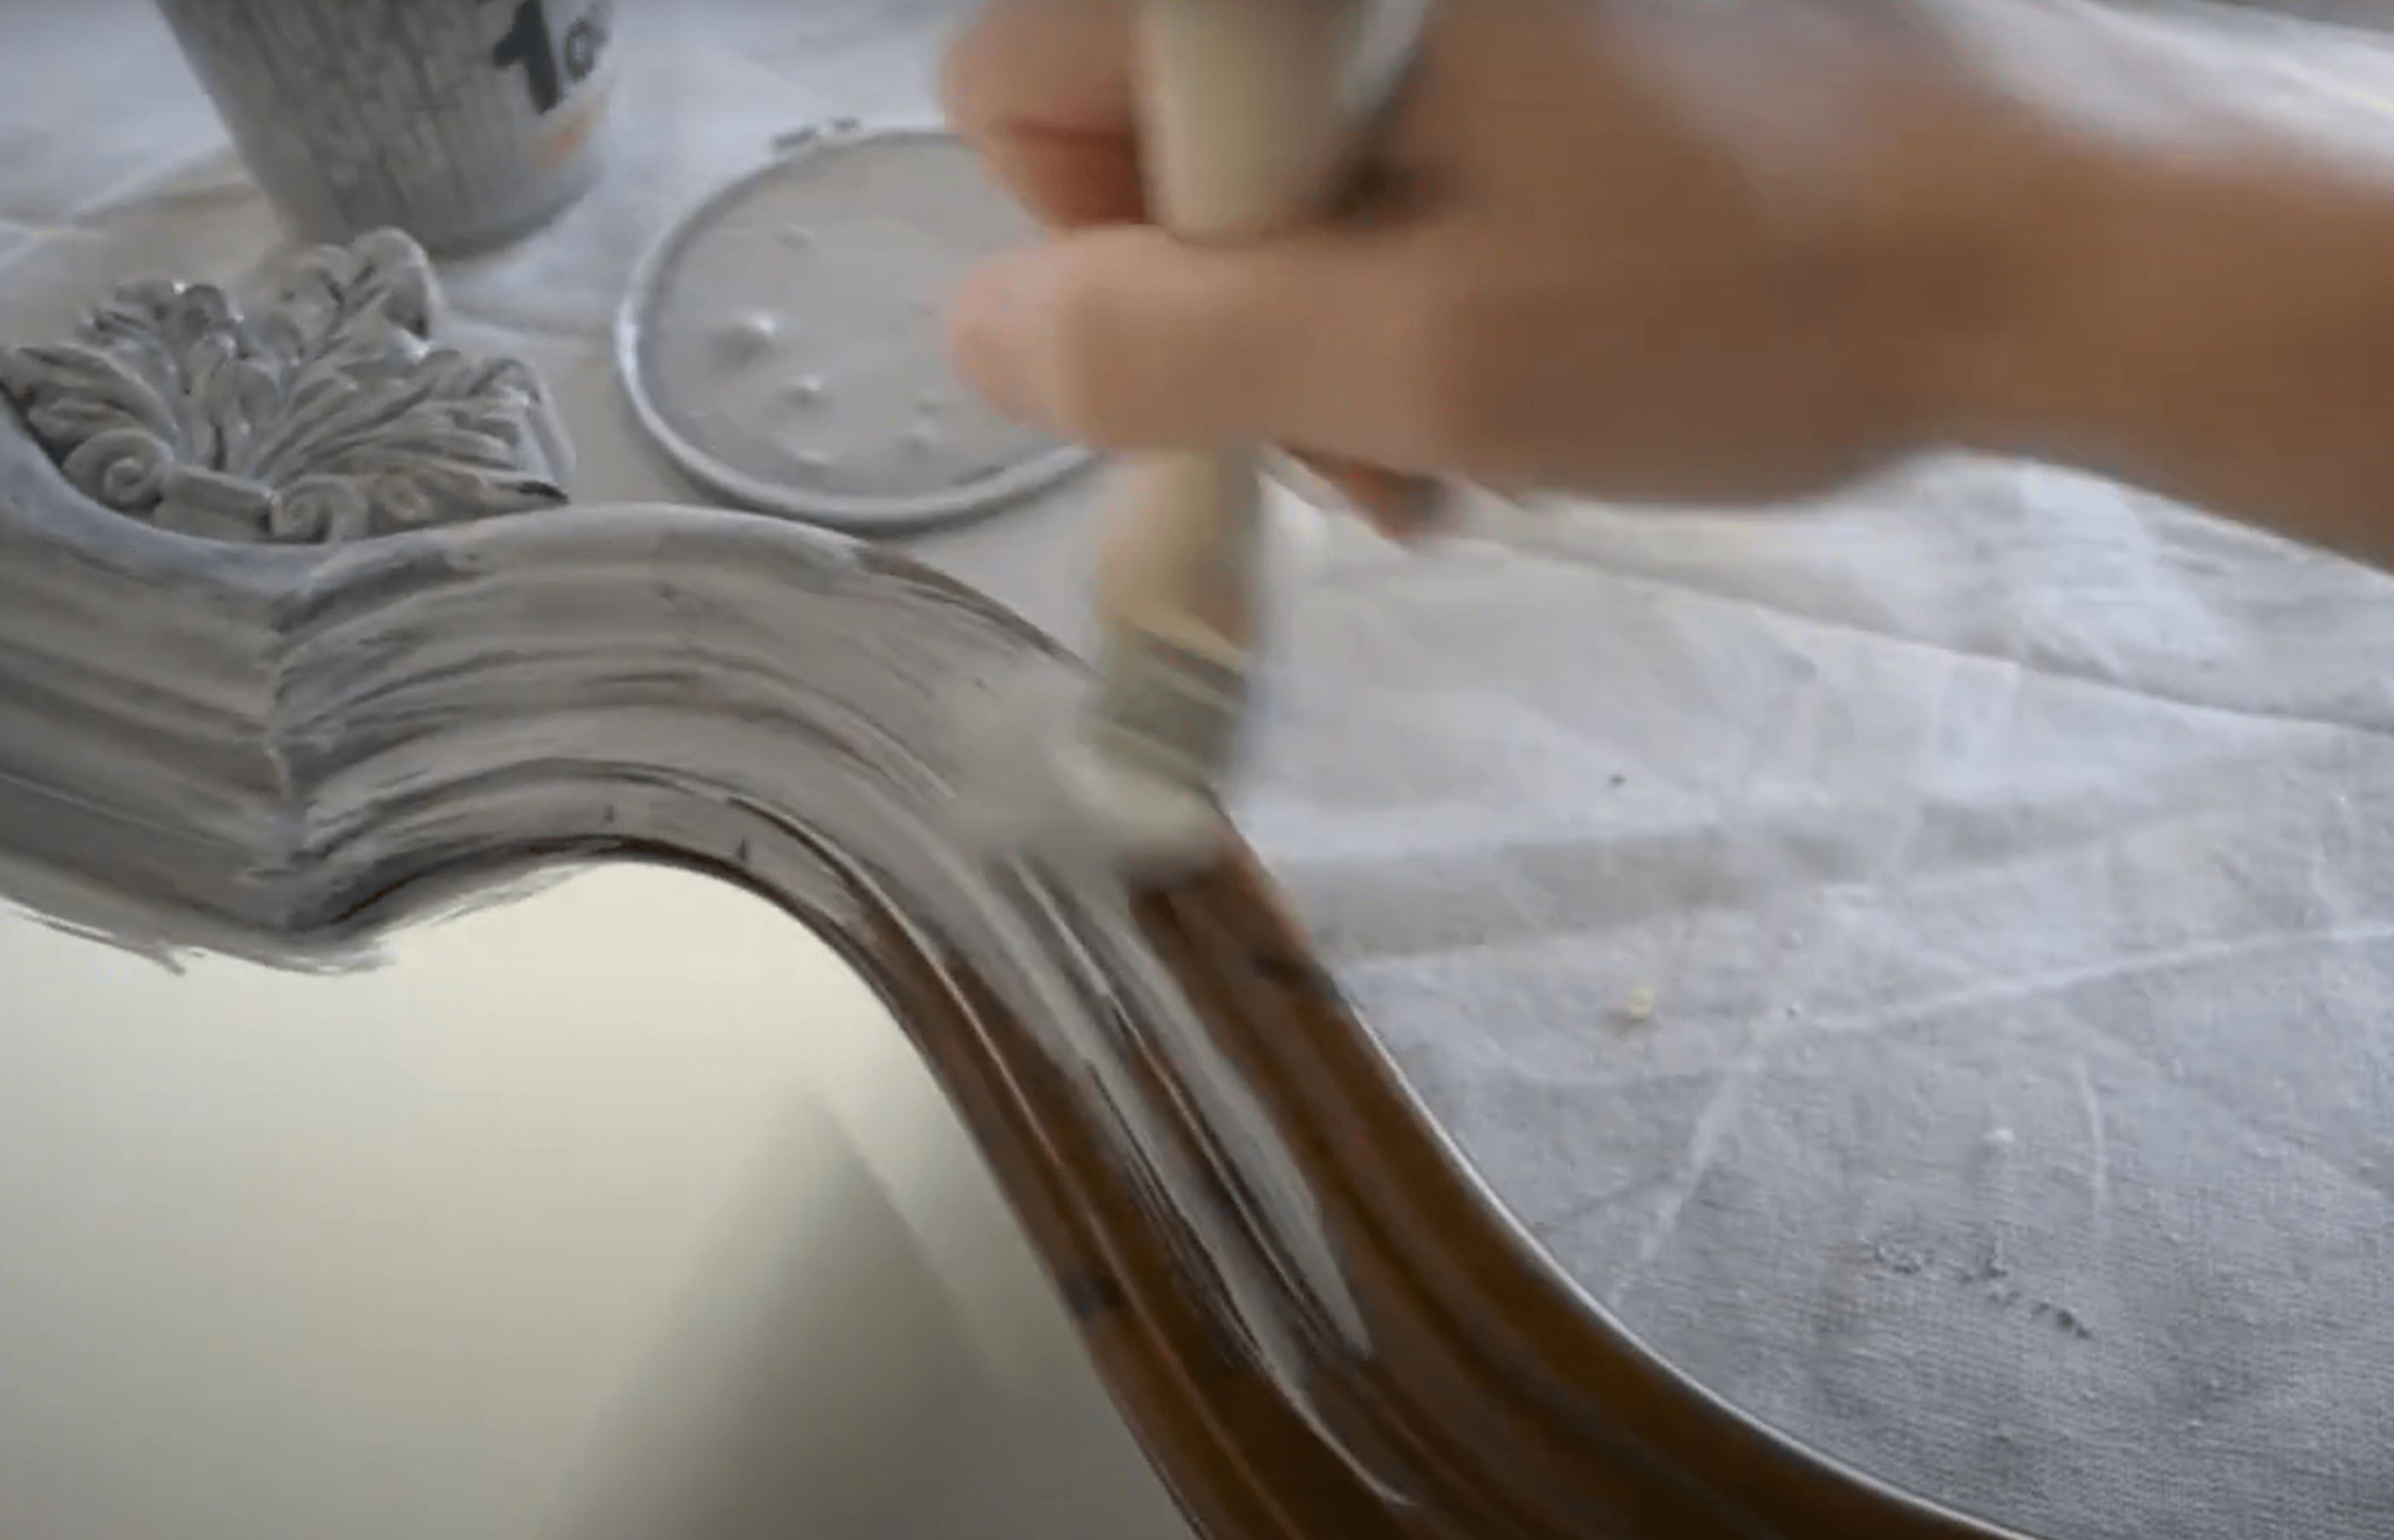
To get an antique semi-flakey look, I mixed my powder one-to-one with water and then added just a little bit of Shackteau Interior's Extra Bond bonding agent. My hope was to hit a middle ground where the would stick but not too much.
I used a Square Brush by Zibra to apply my paint. It's technically a trim brush so it's small enough to get into all the edges and corners but large enough to go quickly through the painting process.
Removing the Flakes
Once the coat was fully dry and peeling, I took the mirror outside and used an air compressor to push off the flakes. If you're going to do this, make sure you're wearing safety glasses because these little flakes can be really sharp!
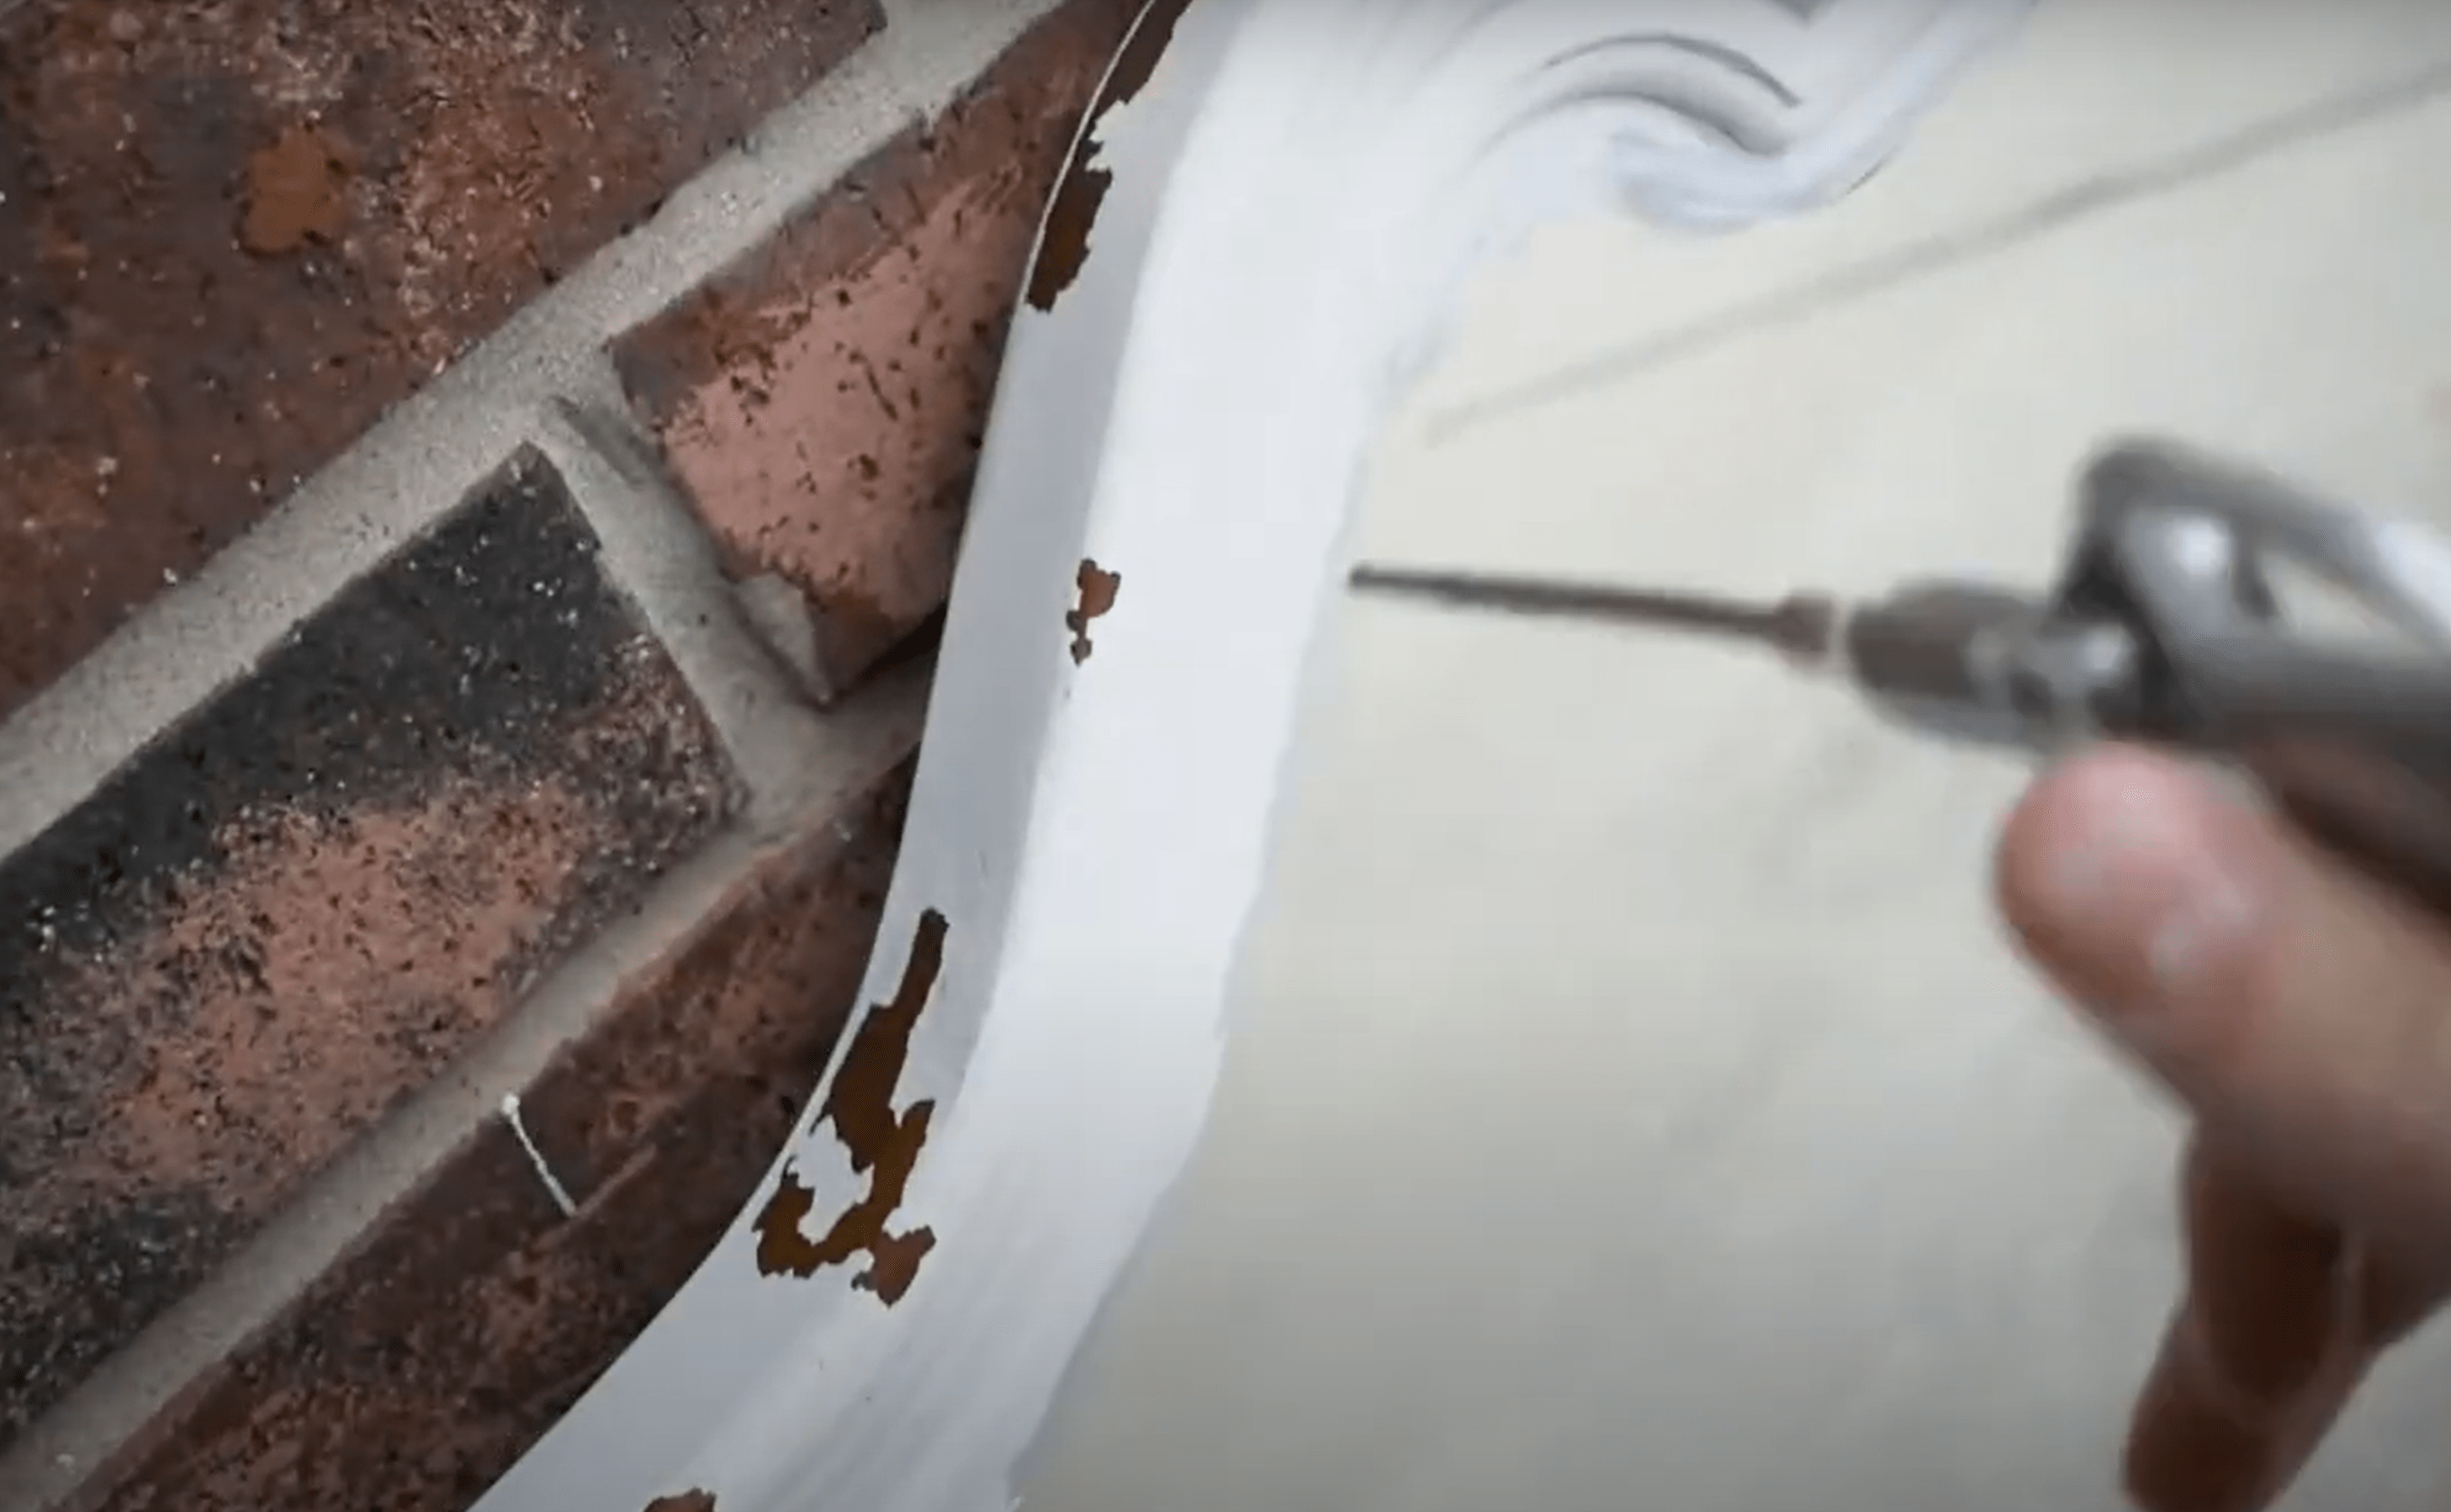
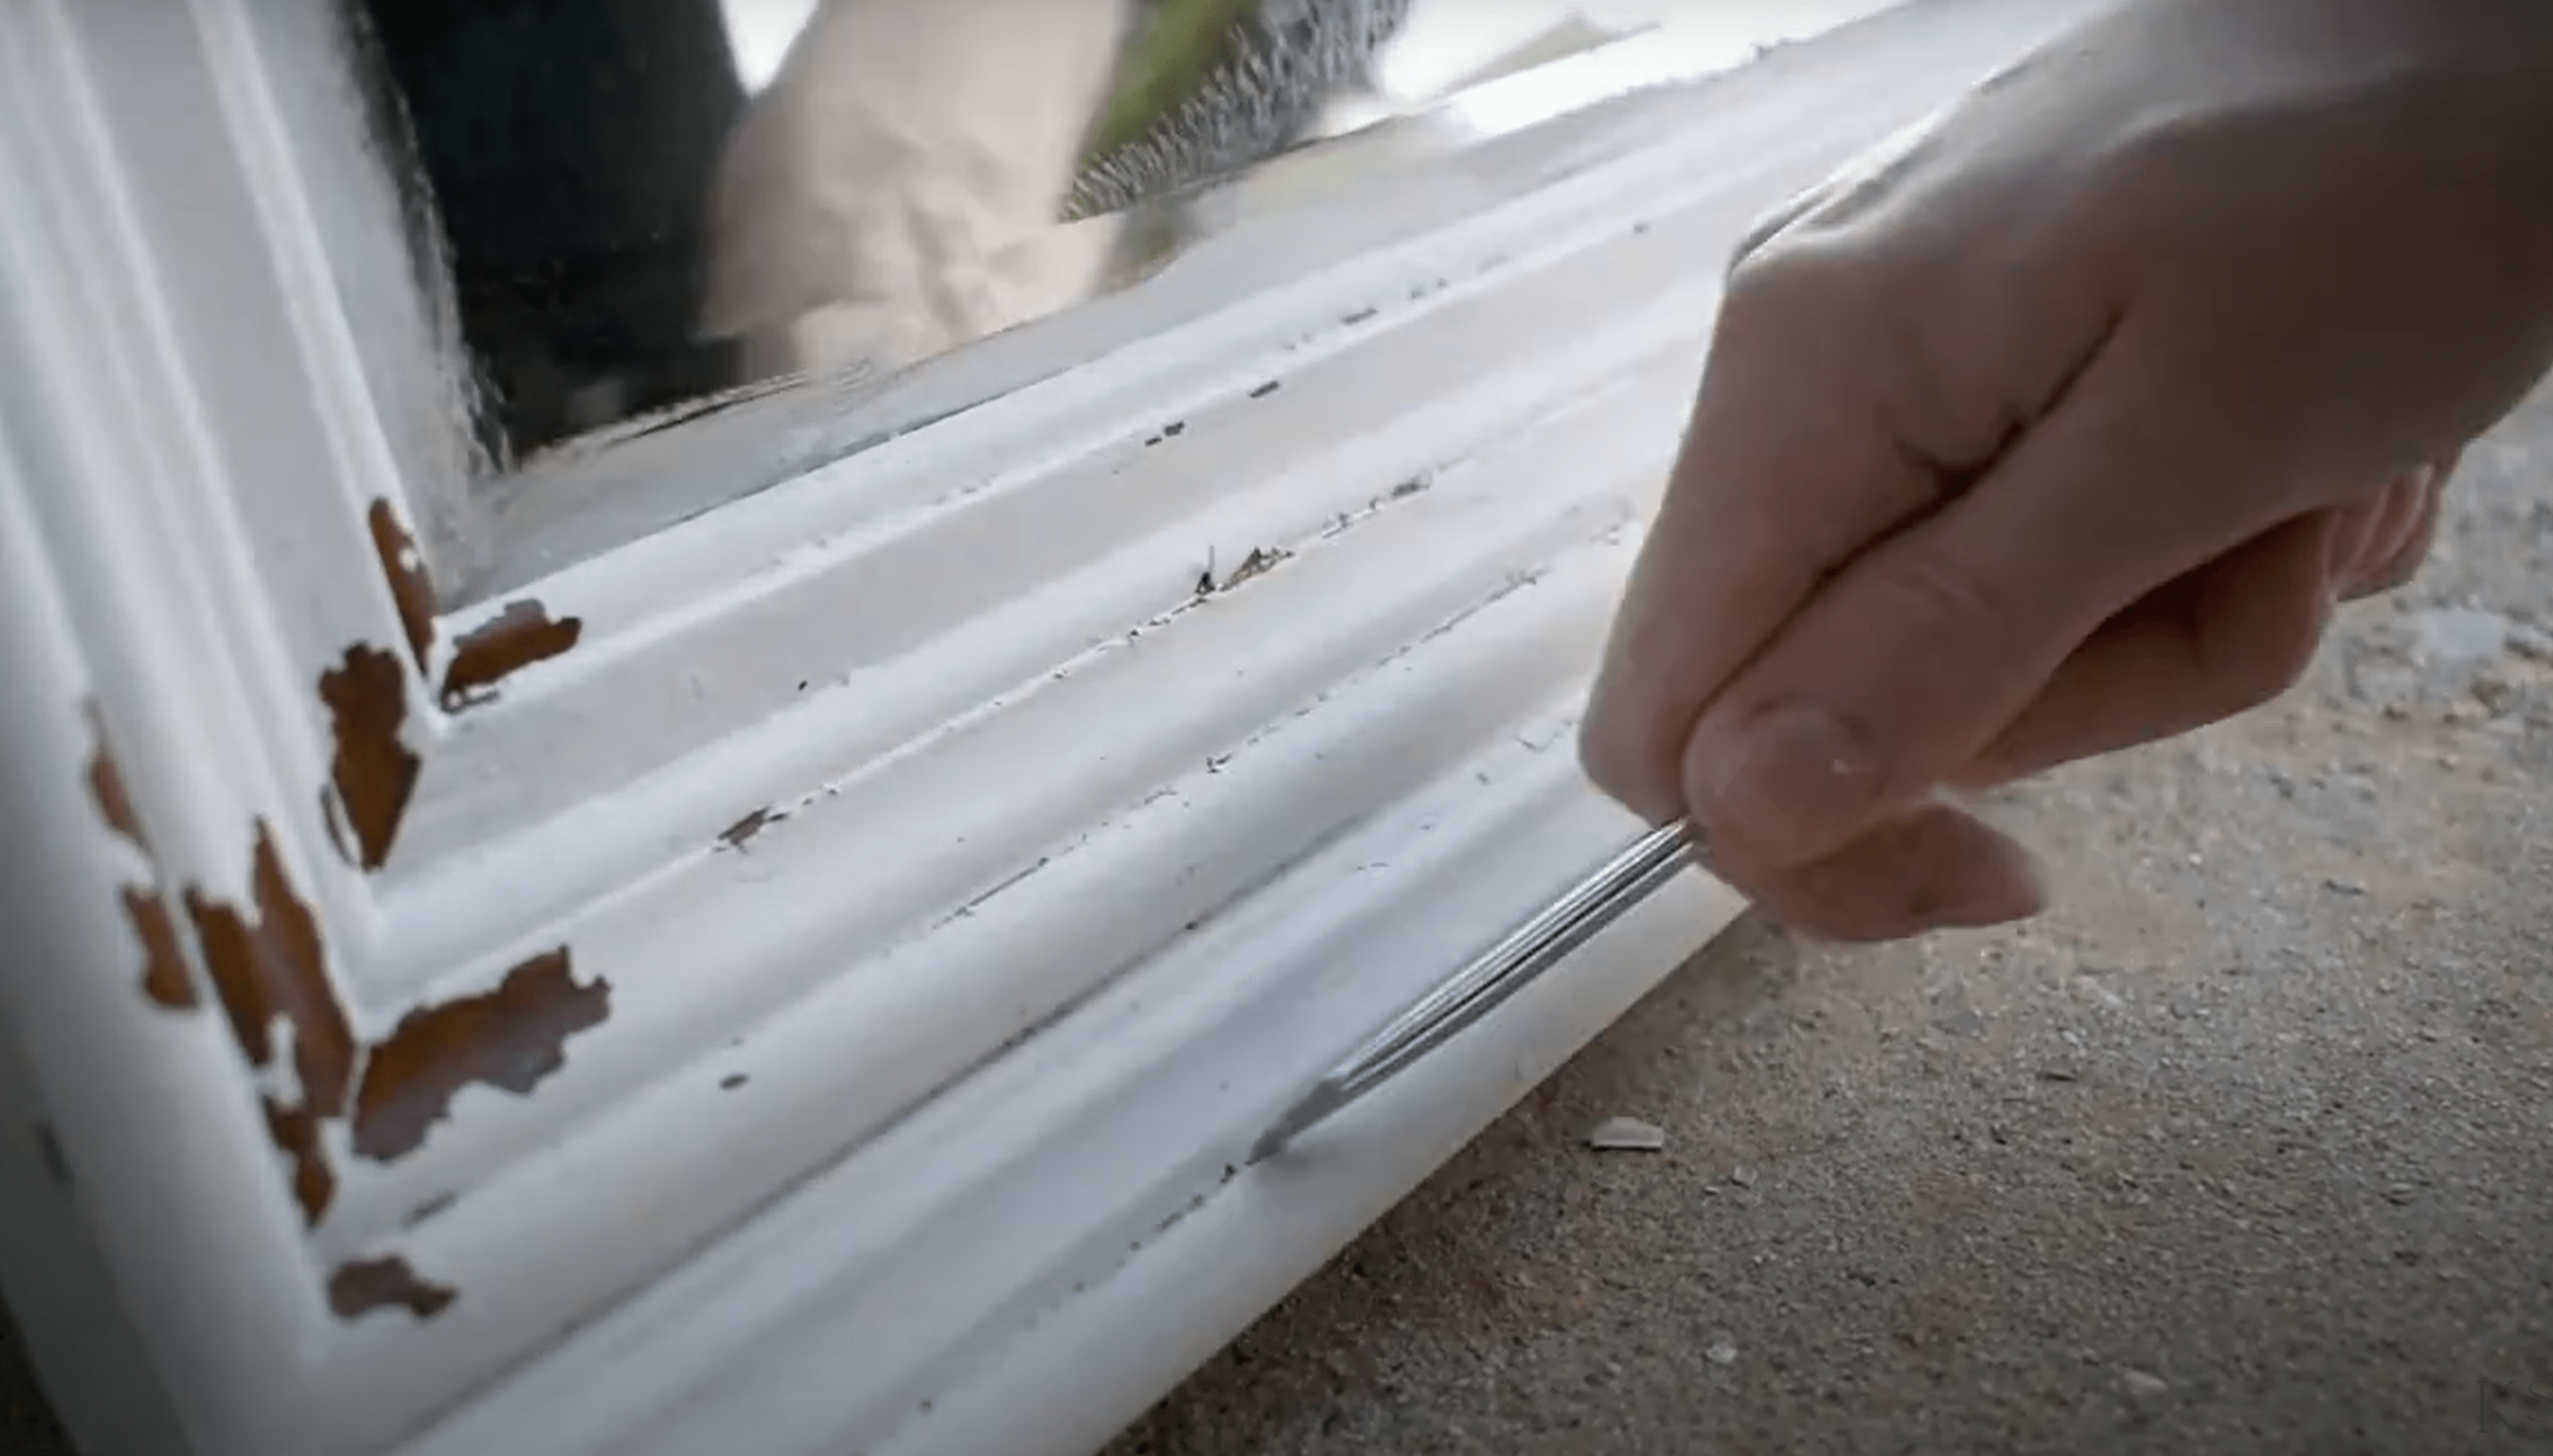
The air compressor made quick work of most of the chips, but the look wasn’t quite as textured as I wanted so I went in with a flathead screwdriver to see what else I could loosen up. I pulled it through all the grooves in the mirror’s trim and it made a big difference!
Once I was happy with the chipping effect, I grabbed one of my soft sanding sponges to knock down any sharp bits or unwanted texture. Then it was time to step back and assess.
Dry Brushing
At this point, I was finally zeroing in on the look I wanted, but the wood showing through was a bit too dark. I grabbed some Jolie's Pure White Chalk Paint and did a very light dry brush over these areas. This looked awesome, like a white wash or a lime wash that has weathered away over time.
You can add as much or as little of this as you want or try a different color. You can also wipe any excess paint back with a cloth or use a sponge to play with texture, so it's really easy to customize until you get the exact look you're going for.
Not pictured is the struggle I went through to get the excess paint off the mirror… after scrubbing with soap and water and then a few rounders of glass cleaner, I was finally ready to move on.

Sealing & Gold Accents
You could totally leave your mirror like this, especially if you chose the right paint colors. For me, my paint was a bit too bright and plain. I also really wanted to add some gold touches.
I'm going to do that with a combination of furniture waxes. Wax is a good choice because this mirror doesn't really need the protection that a tabletop might but I still want to make sure the work I've done can live a long happy life.
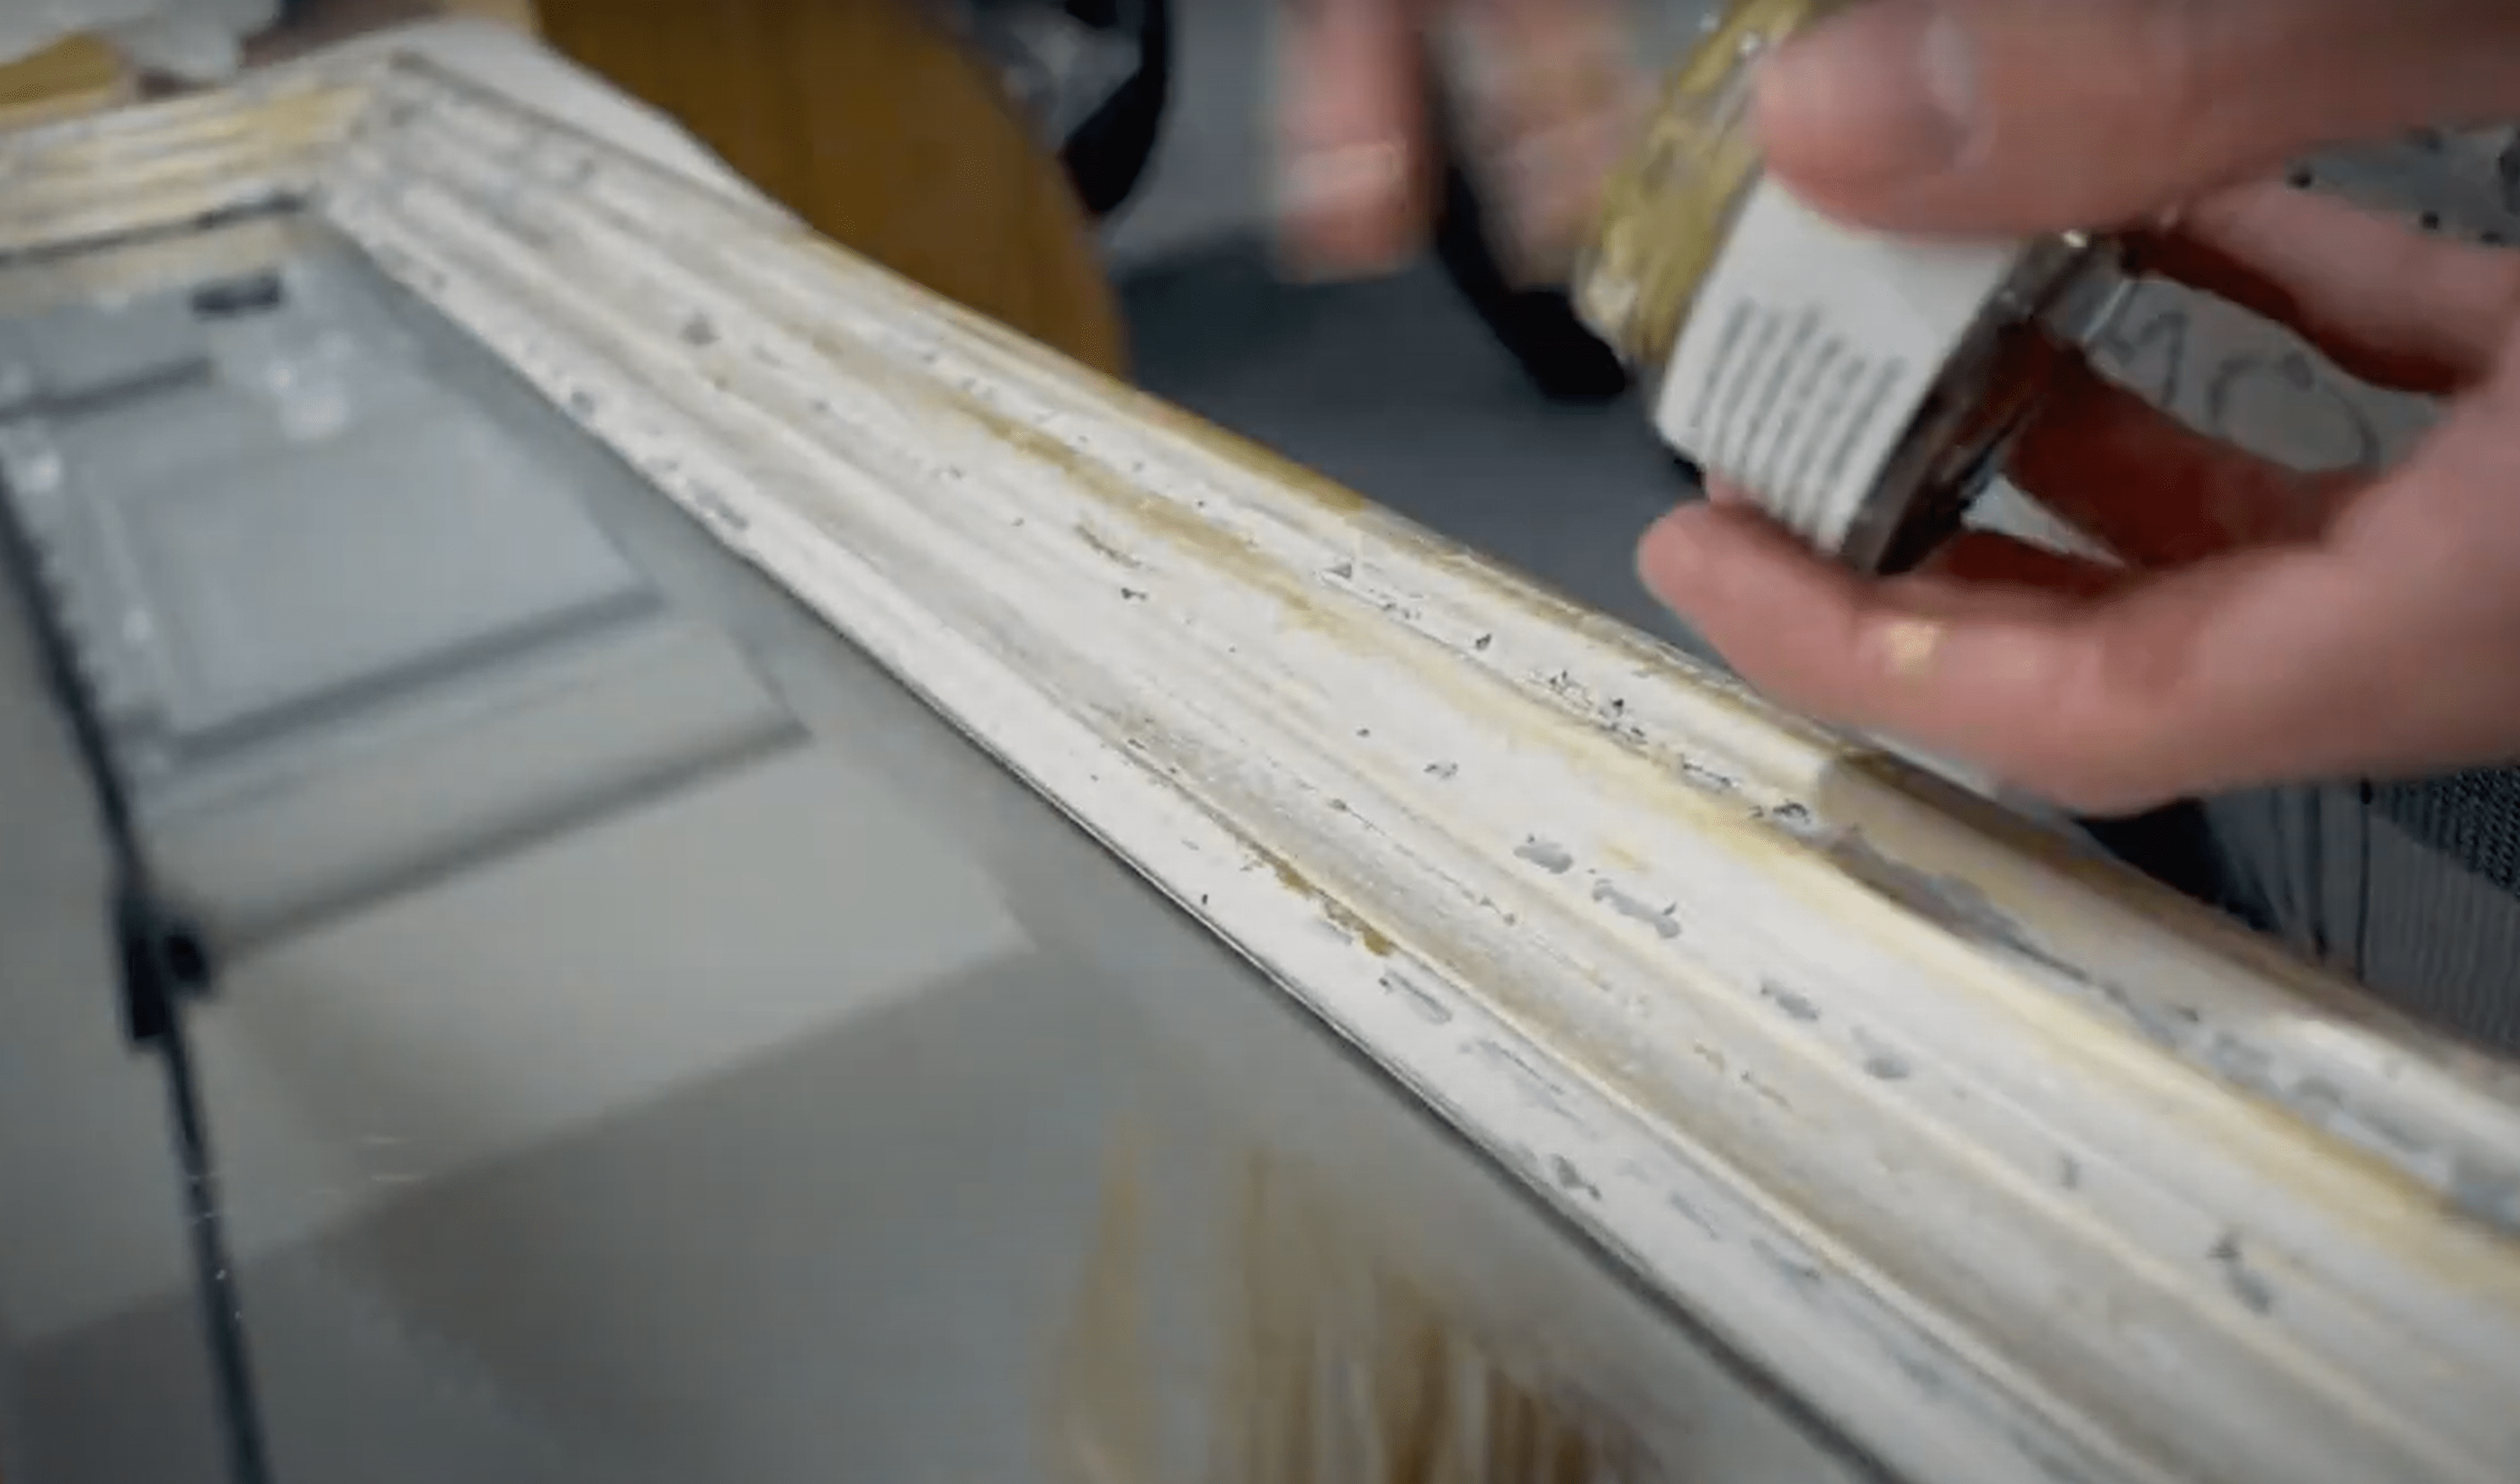
I'm starting with a layer of Jolie's Clear Finishing Wax and this will help me control any subsequent layers of colored wax a little better. I applied it with a brush but you could also use a lint-free cloth. Once you put it on, you want to wipe it back and almost polish it or rub it in like you're rubbing lotion into your hand.
After that, I moved on to Jolie's Gold Gilding Wax which is a highly pigmented metallic wax that you apply with either a small brush or the tip of your finger. This wax is meant for ornamentation or even hardware accents.
I went all out and applied this stuff everywhere, but you can do as much or as little as you want. If you make mistakes, you can go back with the clear wax to lift some of this off. You can also buff some of the wax in to blend the colors for a smooth look, or leave it unblended for something a bit more distressed.
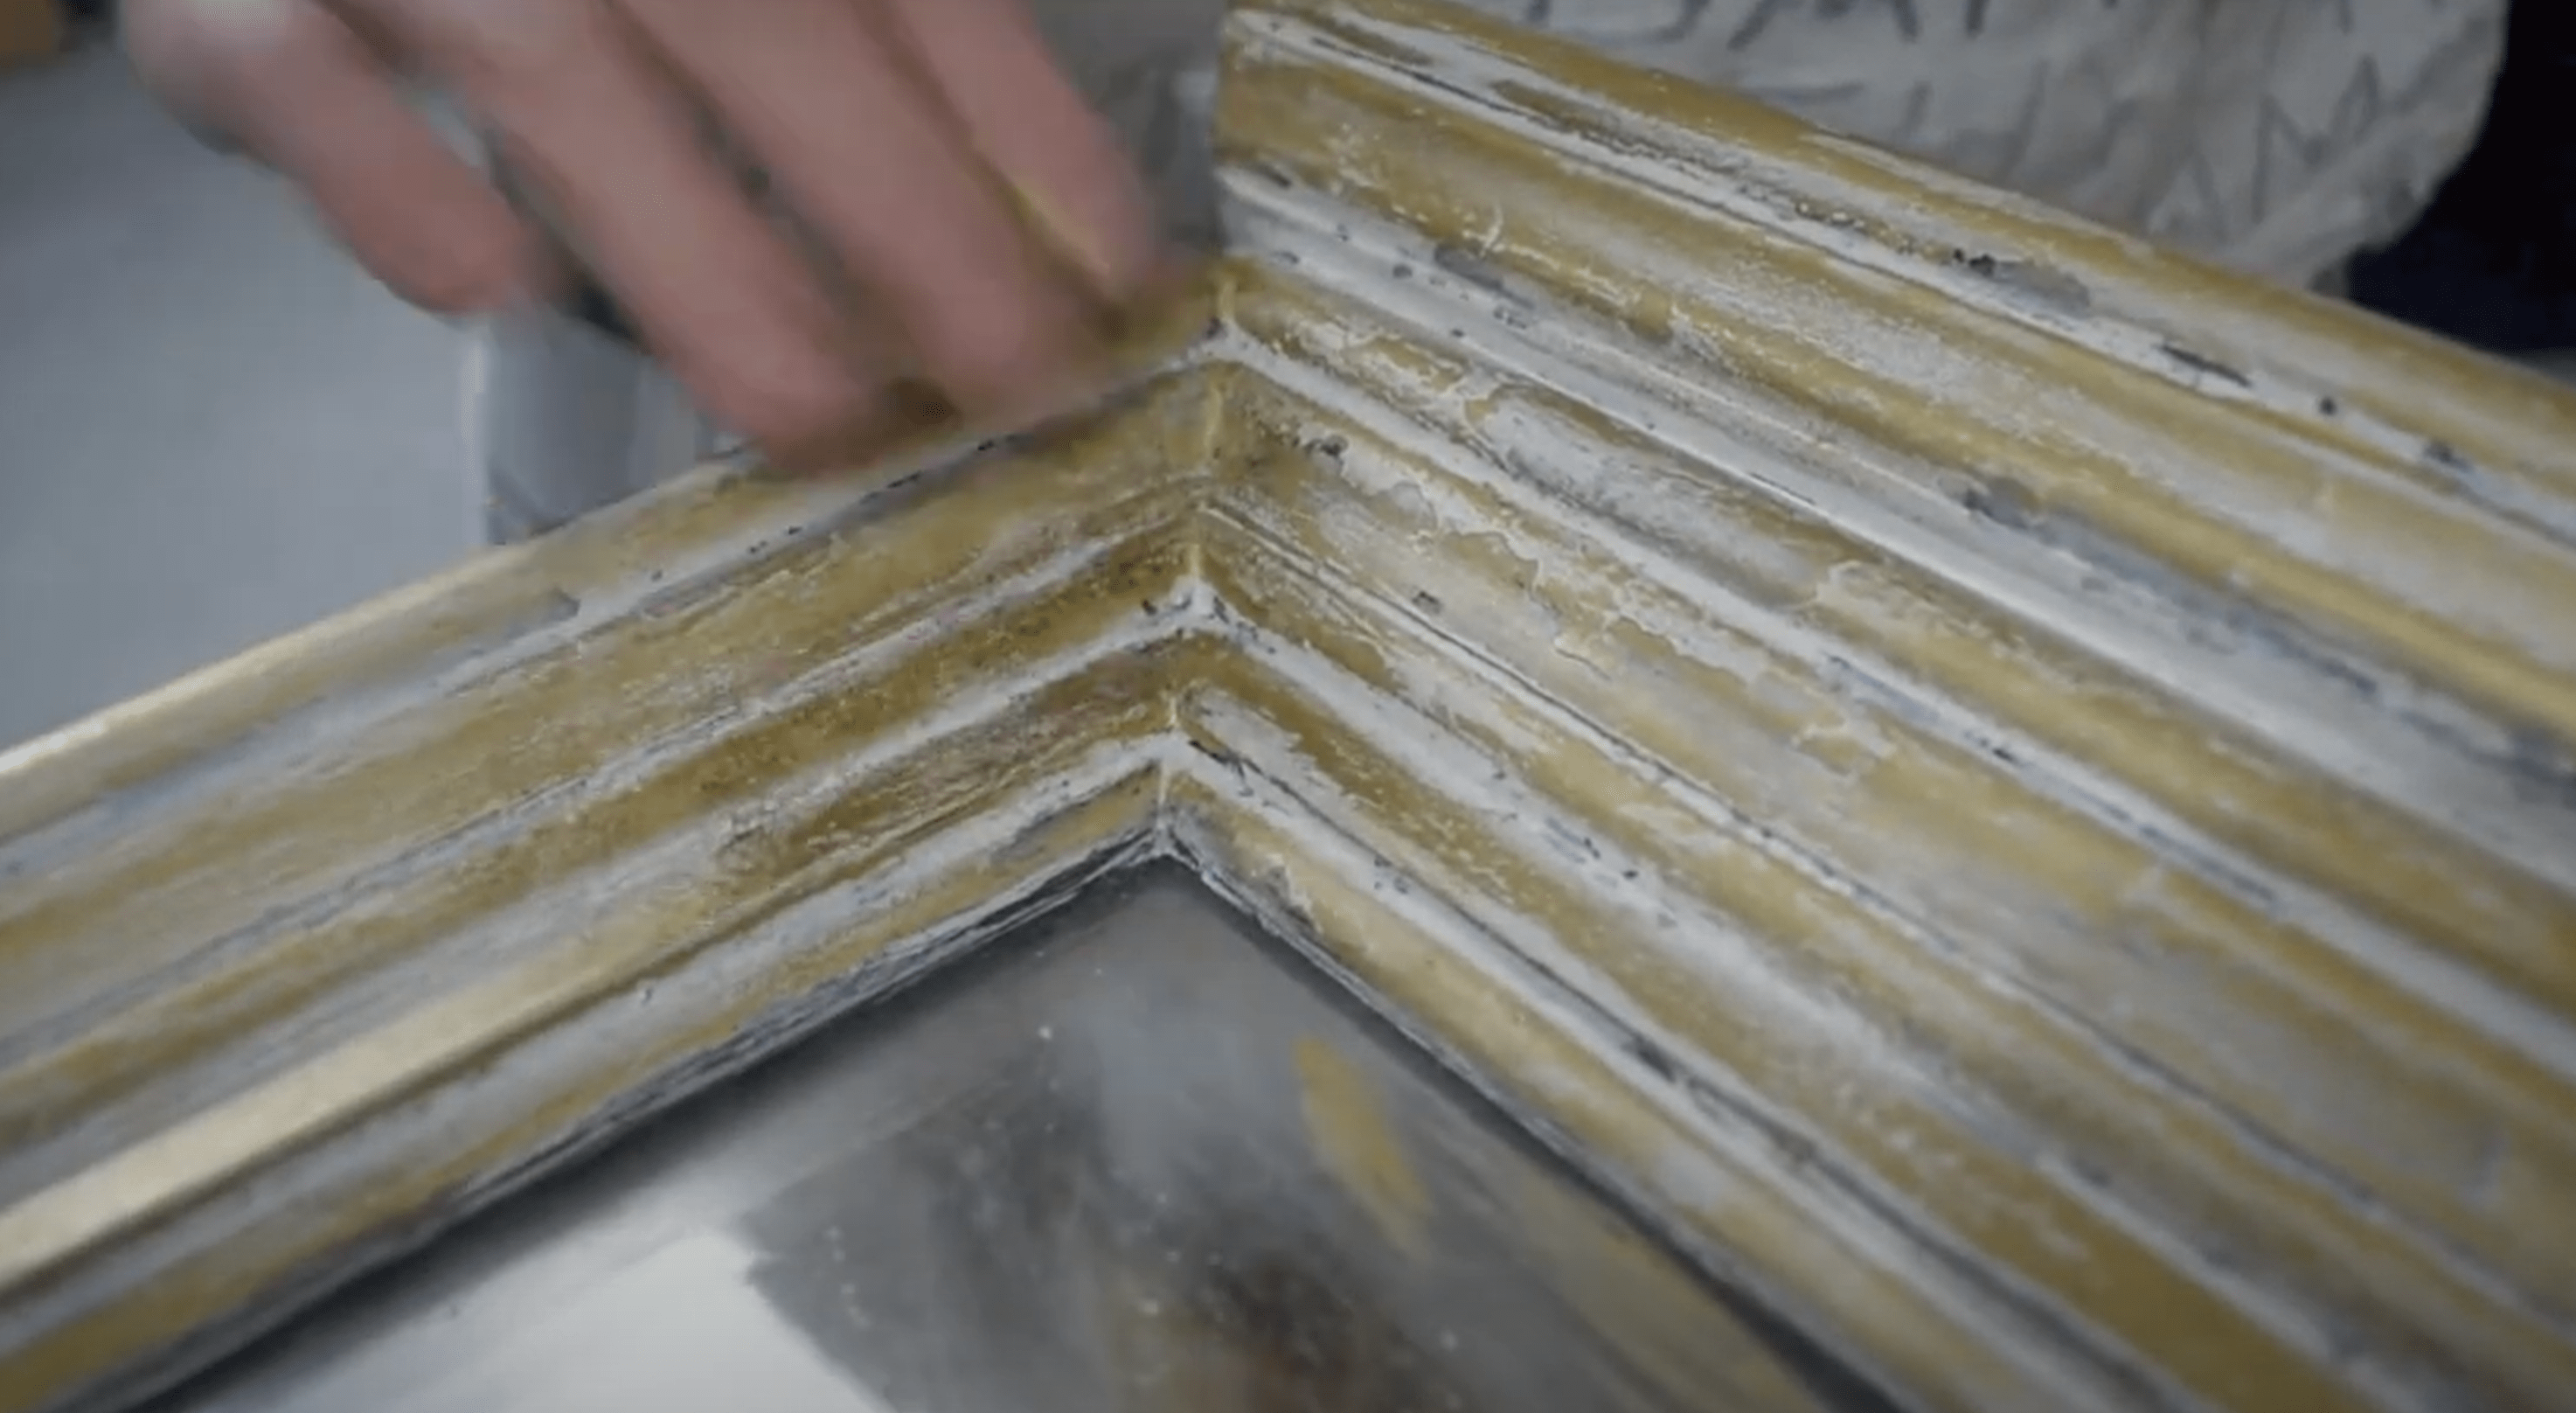
Once I was done with the gold, I thought it was still a bit too bright. It wasn't “grimy” enough or aged in the way that I wanted it to be, so I grabbed some Jolie's Brown Finishing Wax and started tapping on top. It looked almost like dirt that has accumulated over time, and the tapping motion made a really cool gritty texture.
If you want an extra artistic challenge you can play around with shadows and highlights here so maybe put some extra brown in the corners to make some more shadows and then use the gold and white to your advantage to make highlights.
Once we’re done, it's time to take this mirror to its new home!
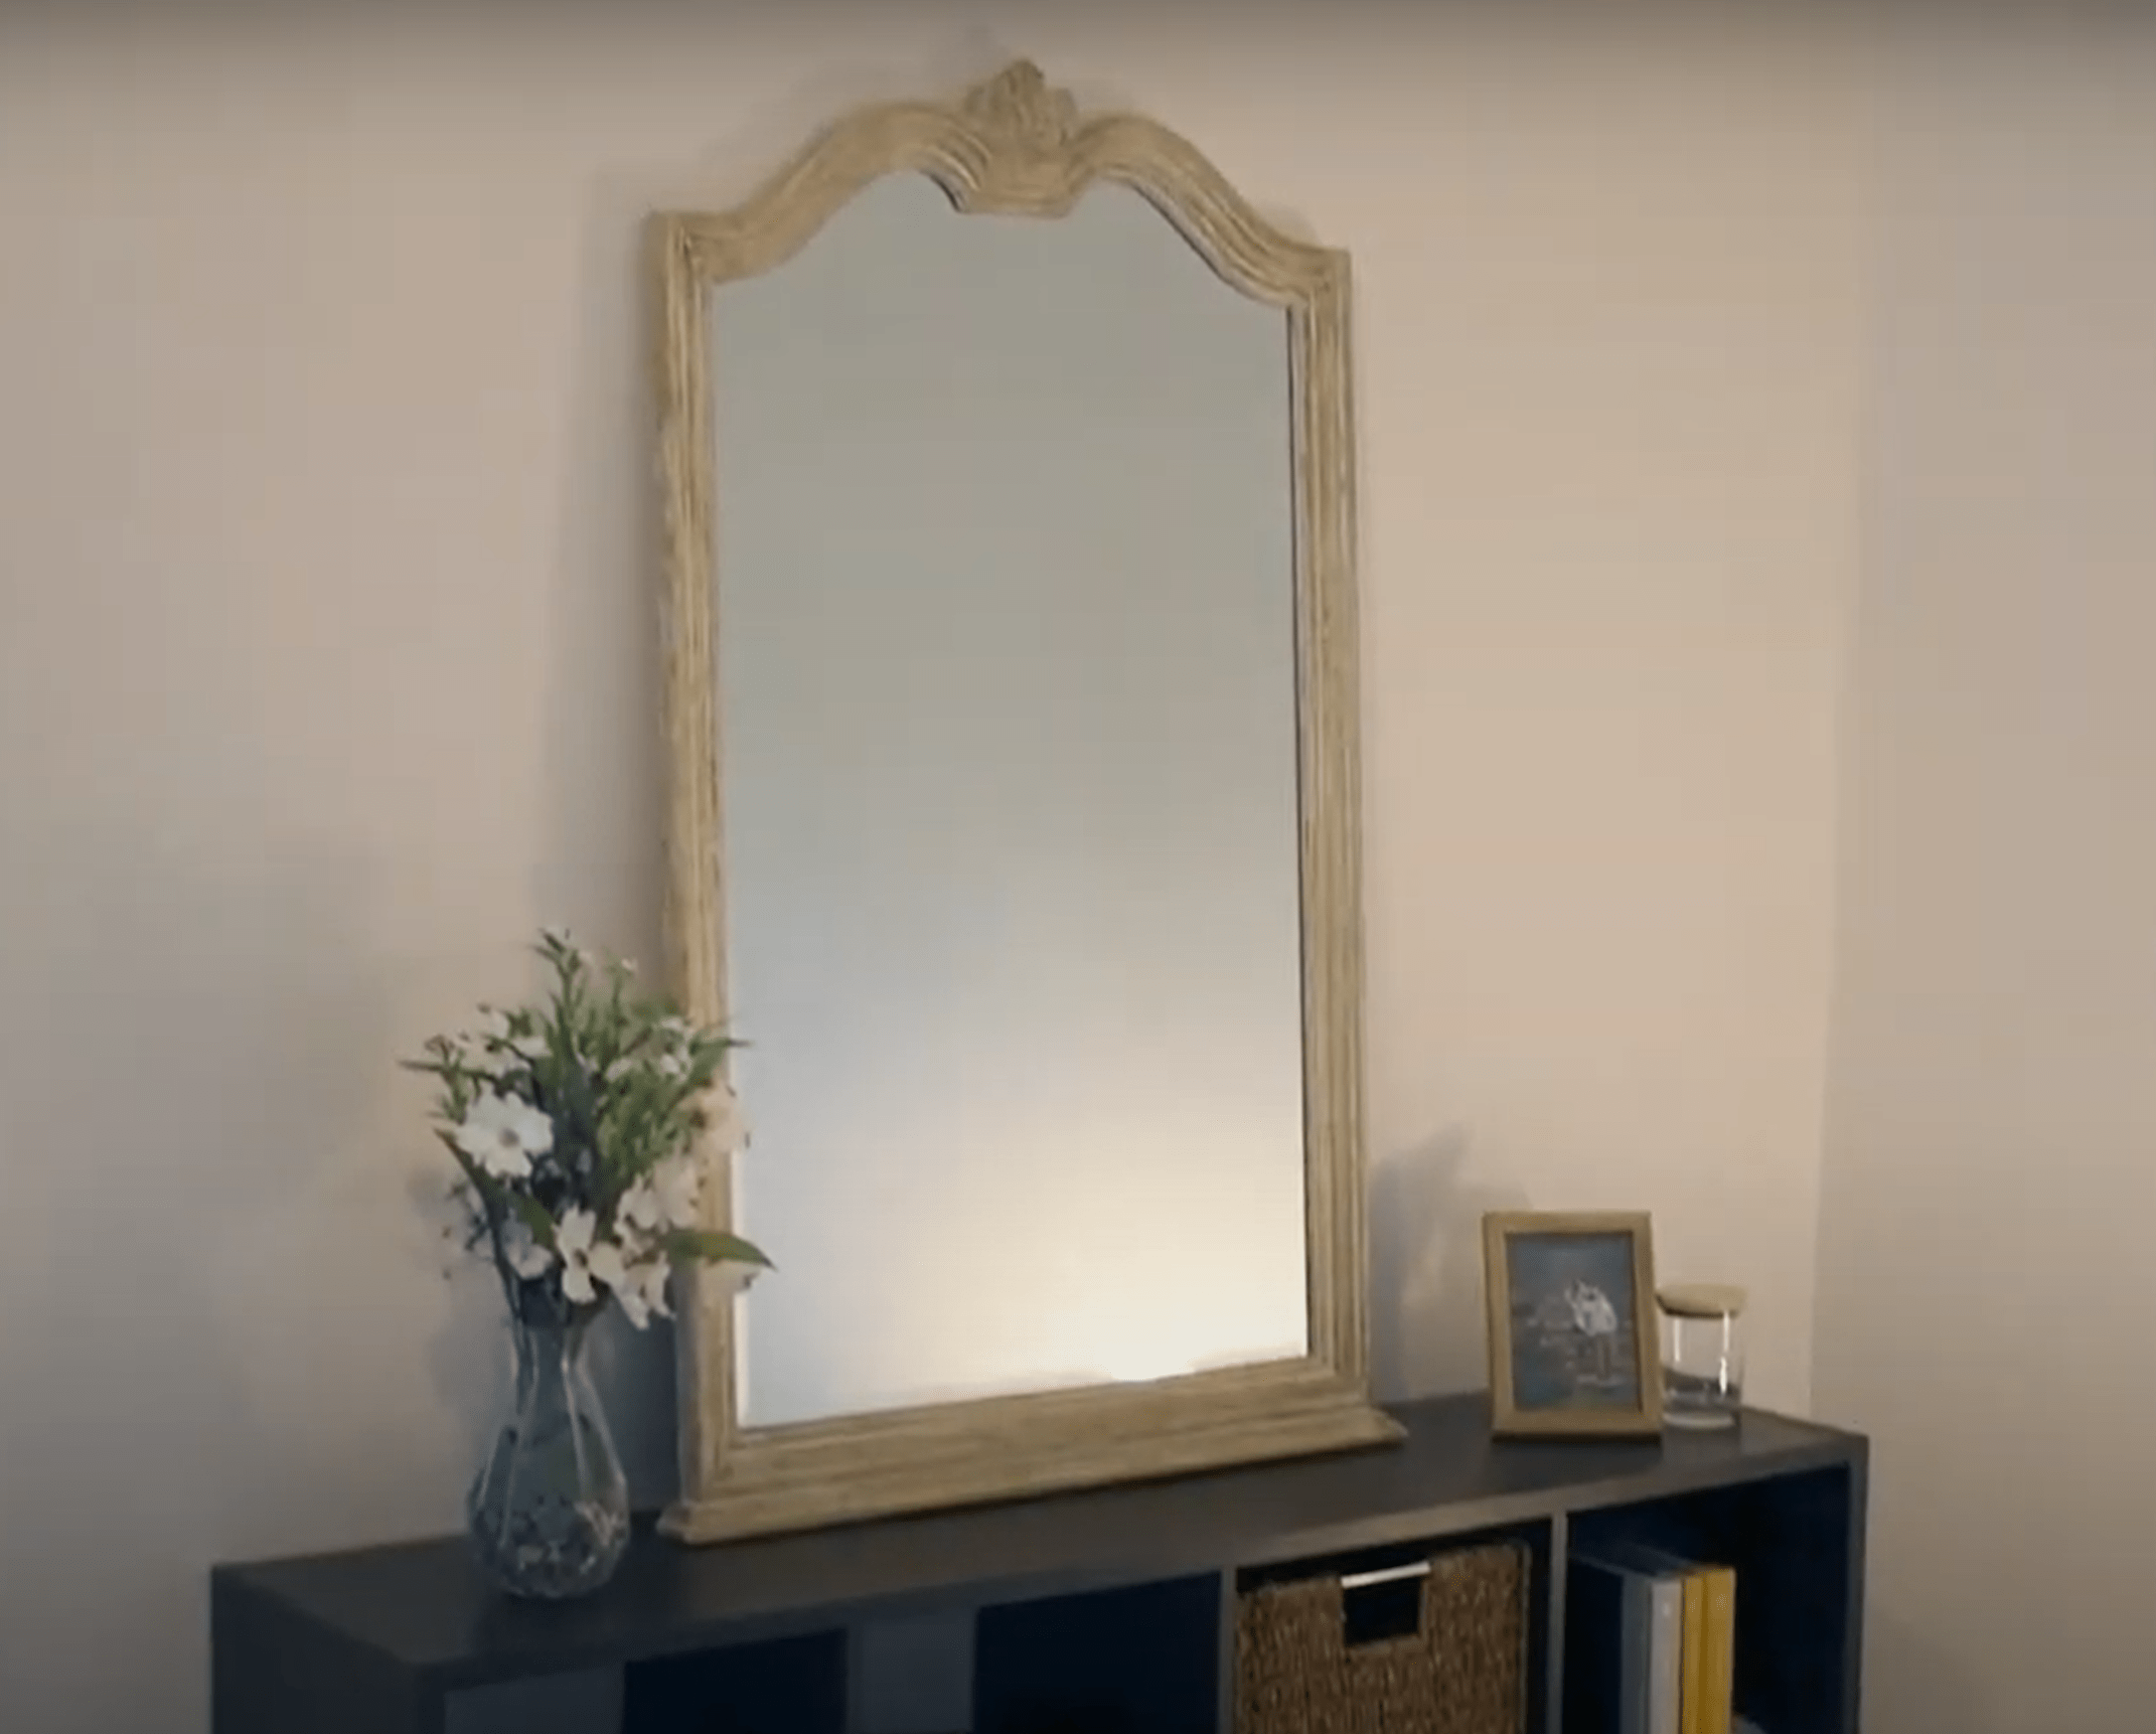
The Reveal
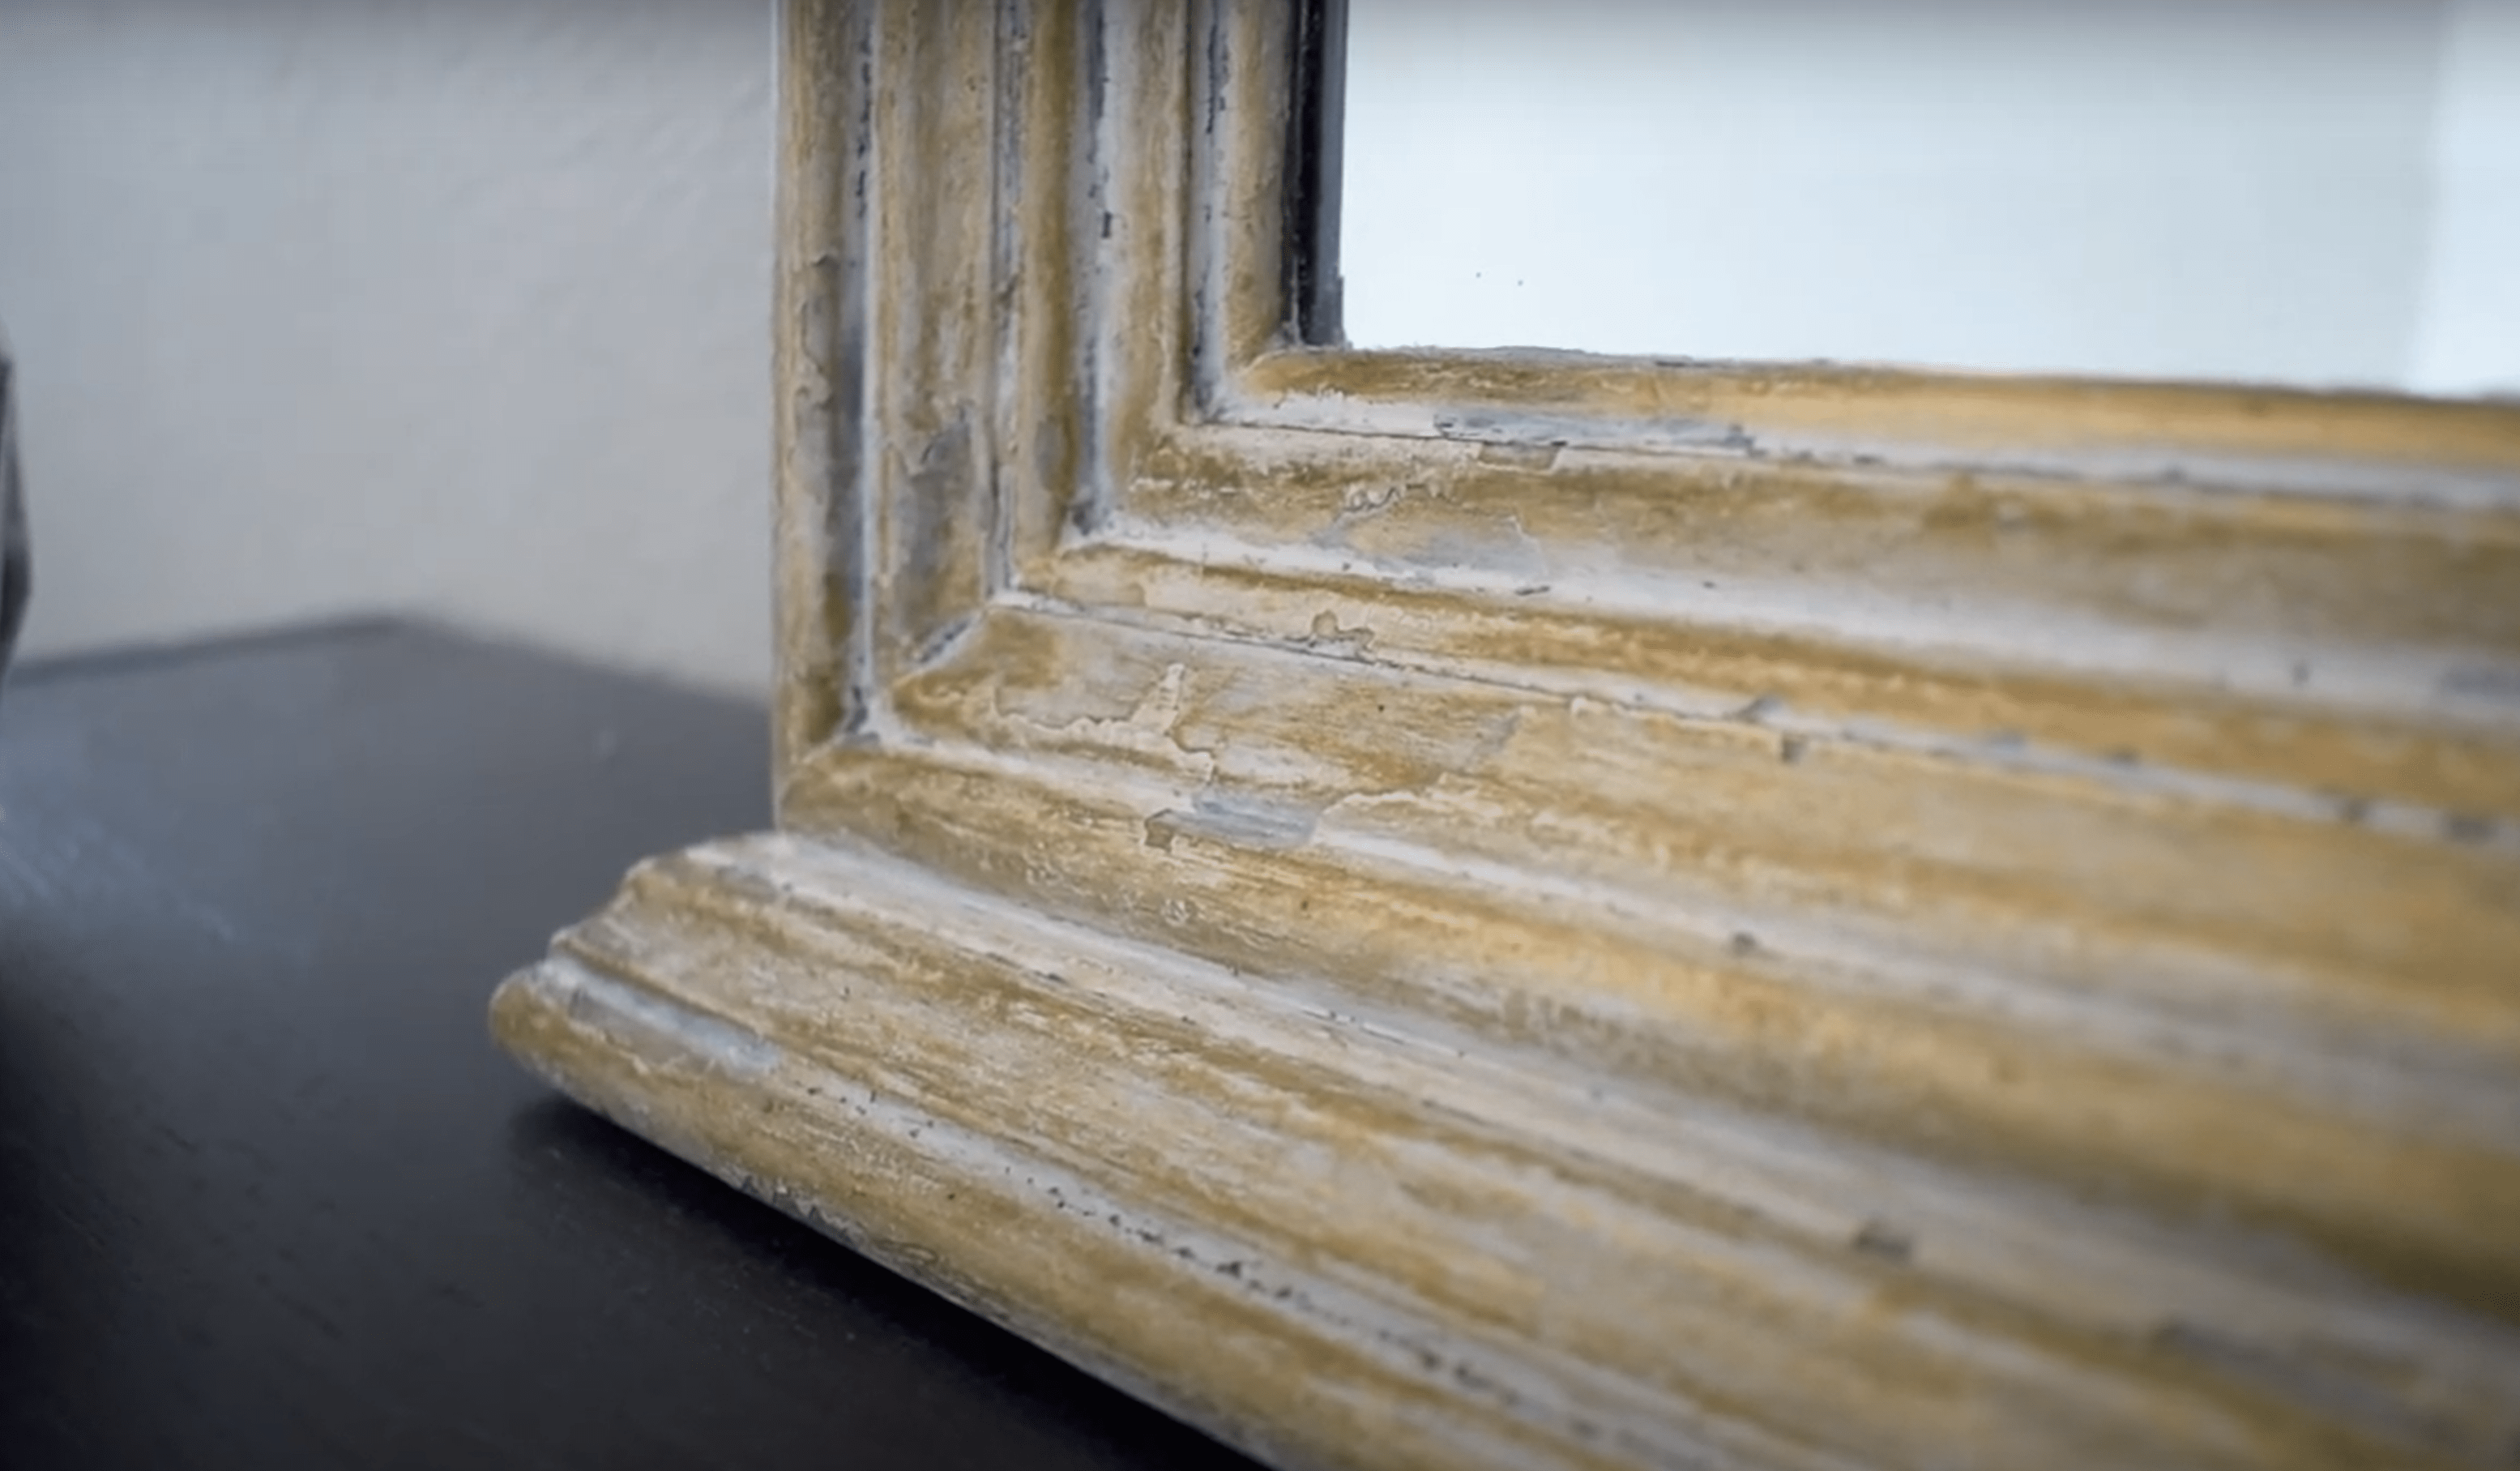
This project was a lot of trial and error, but the end result turned out just the way I wanted! I love the brassy gold tones as well as the flakey white caked into those edges and corners.
Sometimes it can be disheartening for what you're making to not be meeting your expectations, but you really just have to keep going and trust that you’ll get there in the end!
Thanks for hanging out with me and I will see you in the next project.


