.png)


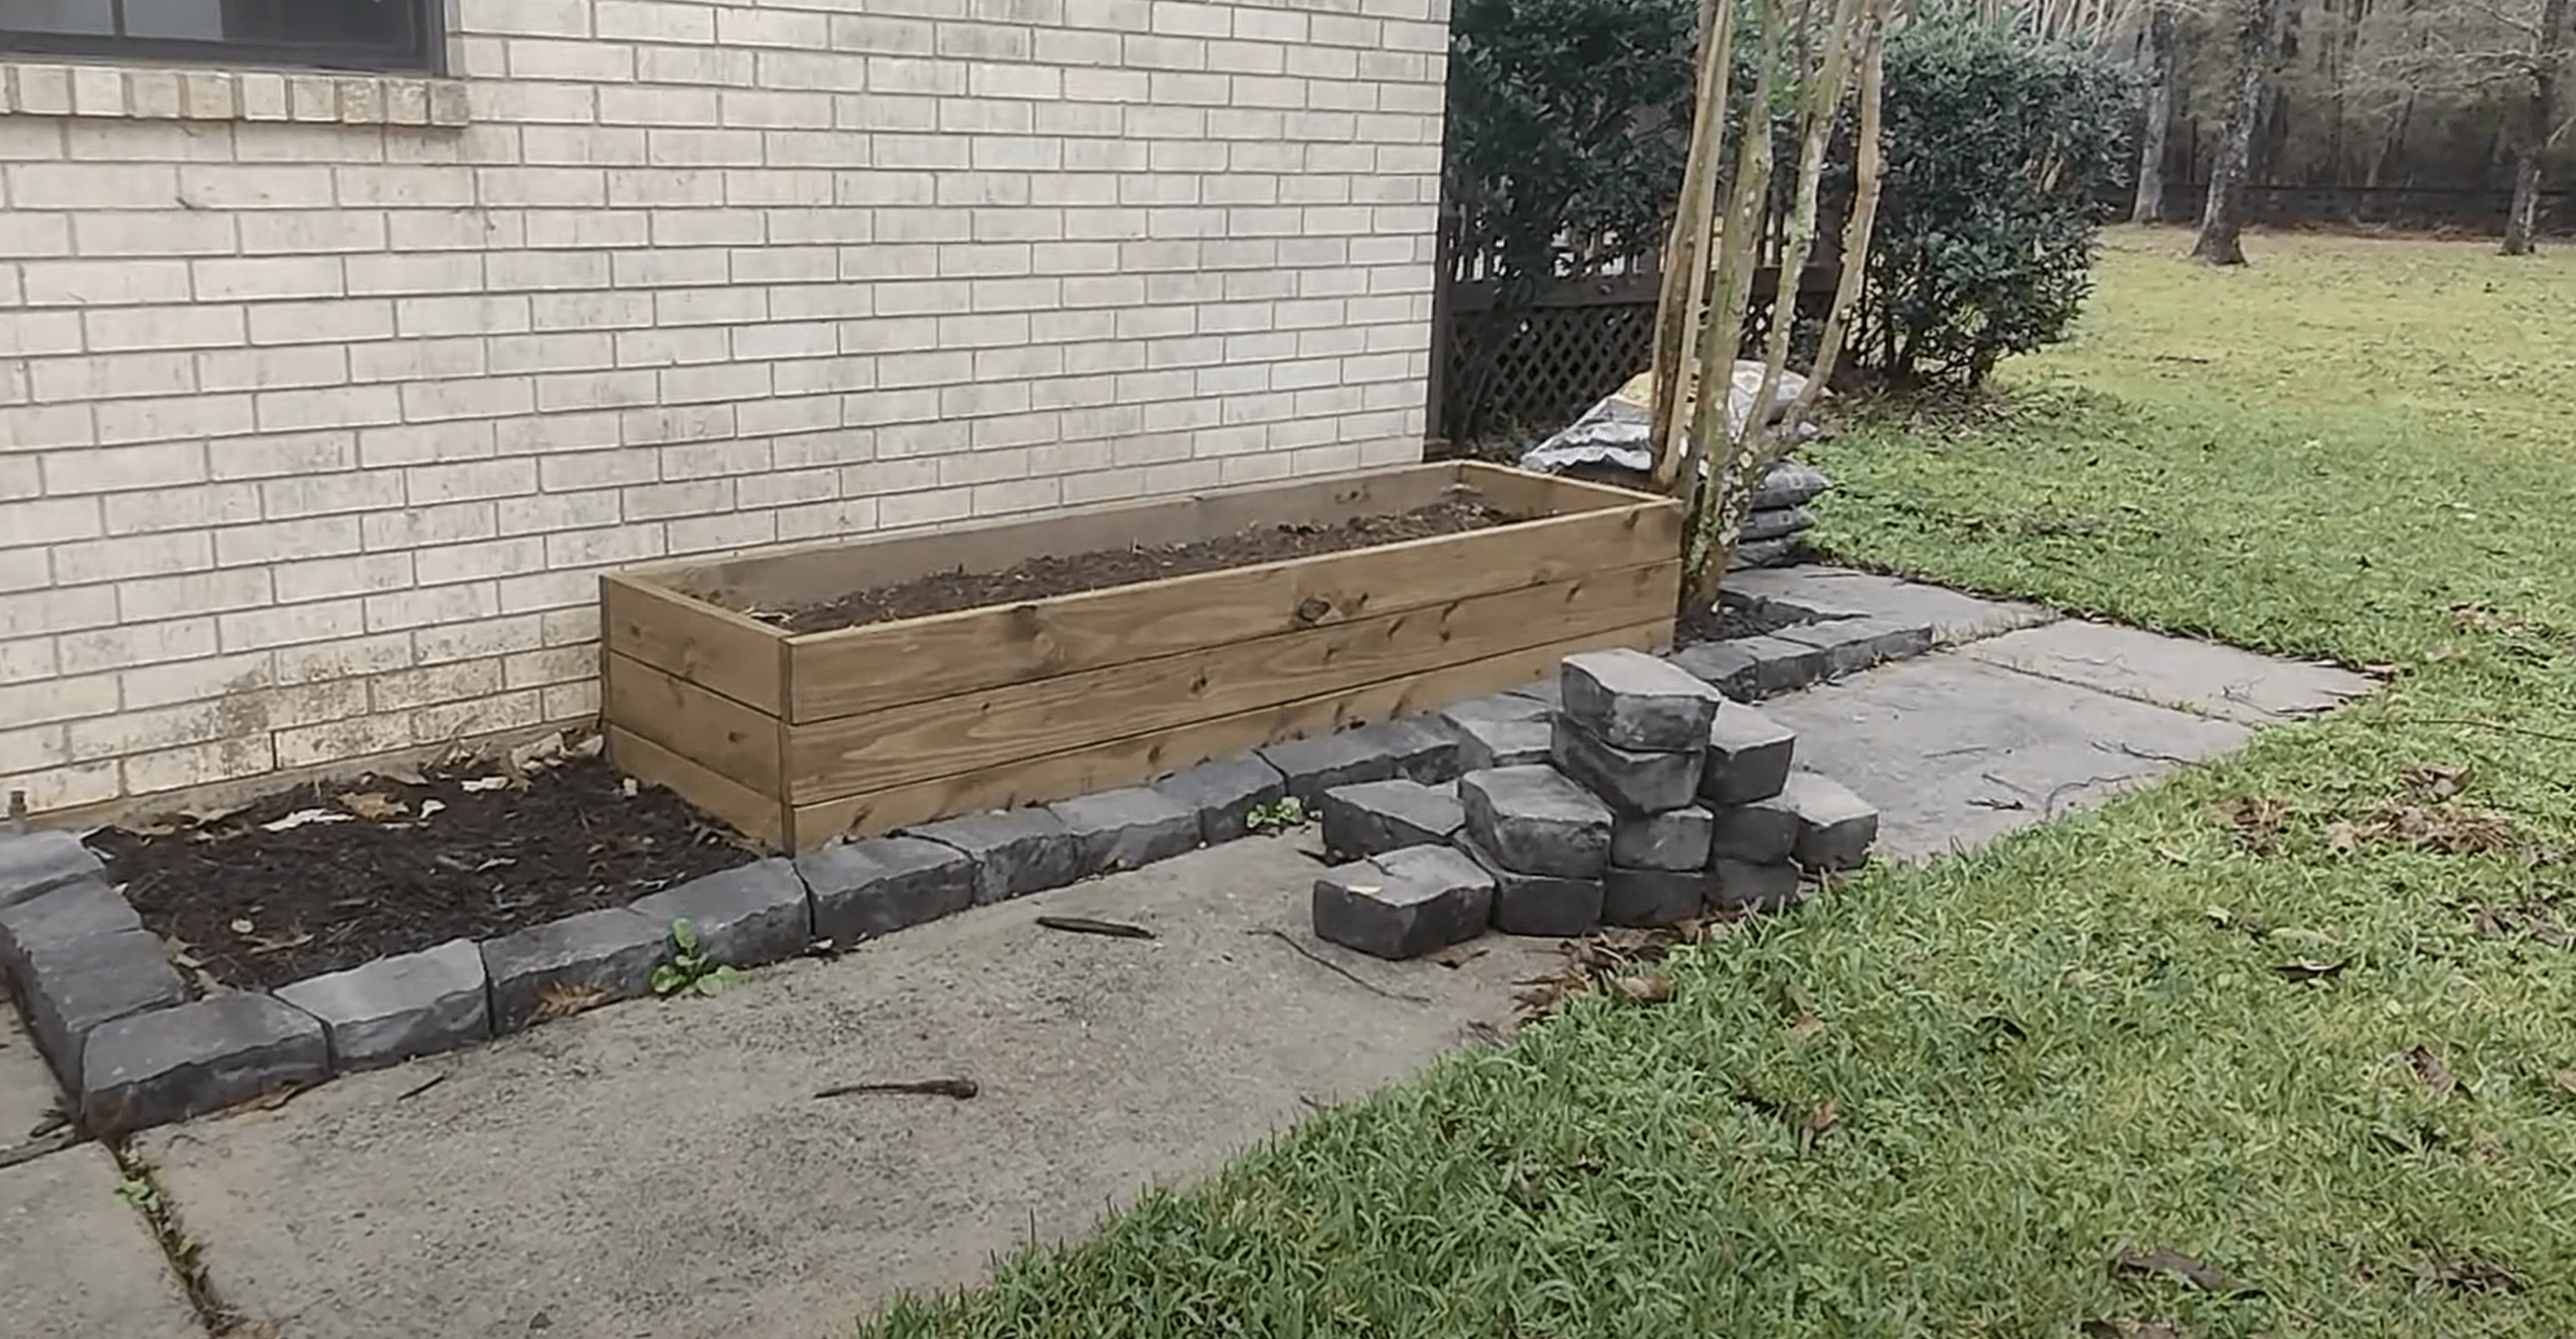
Today we are building a garden bed to decorate my side door entry. I built this all on my own in just a couple hours using some 2x6 lumber. This is a quick and easy project, great for just one person, and can be adapted to any width or length. Let's get started!
Cutting the Lumber
When I make a lumber project, I like to design it with as few cuts as possible. I picked up eight 2x6x8ft treated pine boards. I'm going to use three full pieces for both the front and the back (no cuts required) and then for the sides I'll cut two of the 2x6’s into thirds. This means I only have four cuts to do total. It also leaves me with zero scrap, so bonus points for it being environmentally friendly!

Wood is of course a very adaptable material, so you can size this however you want for your garden bed. If you're doing this on your own like I am, keep in mind that the larger the board the harder to maneuver it around. For a 2x6, eight feet is a great length and weight for me to do what I need with it.
A Note on Treated Wood
Treated wood has a chemical that's going to prevent rot and hopefully make this garden bed last ten or more years (as opposed to three years for untreated wood). But the drawback is that these chemicals may leach into the soil. This isn't a bad thing if you're planting non-edible flowers, which is how I plan to use this garden bed. If you are planning to grow vegetables or anything you want to eat, make sure to use untreated wood and avoid staining the inside of the garden bed.
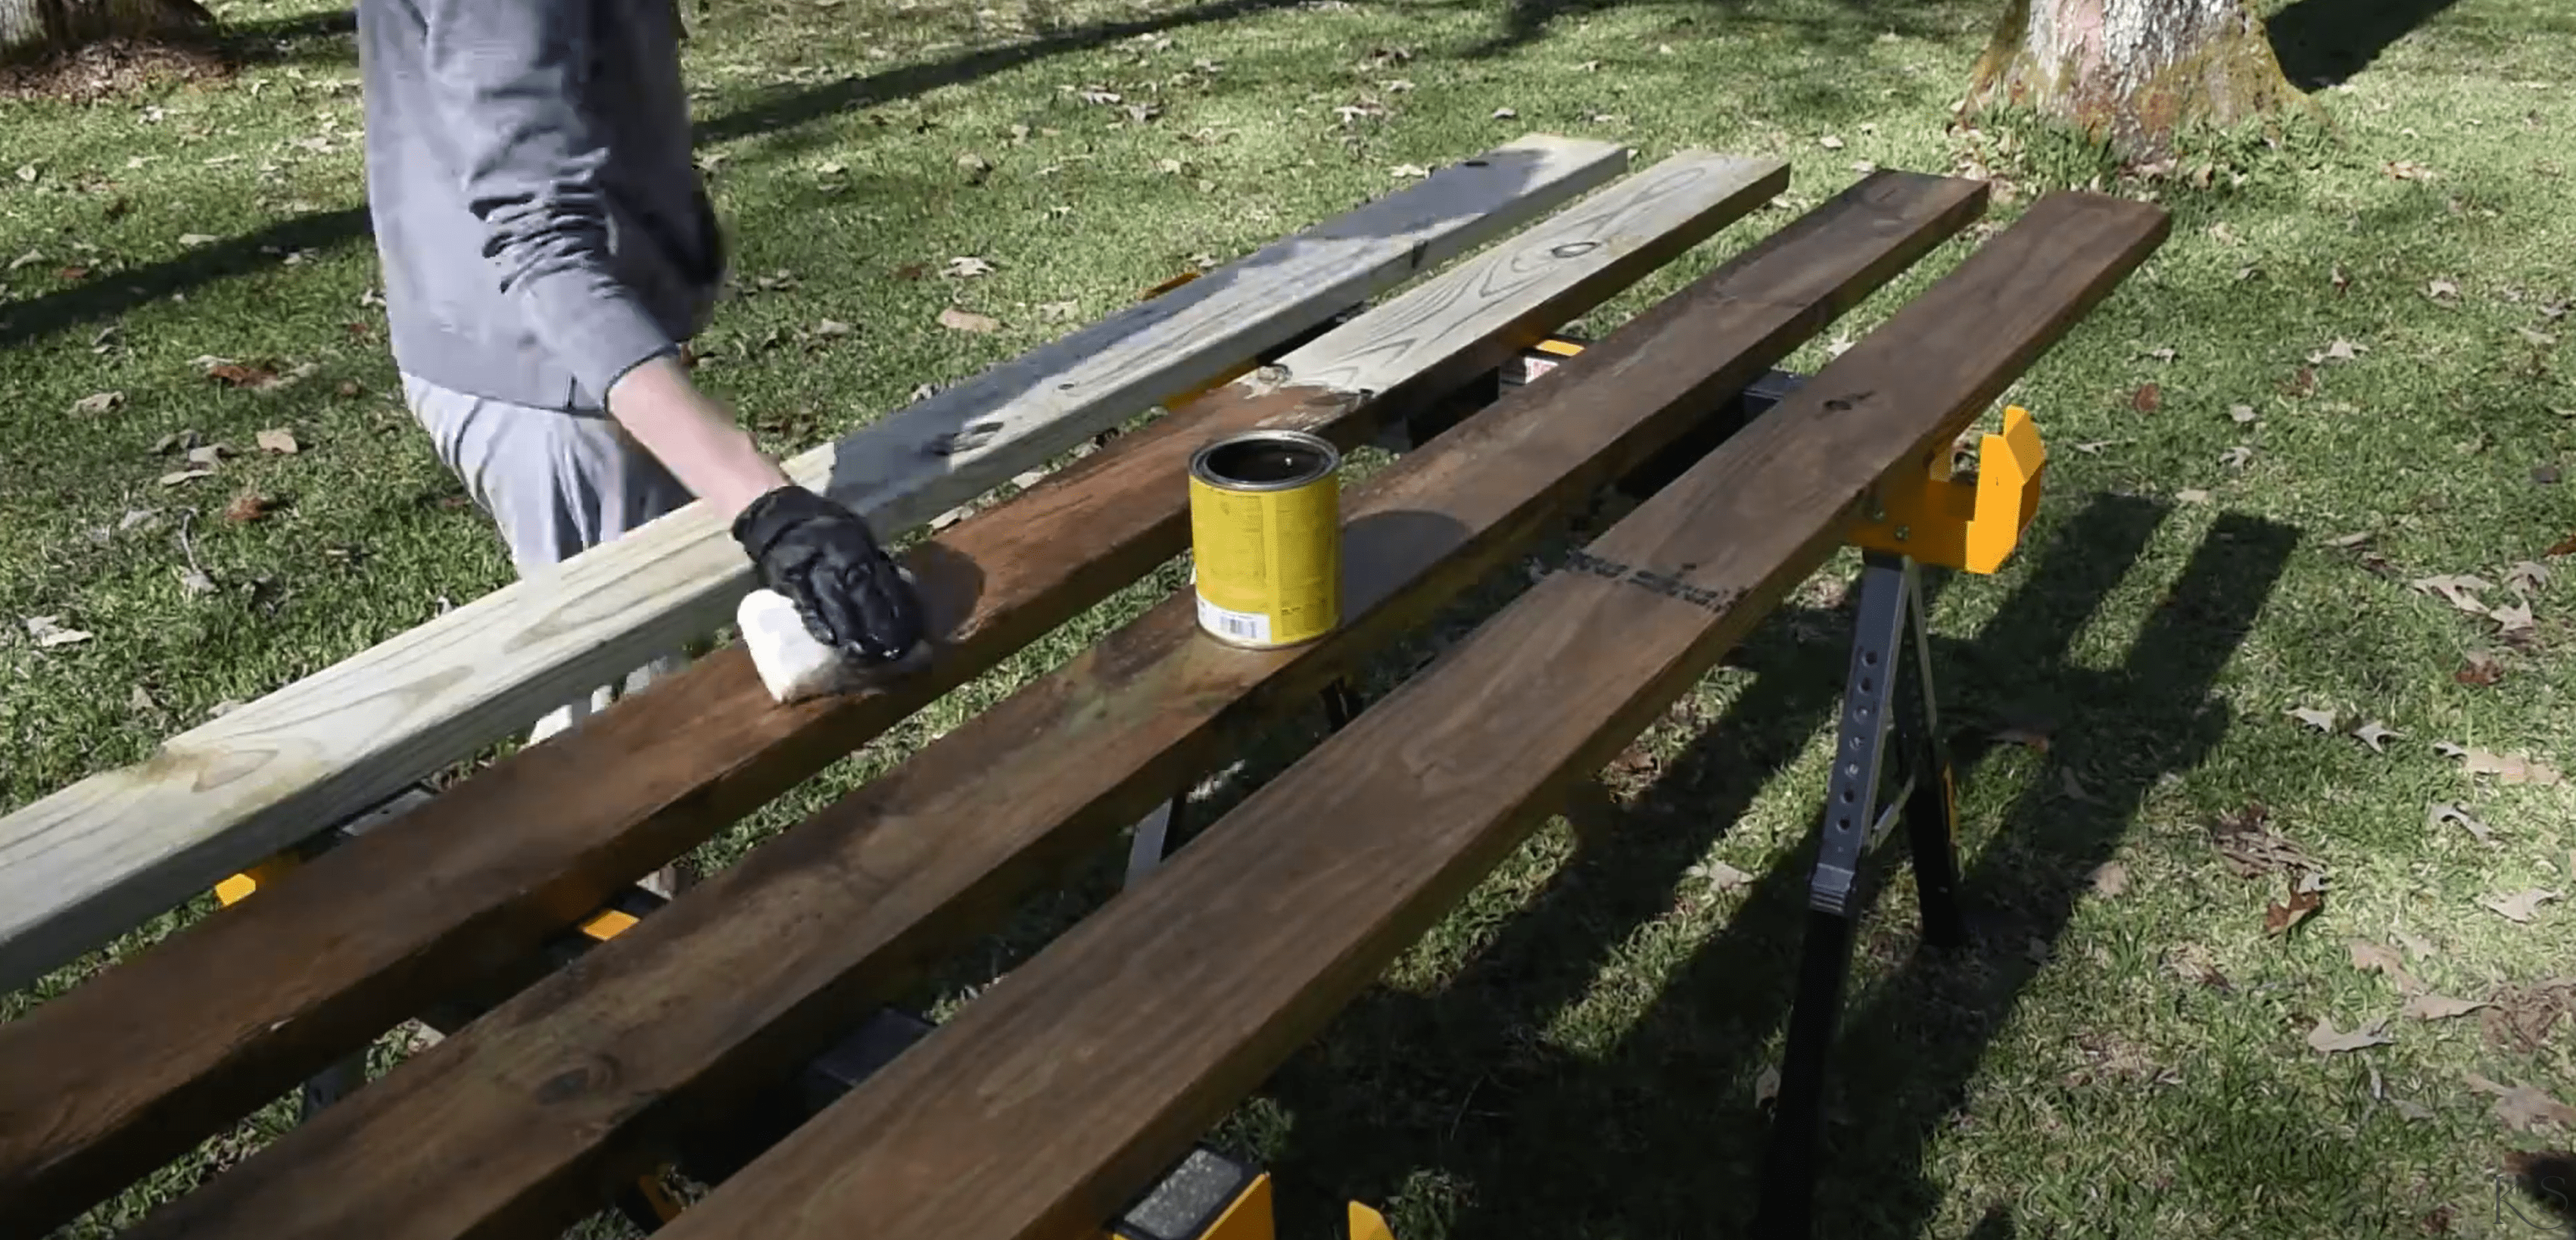
Staining the Wood
I am using Early American by Varathane. I'm applying two coats on all sides with a neat little staining pad, and waiting about an hour between coats.
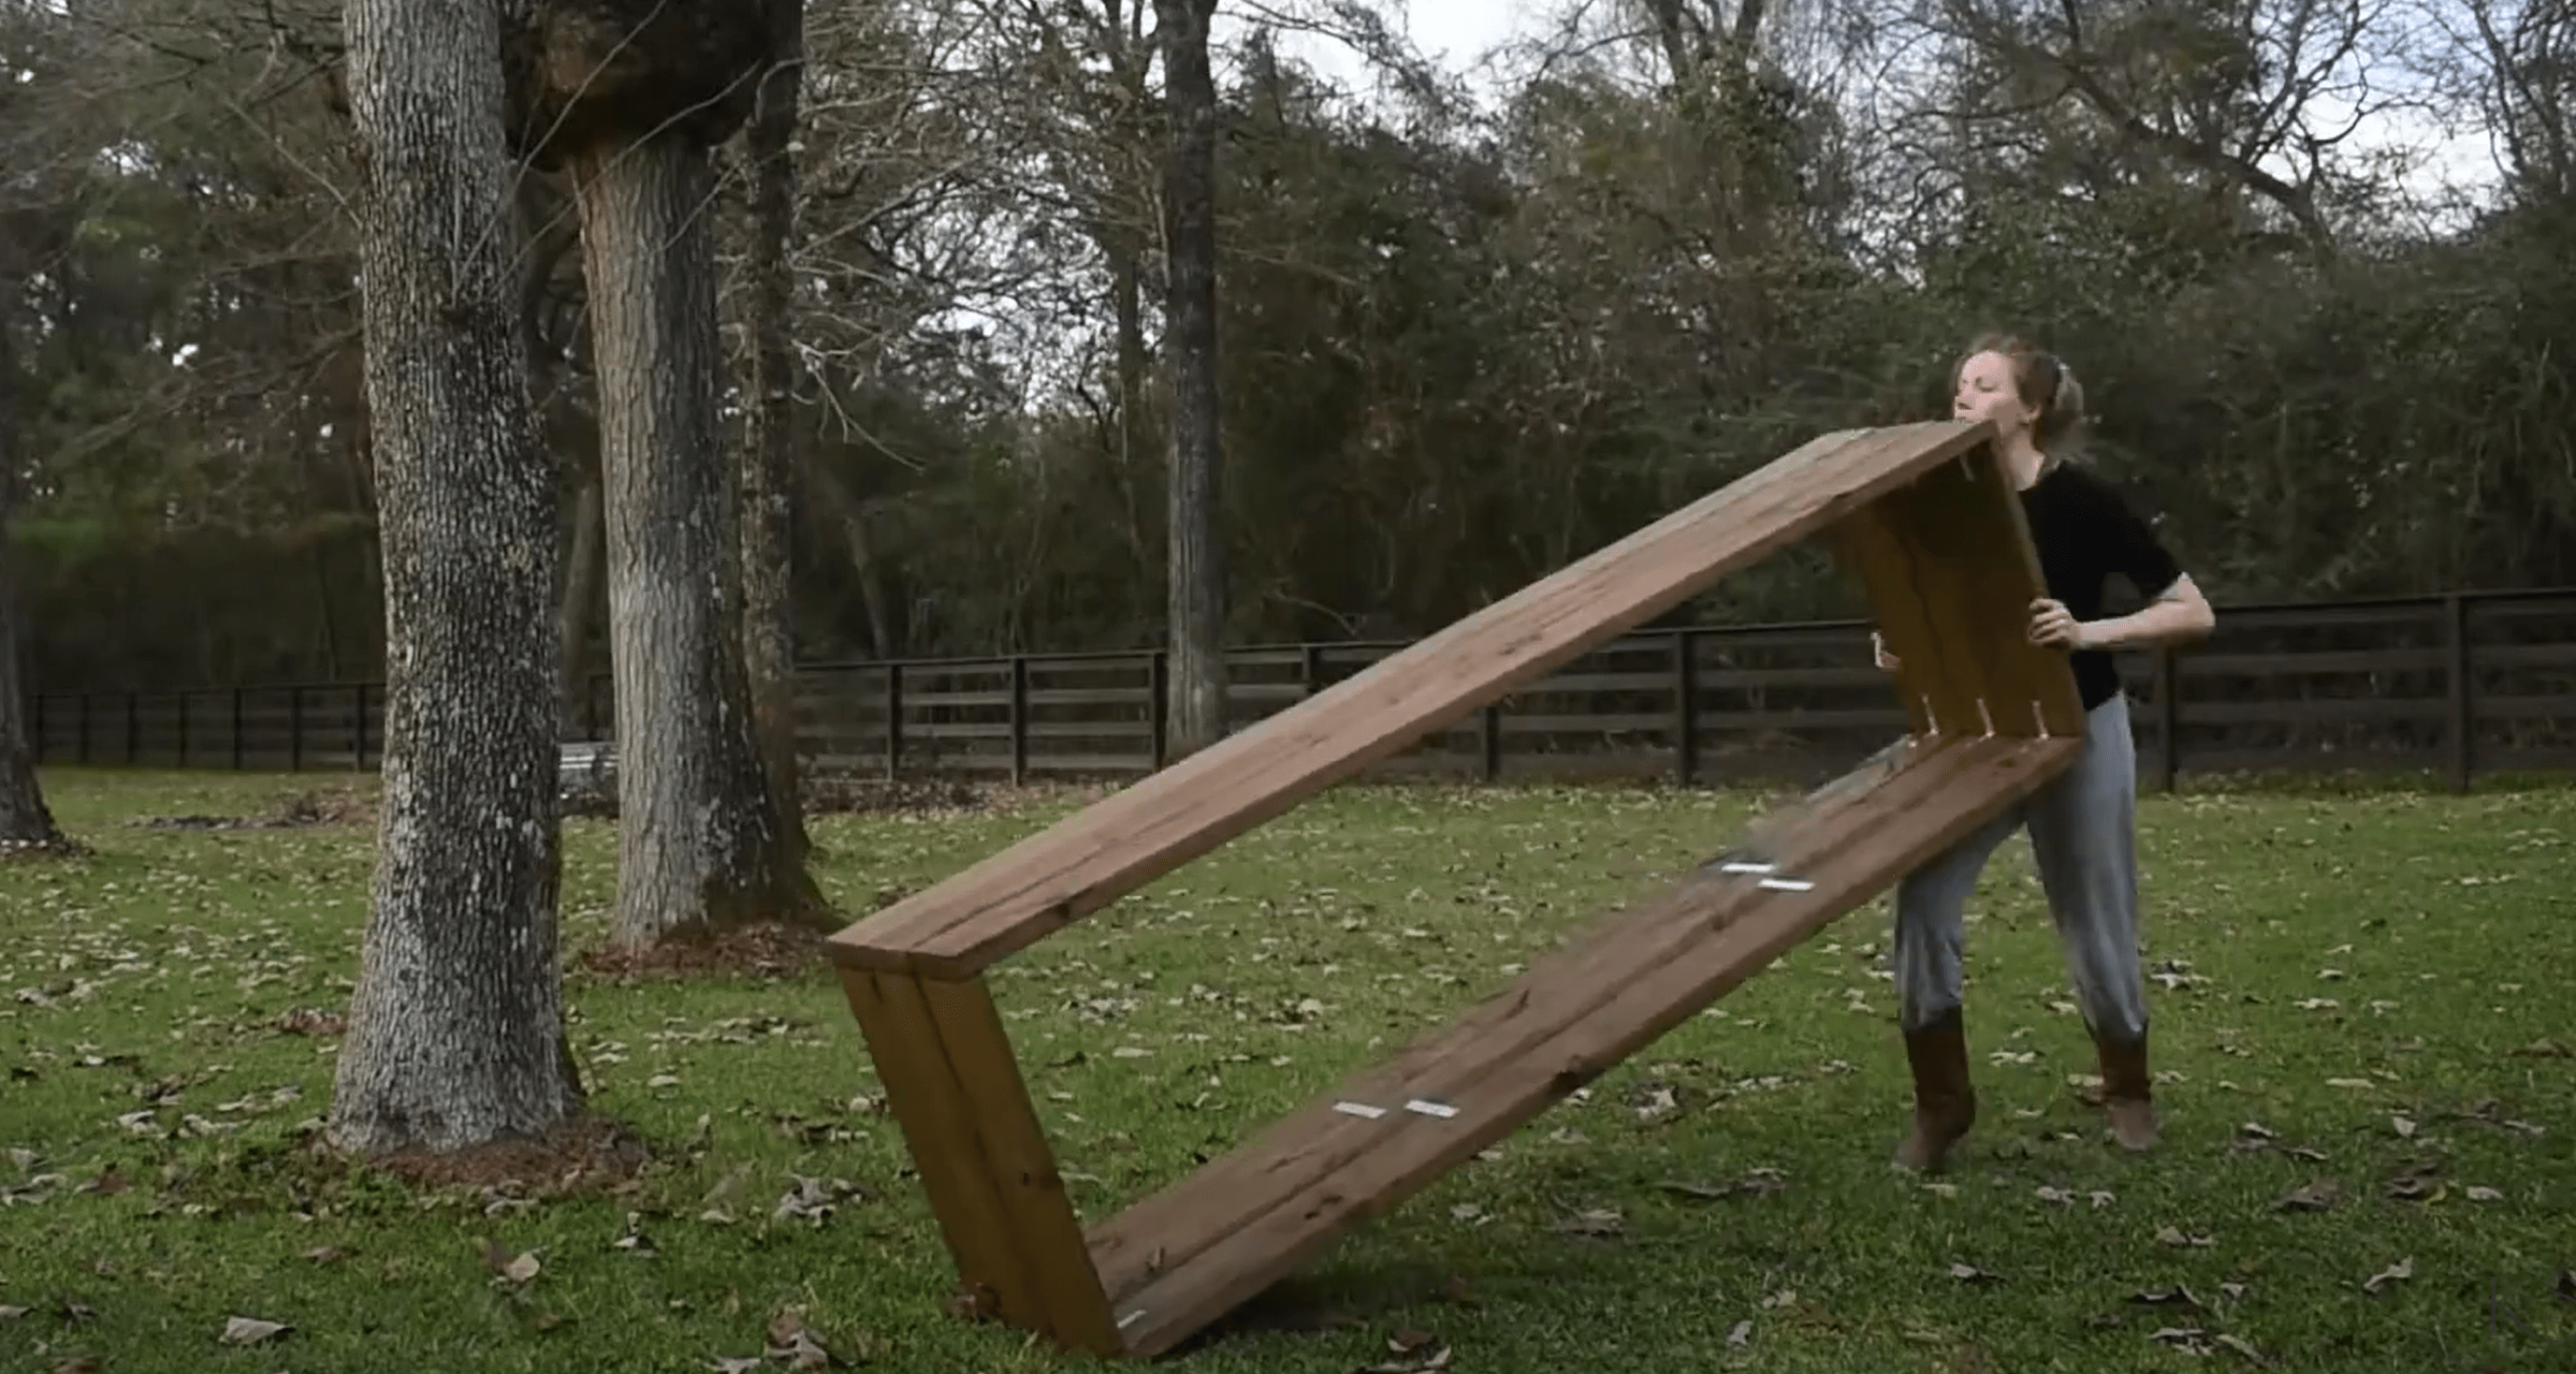
Assembling the Garden Bed
I really wanted a clean look so I decided to attach everything together with a variety of brackets. This avoids screw heads on the front or the side faces of the boards. This is not the strongest or most durable attachment method, but once the bed is in place it is not really going anywhere anyway.
I built each of the three layers individually first, using an L-shaped bracket in each corner (12 corner brackets total).
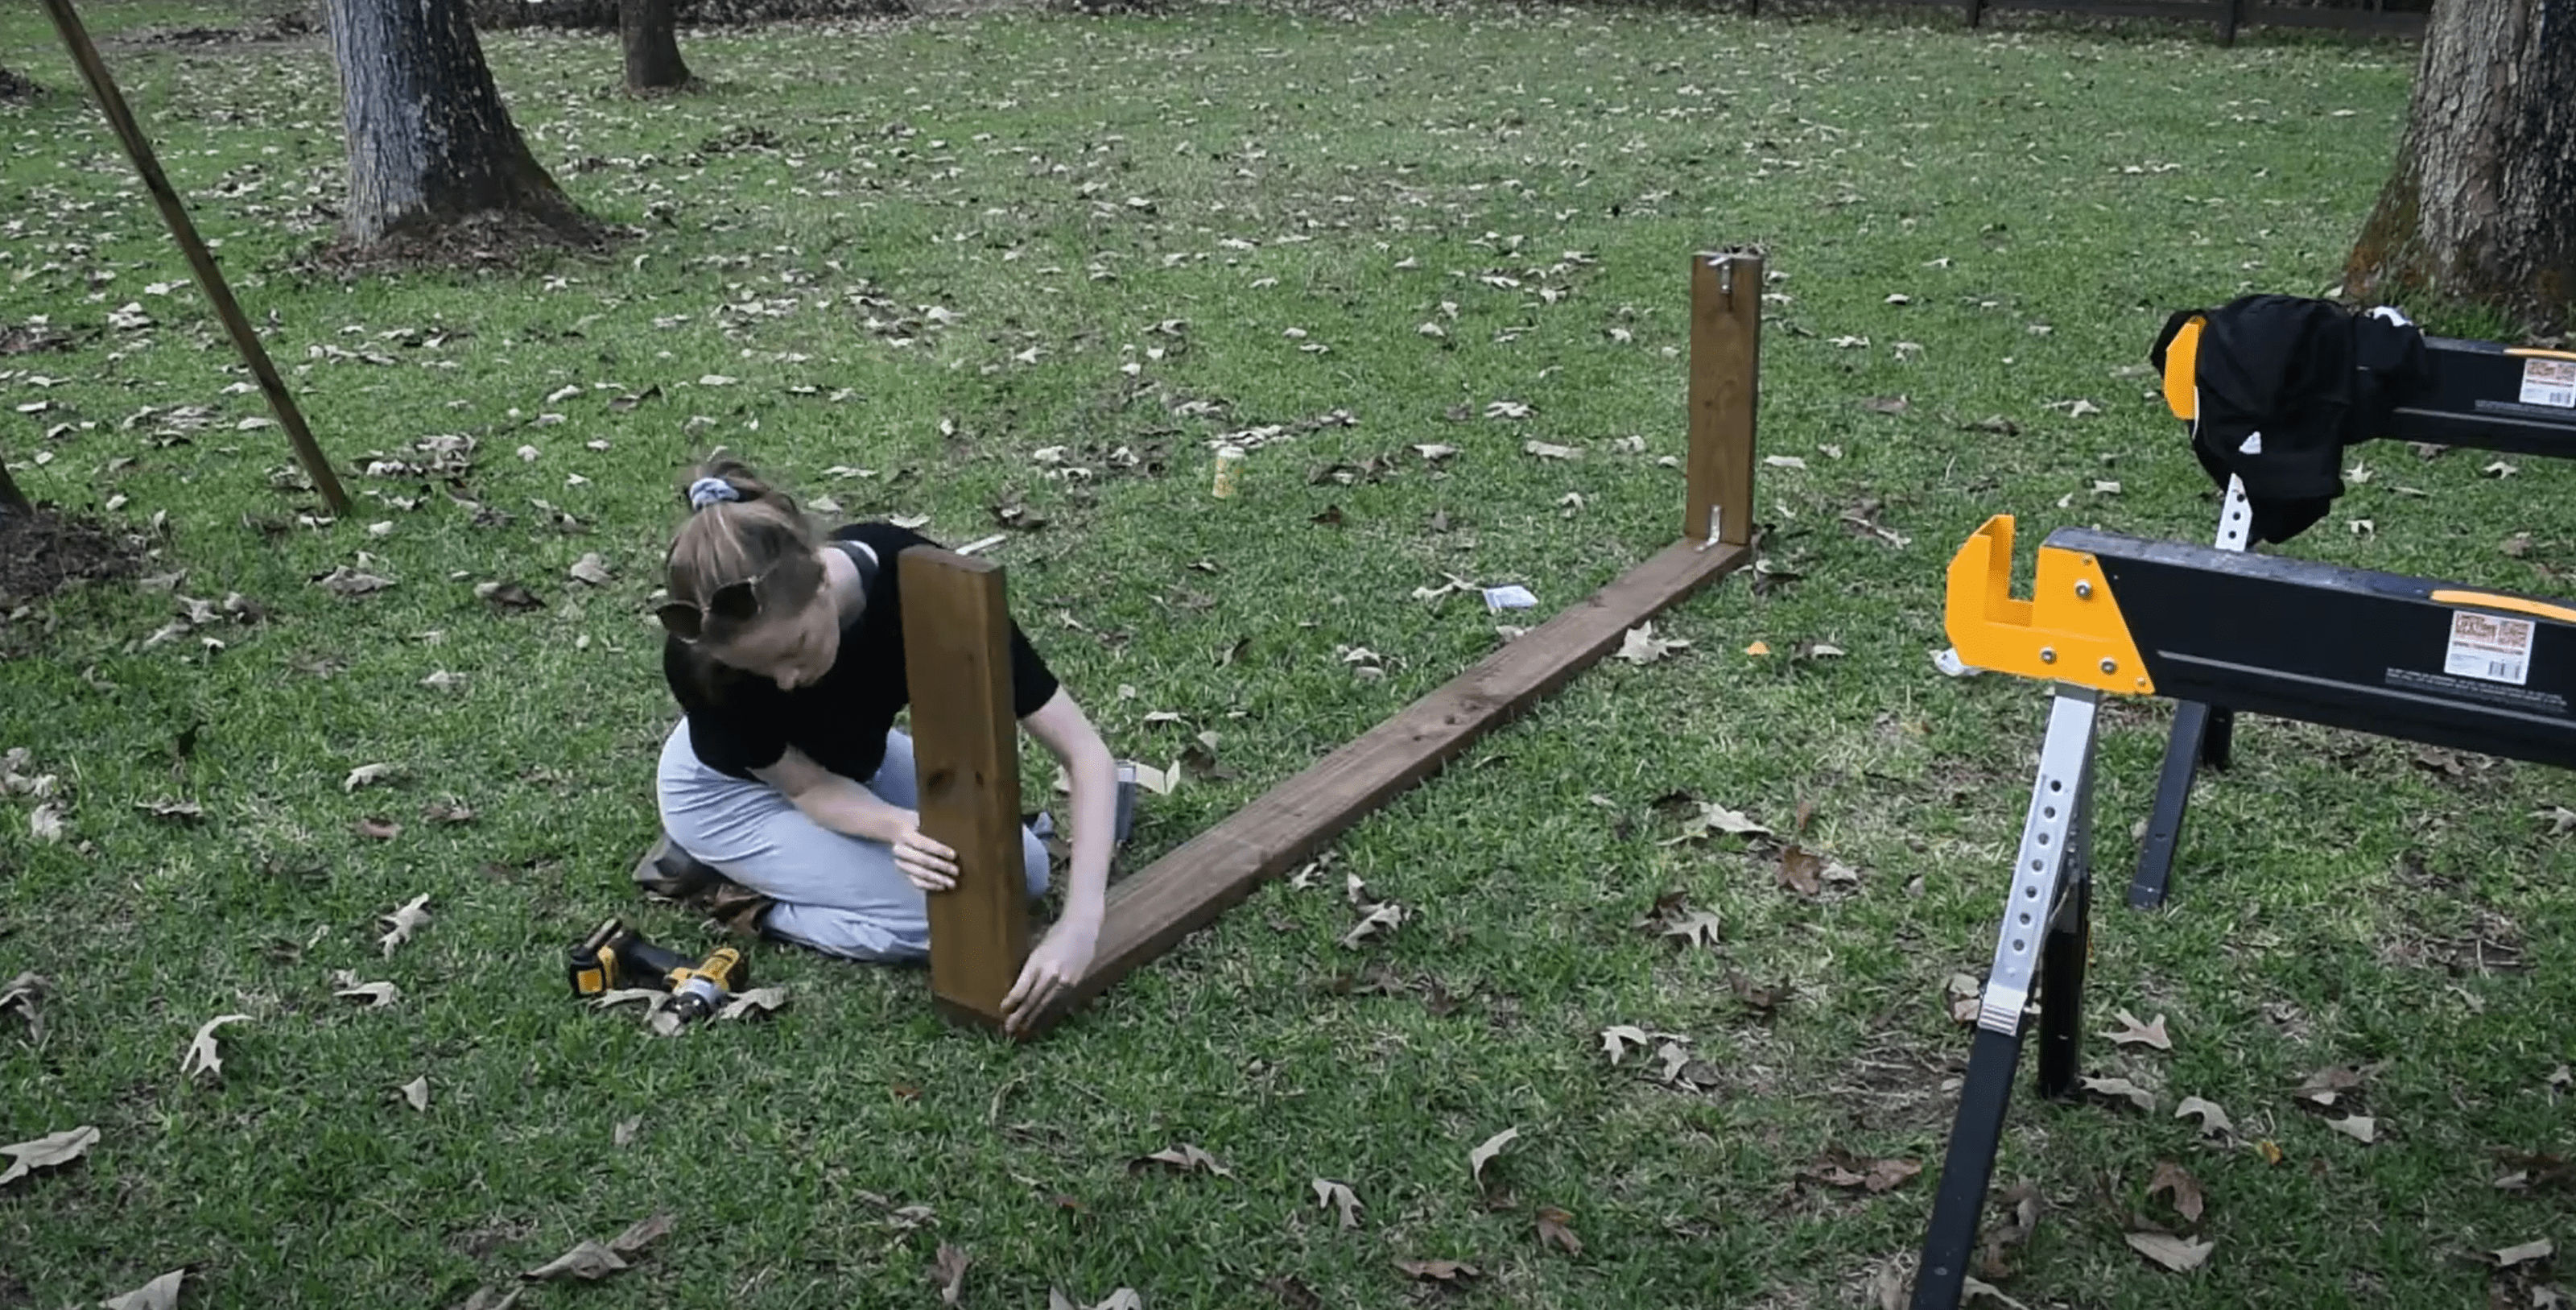
Then I used flat brackets to join all the layers together into one big piece, using four on each long side and two on each short side (12 flat brackets total).

Here is one last look at the inside of the garden bed, fully assembled.

Fill it with Dirt!
Let's get this garden bed in place and start filling it with dirt! It took a bit of planning and muscle to wrestle this bed around.
When wood is treated, it's really soaked and bogged down by the chemical so it can get pretty heavy. But I'm strong and I got it done!

You'll have to imagine the flowers for now though because it's winter. I'm so excited to fill this once the cold weather breaks!
Thanks for reading and I'll see you next time!

