

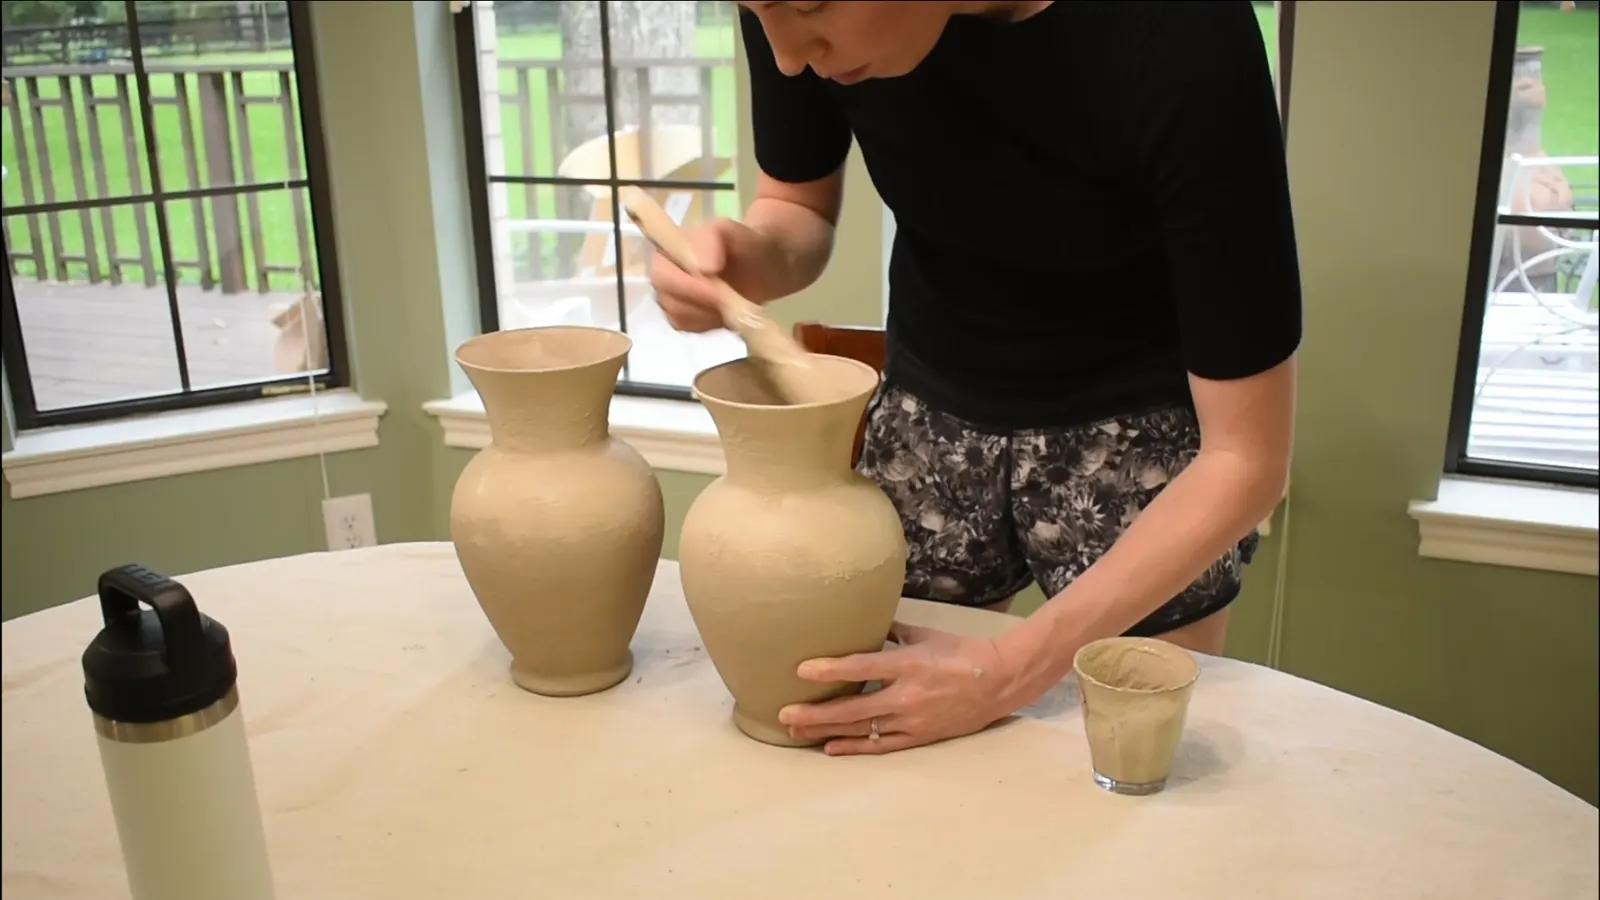
DIY Stone-Look Vases: Upcycling Glass with Paint and Baking Soda

I recently stumbled upon a DIY technique that promised to transform ordinary glass vases into elegant, stone-look pottery, and I couldn't resist trying it out. The idea of taking something inexpensive and giving it a high-end, textured finish was incredibly appealing, especially when working with thrift store finds.
The core of this project involves a simple 50/50 mix of paint and baking soda, which creates an amazing, forgiving texture. I picked up a pair of glass vases from Goodwill for just two dollars each, making this an incredibly budget-friendly endeavor. The goal was to achieve a delicate, breakable feel, much like real pottery, and the glass base was perfect for that.
What started as an impulsive DIY turned into a delightful afternoon project. The results were stunning, making the vases look like genuine stone pieces for a total cost of only about $3.50 each, including materials. This project is a fantastic way to add character to your home decor without breaking the bank.
Gathering Your Materials
The beauty of this project lies in its simplicity and the accessibility of the materials. You'll need a glass vase, which I found at a thrift store, but any material can work if you're willing to add a few more layers of paint. For the paint, I used a house paint sample from Lowe's in a color called Sherwin Williams SW9087 Smoky Beige. Paint samples are a fantastic, inexpensive option for art projects, offering a wide range of colors without the need for mixing.
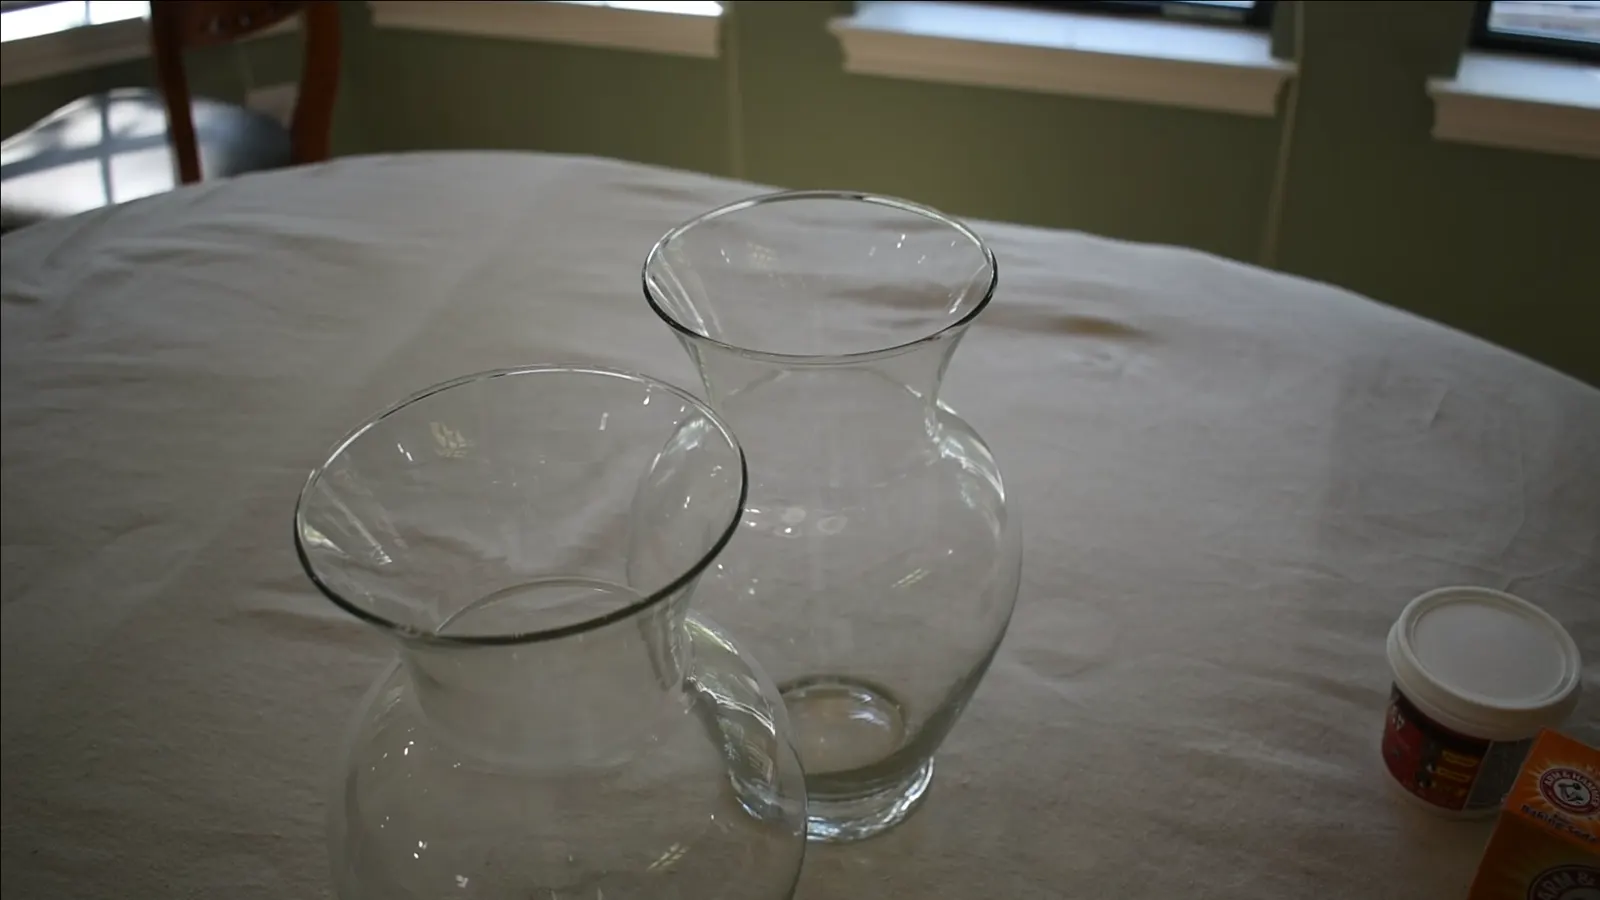
The key to the stone-like texture is baking soda. I used Arm & Hammer Baking Soda, mixed in a 50/50 ratio with the paint. This formula is very forgiving, allowing you to mix more as needed. You'll also need a brush; I used a Zibra Round Paintbrush, but any brush will do.
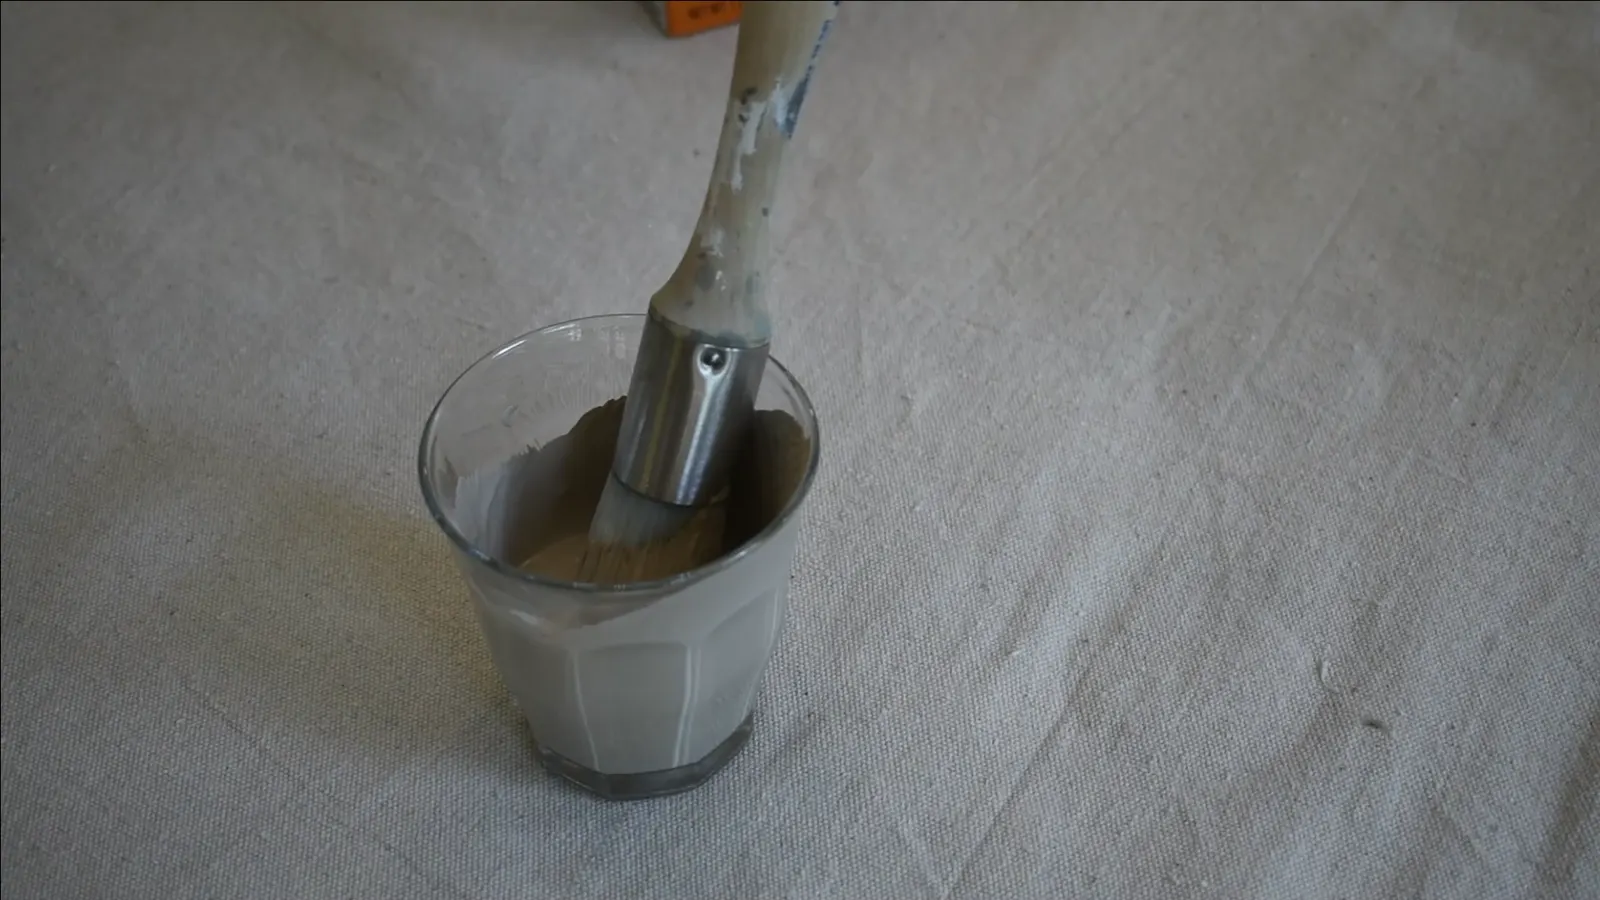
Preparing the Vases and First Coat
Before painting, I gave my vases a thorough clean with regular dish soap and then towel-dried them. This ensures the paint adheres properly. Once clean, it was time to apply the first coat of the paint and baking soda mixture.
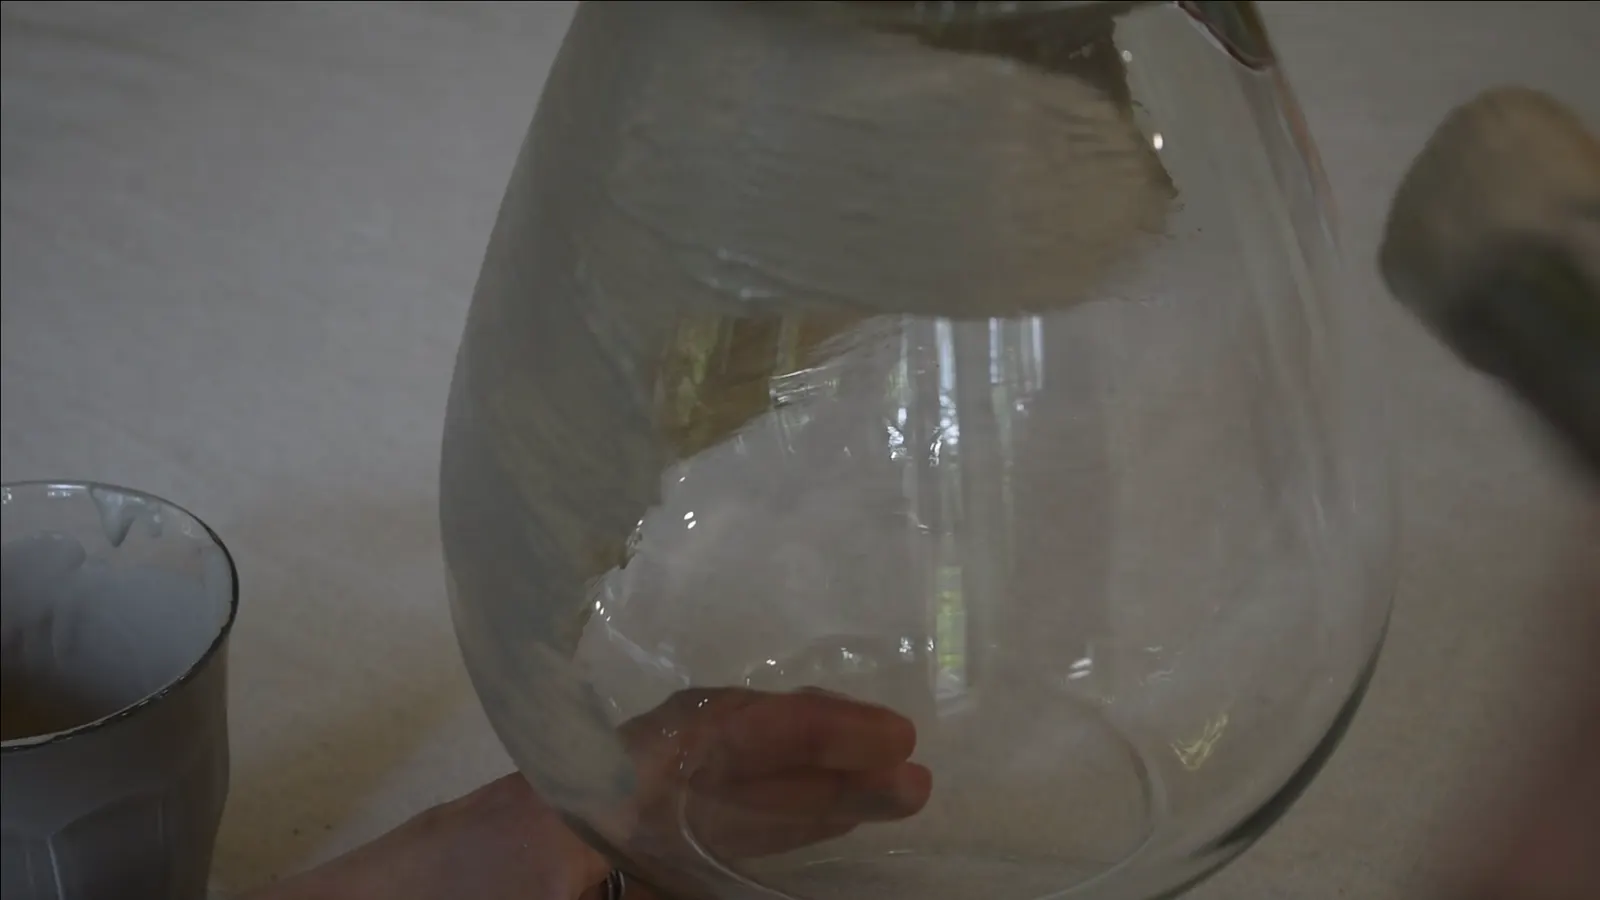
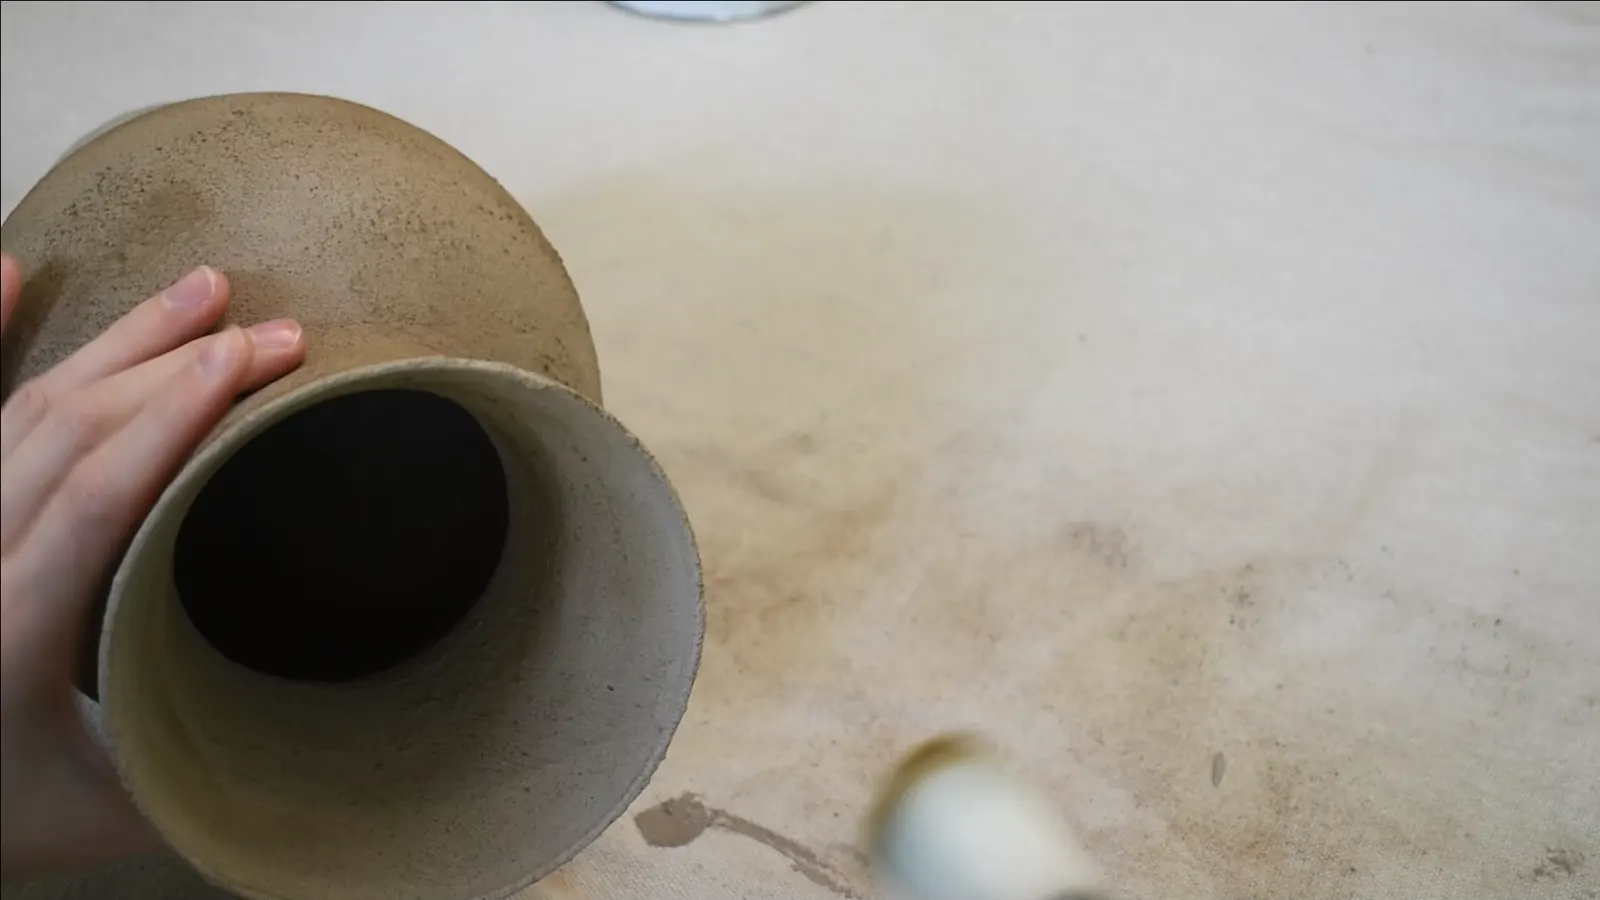
I applied the paint using horizontal brush strokes to mimic the look of real pottery. While you can add as much or as little texture as you prefer, I aimed for smoother layers and a cleaner finish. I painted the body of each vase, as well as the bottom side, and let them dry for about 30 minutes. Then, I gently flipped them over to finish painting the top rim. Since these vases were quite fluted, I also painted inside the rim to enhance the illusion of solid pottery. If you have the time, painting these often-overlooked areas really elevates the final look.
Applying the Second Coat and Checking for Coverage
After the first coat dried for a good two hours, I returned for the second application. I mixed up a fresh batch of paint and baking soda directly in a cup as I needed it. This coat went on very easily. I took another pause halfway through to allow the vases to dry enough to flip over and continue painting.
I found that only two coats were really necessary for good coverage. A helpful trick was to peek through the top of the vase to see where light was still coming through the glass. This allowed me to identify any thin spots that needed more paint. For such simple and inexpensive ingredients, the resulting texture was truly amazing, making the glass feel delicate and breakable, just like authentic pottery.
Experimenting with Coffee Grounds for Depth
While the vases looked stunning after the paint, I wanted to add more depth. I had seen a technique using coffee grounds to "dirty up" a vase, so I decided to give it a try. The idea was to rub the grounds into the textured paint until they became ingrained.
The coffee grounds did help deepen the texture and smelled great, but the process was quite messy and rough on my hands. I ended up wiping away most of it when trying to brush off stray clumps. While the look was nice and added warmth, I felt there had to be a better, more controlled way to achieve a similar effect.
The Game Changer: Furniture Wax
My alternative idea was to use furniture wax. I grabbed some Jolie Brown Finishing Wax, which is typically used to protect wood furniture and deepen its texture. This seemed like a perfect fit for what I was trying to achieve with the vases.
Using the same round brush, I wiped small amounts of wax onto the vase, starting in an inconspicuous spot to test the look. I immediately loved the effect and continued applying it. This method proved to be far superior to the coffee grounds. It was controllable and blendable, allowing me to go as dark or as light as I wanted. I could also target specific areas, like the base and shoulder, to make them a bit darker, and even use stippling techniques for extra texture.
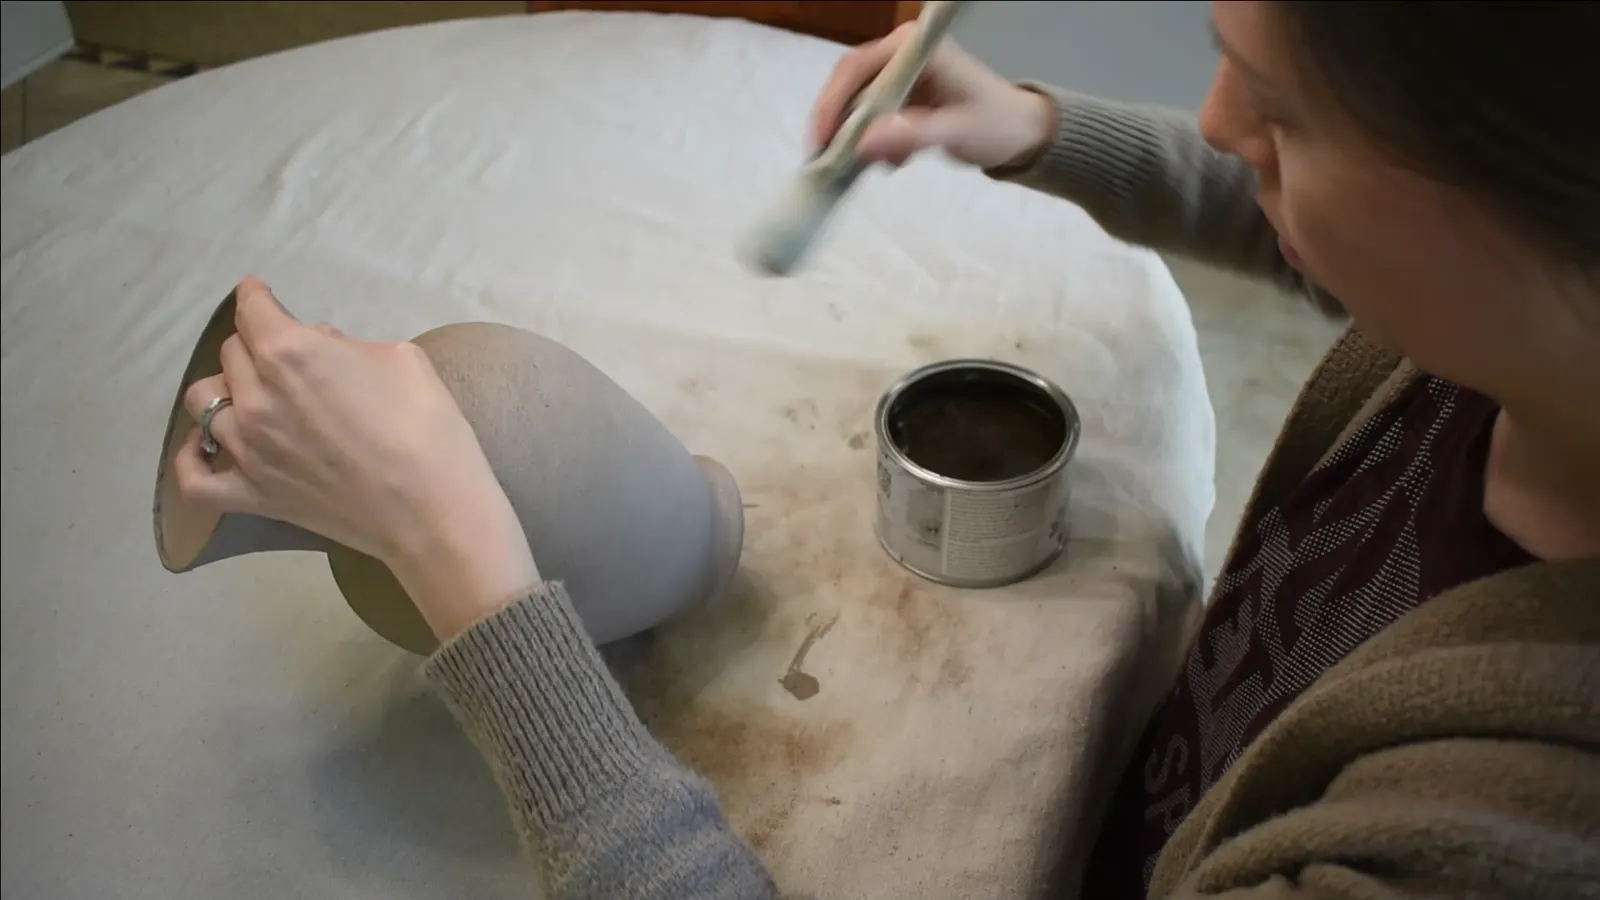
I did try using white wax for highlights and contrast, but it didn't work as well as the brown. That's okay; sometimes you win some, and you lose some in DIY! If you don't have furniture wax, other options like shoe polish, leather polish, or even coconut oil tinted with coffee grounds could potentially work. The key is to be creative and experiment.
The Final Result
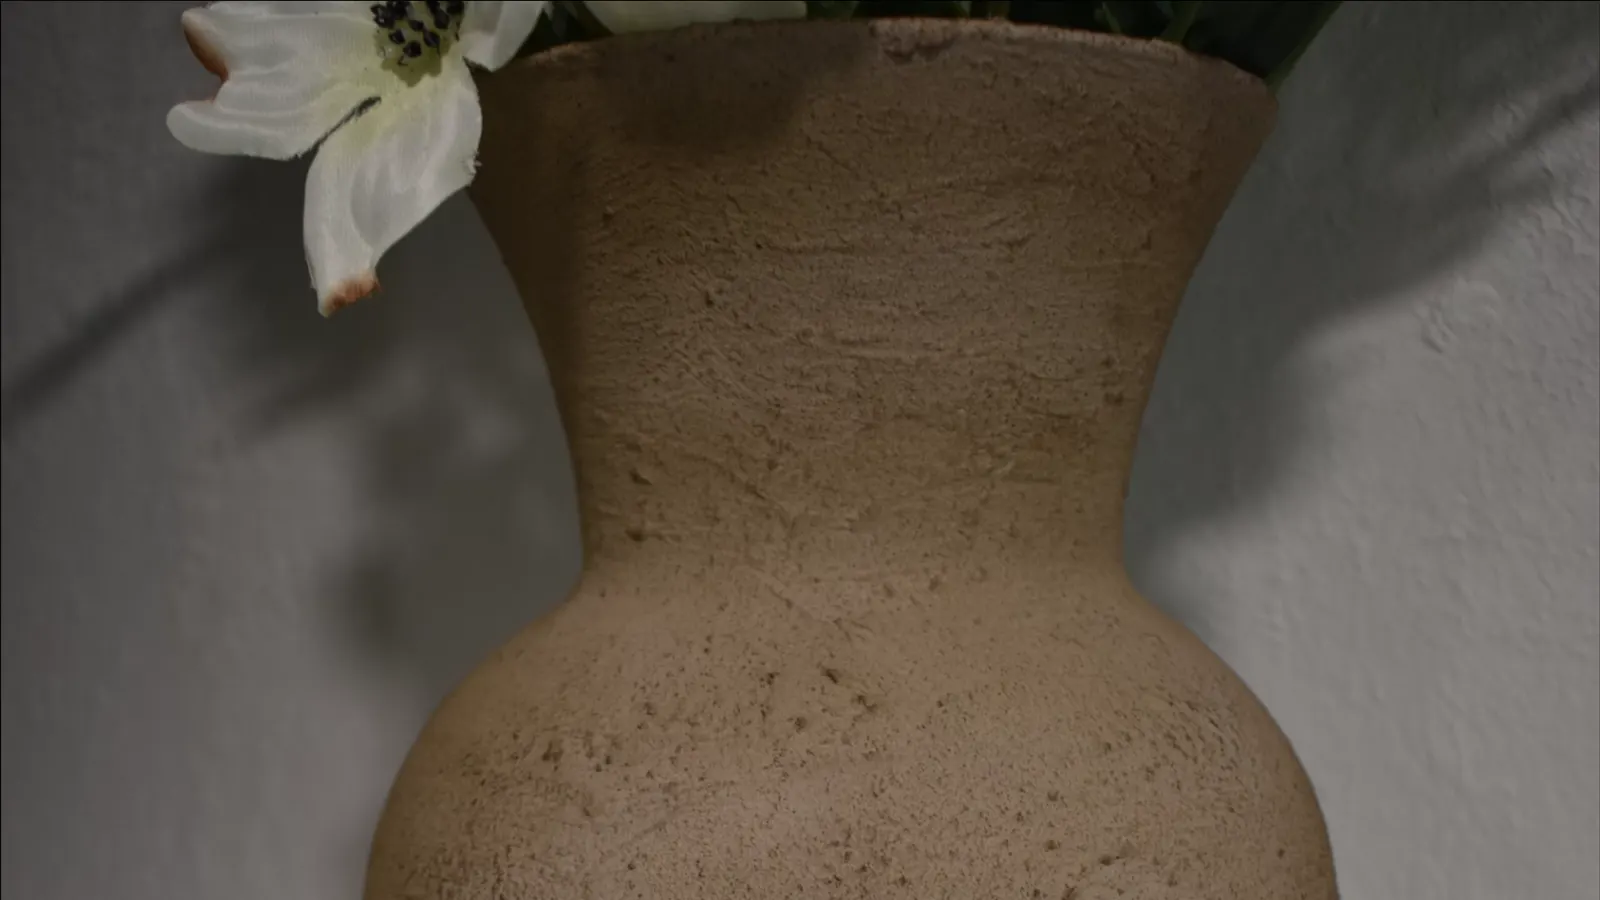
Once both vases were finished, I placed them side by side to ensure the texture and color were fairly even, as I planned for them to be a set. The transformation was remarkable. These upcycled glass vases now look like genuine, high-end stone pottery, and the entire project was completed in just an afternoon.
For anyone new to home decor DIYs or simply looking to refresh existing pieces, I highly recommend giving this technique a try. It's an incredibly satisfying and budget-friendly way to add a sophisticated touch to your home.
Frequently asked questions
What kind of paint works best for this stone-look effect?
Acrylic or latex paint works well. I used a house paint sample, specifically Sherwin Williams SW9087 Smoky Beige, which is a great budget-friendly option for art projects.
What is the ideal ratio of paint to baking soda?
A 50/50 mix of paint and baking soda is recommended. This formula is very forgiving, and you can mix more as needed during the project.
How long should I let the paint dry between coats?
I let the first coat dry for about 30 minutes before flipping the vases to finish the top rim, and then allowed a full two hours of drying time before applying the second coat.
Can I use something other than furniture wax to add depth?
While brown furniture wax worked best for me, you could experiment with alternatives like shoe polish, leather polish, or even a thick oil like coconut oil tinted with coffee grounds. The goal is to find something controllable and blendable to deepen the texture.
What kind of vases can I use for this project?
I used glass vases, which are ideal because they feel delicate and breakable like real pottery. However, you can use other materials; you might just need to apply a few more layers of paint for full coverage if the original color is strong.

 Canada
 EUR
EUR Japan
Japan