

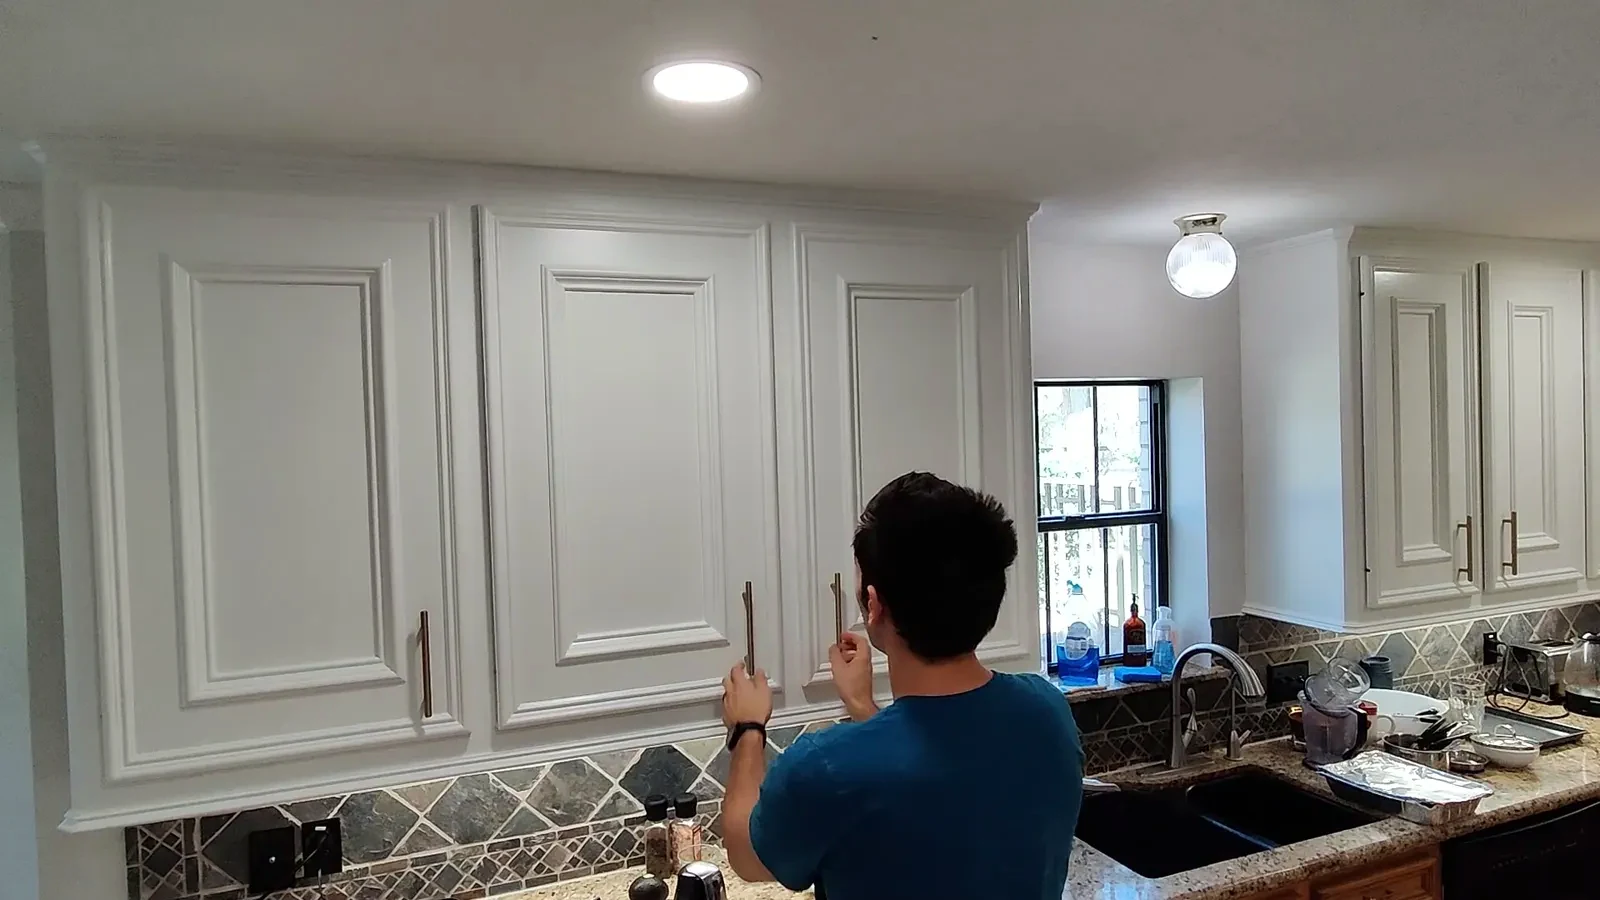

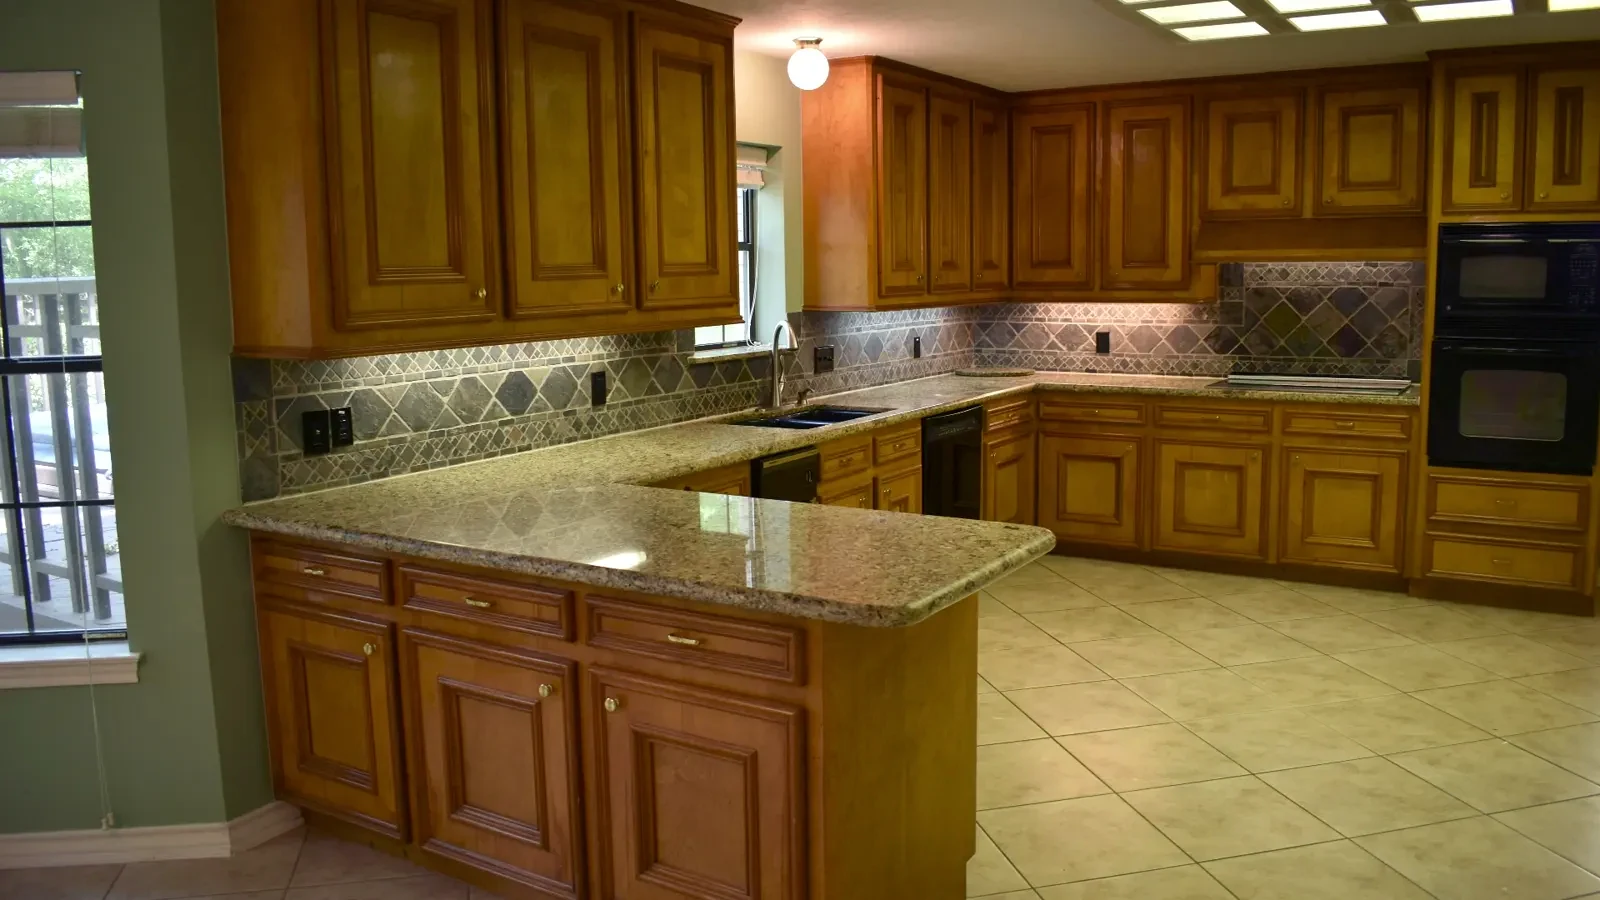
Our kitchen cabinets, with their 90s gloss wood look, were definitely showing their age. We wanted a fresh, updated feel, and after extensive research into product selection and enlisting the help of my dad, a hobby carpenter, we embarked on a significant refinishing project. The goal was a durable, chip-free finish that would stand the test of time.
This undertaking proved to be a huge project, far exceeding our initial time estimates. We learned quickly that patience and thorough preparation are paramount for success. To manage the scope, we decided to tackle only the upper cabinets first, a decision that ultimately proved wise.
After several weeks of hard work, the cabinets turned out beautifully. Our method, tips, and the lessons we learned along the way are invaluable for anyone considering a similar transformation. While you may not achieve a perfect factory finish at home, this approach comes remarkably close.
Preparing the Surface: Stripping and Sanding
The first and most critical step in refinishing cabinets is preparing the surface. This means ensuring it's free of peeling paint or varnish, dings, and has a porous or textured 'tooth' for paint adhesion. Our 30-year-old, high-gloss varnish was chipping in places, so we opted to strip it down to bare wood. If your cabinets have existing paint or aren't solid wood, heavy sanding might be sufficient to create that necessary tooth.
We initially tried a product called citrus stripper, which is more environmentally friendly, but it wasn't strong enough for our thick varnish. We quickly upgraded to a regular gel stripper. We applied the stripper with a chip brush, letting it sit for a while, sometimes covering it with cling film to keep it wet. Then, we used plastic and metal scrapers, along with a wire brush, to remove the varnish from all the nooks and crannies. This process required a couple of rounds due to the varnish's thickness. An after wash product can help remove any stripper residue.
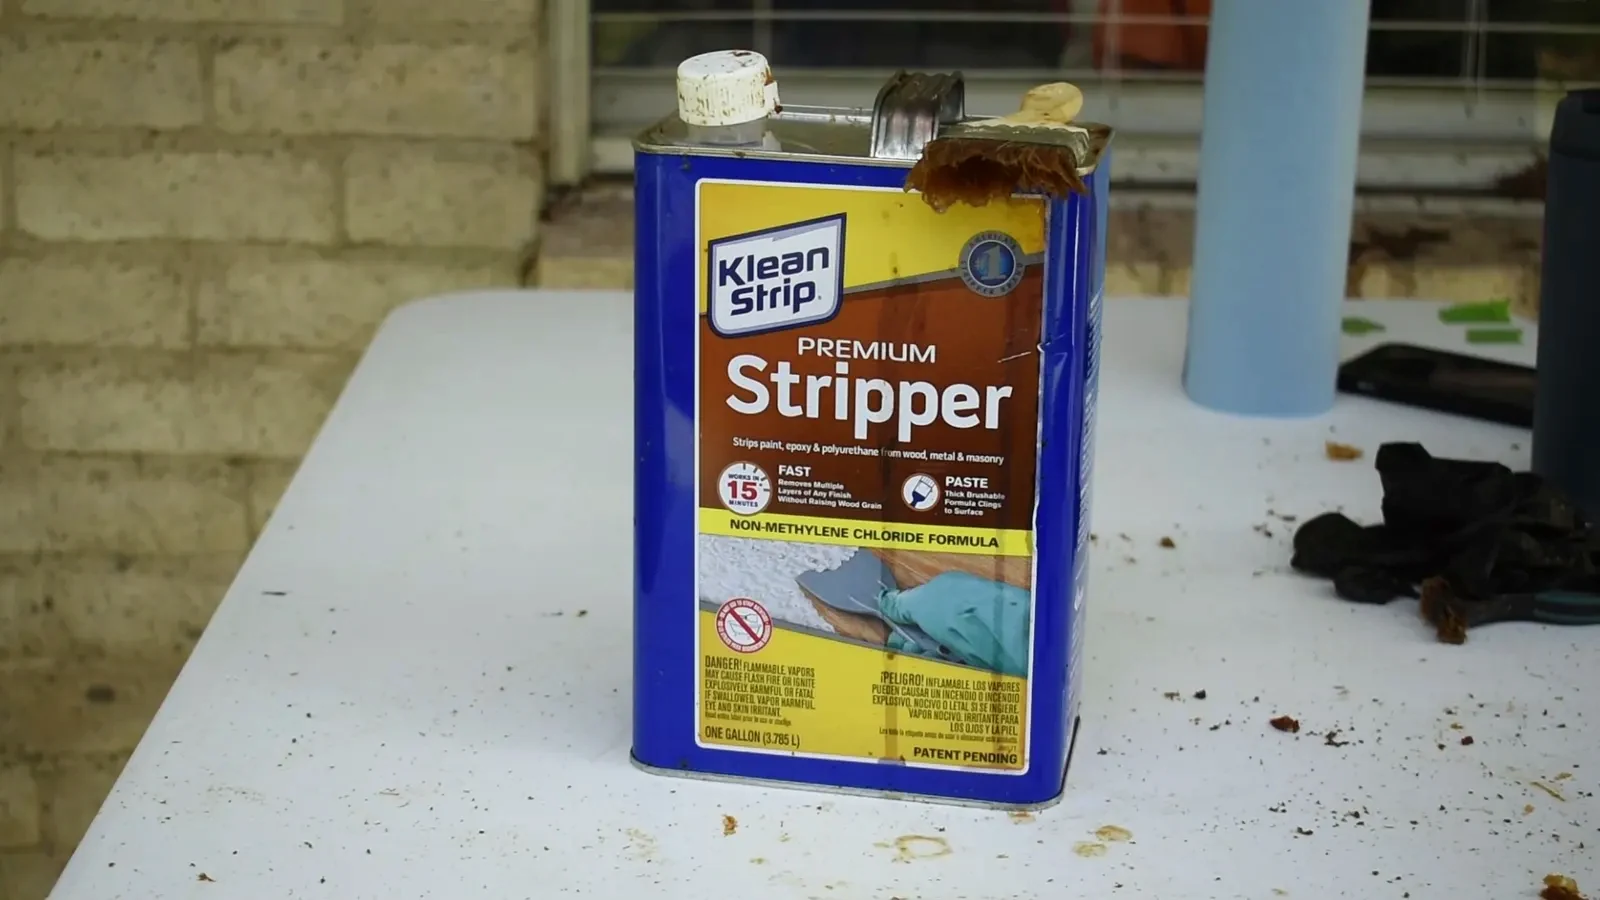
Once the varnish was off, we sanded with 180-grit paper to remove any remaining residue and even out blemishes. Our doors had a lot of trim details, so we used a small flat head to clean out the grooves. This is also the ideal time to apply wood filler or bondo for any major gouges.
The Importance of Primer
Primer is essential not just for adhesion but also for odor and stain blockage. This step is especially crucial when painting raw wood white, as it prevents bleed-through that could ruin the final white color. My primer of choice is Zinsser BIN, which I consider to be the best of the best.
While spraying is ideal for both primer and paint, Zinsser BIN is an oil-based primer that doesn't clean up with soap and water, making it messy to spray. Instead, we applied it with a brush and roller. We laid out all our cabinet doors on painting pylons, applied primer to one side, waited for it to dry completely, then flipped them and repeated the process on the other side.
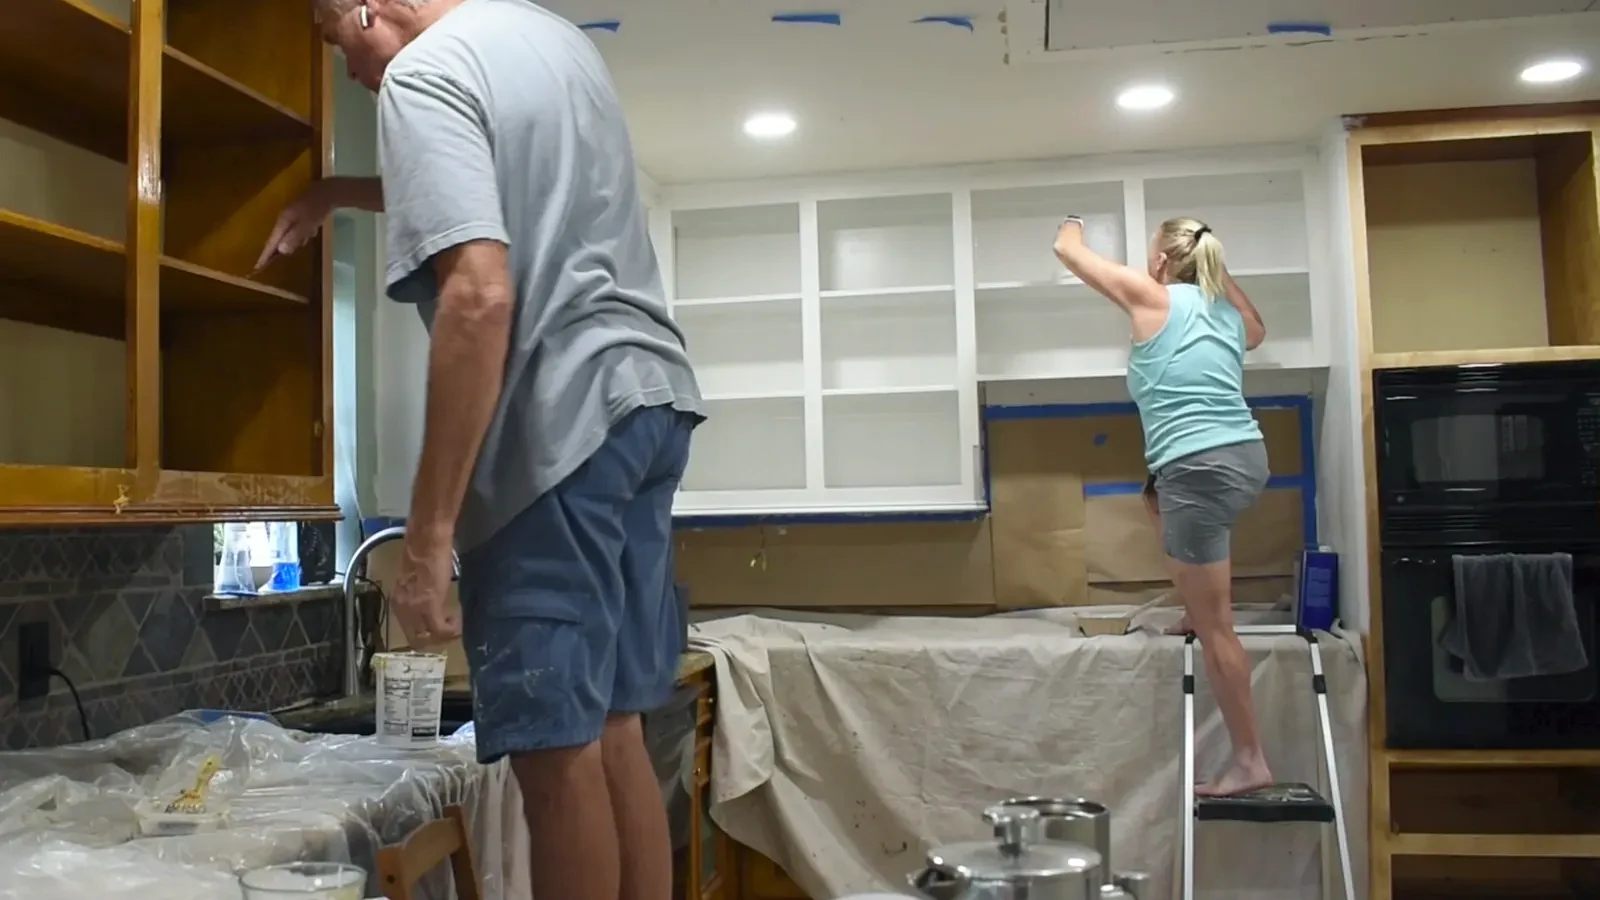
After the primer dried, we sanded it with 220-grit paper to knock down any texture from the rolling and brushing. After wiping everything clean, the surfaces were ready for paint.
Achieving a Flawless Paint Finish
For the paint, I chose Sherwin Williams Emerald Urethane Trim Enamel in Pure White. This is a more expensive paint, but it's specifically designed for cabinets and trim. Being water-based, it resists yellowing unlike oil-based paints, and it cures into a hard, durable finish that can withstand the wear and tear of a kitchen. Regular wall paint or chalk paint simply won't hold up the same way.
The other key to an unparalleled finish is spraying the paint. We used a large air compressor with an inexpensive spray gun. Before spraying, stir the paint well, strain it, and thin it with a little water. Apply nice, even, light coats to avoid drips; lighter is always better. Experience helps, but practicing on cardboard or other furniture pieces can build confidence.
We set up a spray tent and plastic sheets indoors to contain the mess and protect the wet paint from dust and debris. For drying, we utilized an empty enclosed cargo trailer, setting up painting pylons to lay out all the doors. This ensured they wouldn't be disturbed and remained free of dust as they dried.

In total, we applied one coat of primer and two coats of paint to the back of each door, and one coat of primer and three coats of paint to the front of each door and the cabinet frames. We sanded with 400-grit sandpaper between each coat to address any blemishes or drips. For an extra-smooth finish, you can wet sand with 800-grit before the final coat.
Ample drying time between coats is crucial, as is allowing the paint to fully cure afterward. While drying time might say four to six hours, it can take up to a month for the paint to truly harden. Don't rush this stage; give your hard work the time it needs to cure before reassembling.
Hardware: Reuse, Refresh, or Replace?
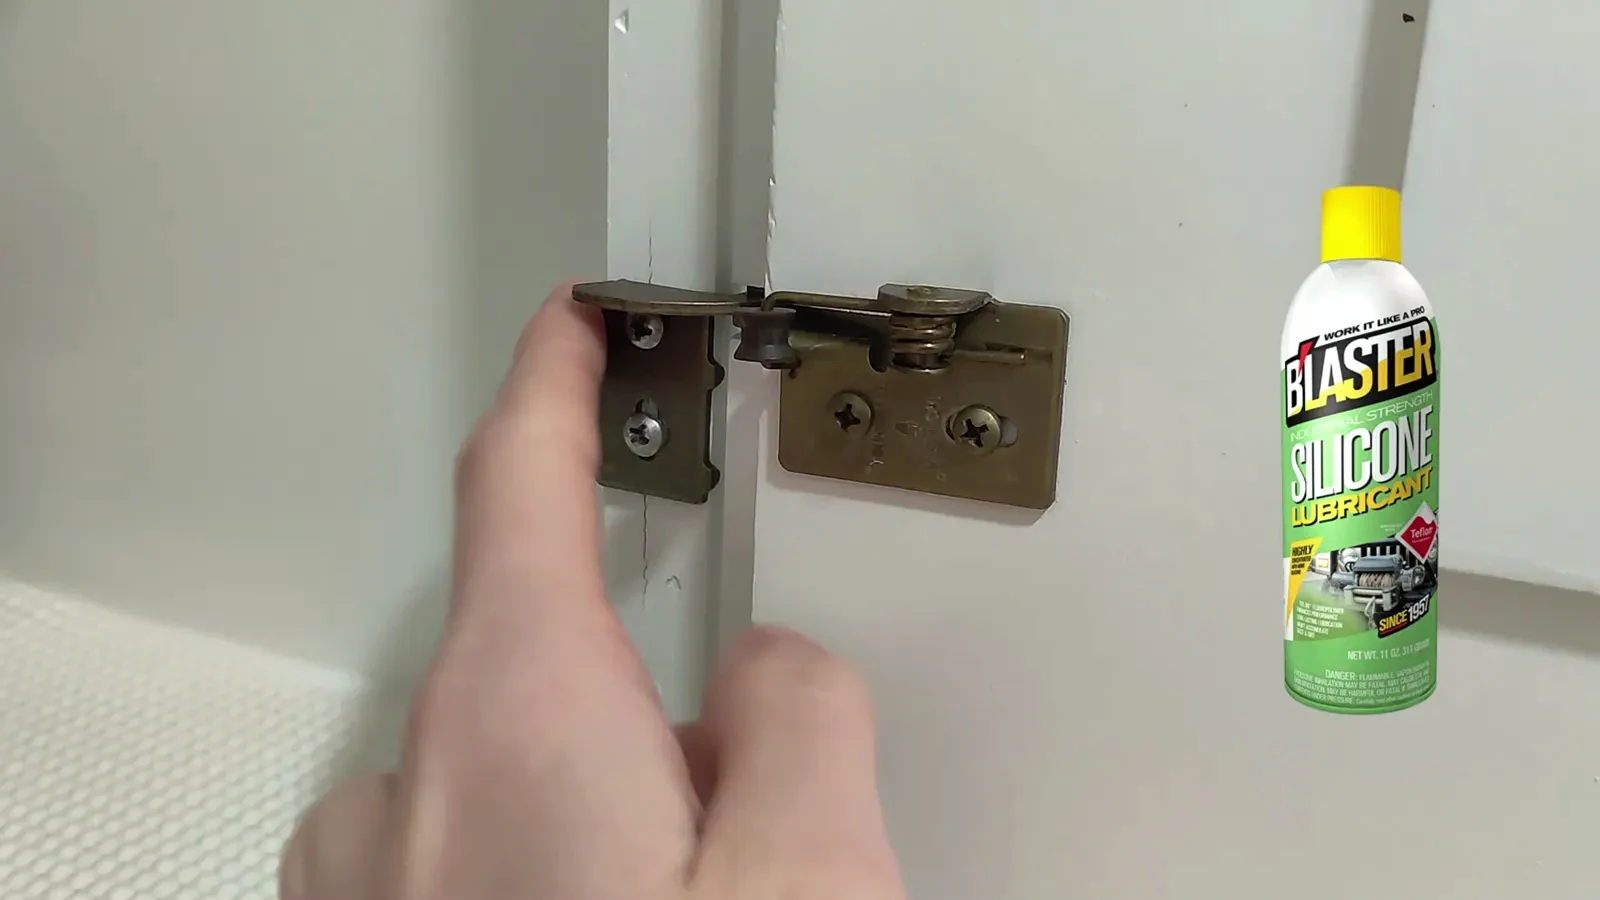
When it comes to slides and hinges, I recommend taking a second look at what you already have before buying new. Replacing these can be harder than anticipated, especially if the parts are old or out of date. Often, existing hardware works perfectly fine; it just needs a little cleaning and lubrication.
Our hinges were covered in varnish and dust. We soaked them in denatured alcohol in an ultrasonic jewelry cleaner, which effectively removed everything and brought them back to their factory metal state. My husband then sprayed them with lubricant, making them glide smoothly. Even though these hinges were from the 90s, they were still soft-close, and reusing them saved us the effort of drilling new holes and re-leveling doors.
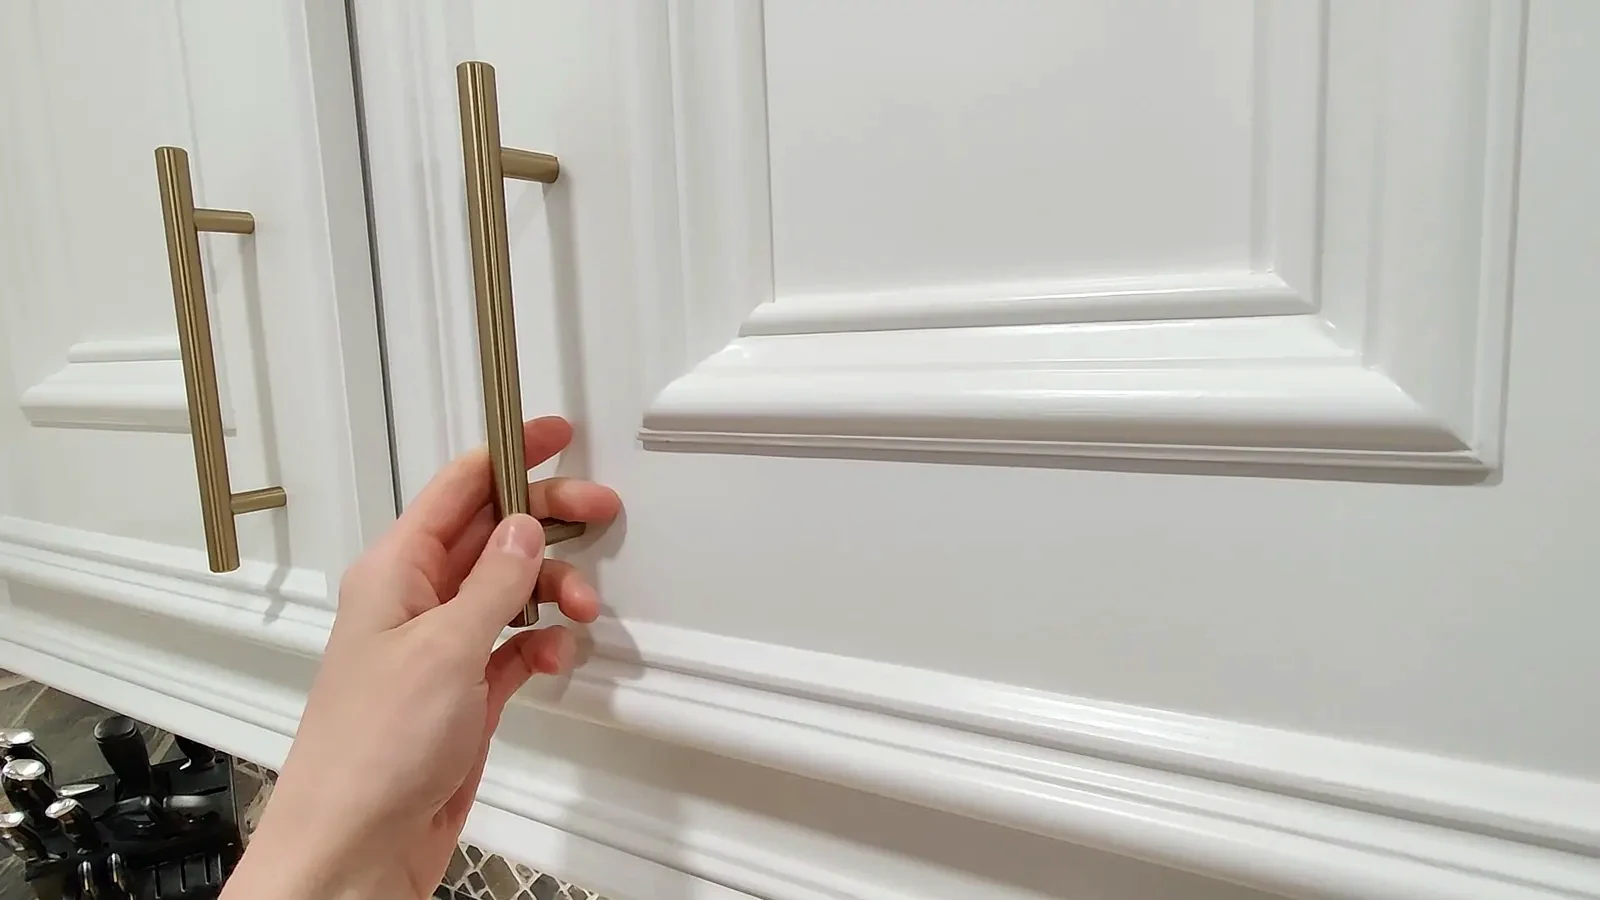
However, handles and door pulls are where you can truly accessorize and express your style. I chose simple gold bar pulls, using larger sizes for bigger doors and smaller ones for smaller doors. This is one of my favorite parts of the transformation, allowing for a personalized touch.
The Final Reveal and Future Plans
The finished cabinets exceeded our expectations. Even a general contractor neighbor was impressed with the results. While a DIY project won't perfectly replicate a factory finish, this method delivers a remarkably close and durable outcome.
This project is a huge undertaking, requiring ample time, patience, and the right tools and materials. But the payoff is significant. We're taking a break before tackling the lower cabinets, and with future plans to update light fixtures and the backsplash, we're excited for a brand new kitchen look.
Frequently asked questions
How long does it take to refinish kitchen cabinets?
Refinishing kitchen cabinets is a very time-consuming project. Whatever your initial estimate, it's wise to double it, and then double it again. The process involves multiple steps like stripping, sanding, priming, and painting, each requiring significant drying and curing time. We spent several weeks on just our upper cabinets.
Is it better to strip or sand old cabinet finishes?
The best approach depends on your existing finish. If you have a thick, old, or chipping varnish, stripping it down to bare wood is often the most effective way to create a clean, paintable surface. If you're painting over existing paint or a less durable finish, heavy sanding to create a 'tooth' for adhesion might be sufficient. The key is to ensure the surface is completely prepared and stable.
Why is Zinsser BIN primer recommended for cabinets?
Zinsser BIN is highly recommended because it's an excellent shellac-based primer that offers superior adhesion, odor blocking, and stain blocking properties. It's particularly crucial when painting raw wood white, as it effectively prevents wood tannins from bleeding through and discoloring the white paint.
Is spraying paint necessary for a good cabinet finish?
While not strictly 'necessary,' spraying paint provides an unparalleled, smooth finish that is difficult to achieve with brushes and rollers alone. It helps avoid brush strokes and roller texture, resulting in a more professional and factory-like appearance. Practicing on scrap material can help you get comfortable with the technique.
Should I replace my old cabinet hinges?
Consider reusing your old hinges if they are still functional. Replacing them can be surprisingly difficult, especially if they are an older, less common style, as it might require drilling new holes and re-aligning doors. Often, old hinges just need a thorough cleaning (like soaking in denatured alcohol) and lubrication to work smoothly again. This can save significant time and effort.


 Canada
 EUR
EUR Japan
Japan