

DIY Rustic Coat Rack: Transform Scrap Wood into a Mudroom Essential

Finding a coat rack that is both beautiful and well-built can be surprisingly difficult. Many store-bought options often lack the character or durability needed for a busy mudroom. However, making one from scratch is much simpler than it seems, often requiring less effort than hanging a picture, and the result is a custom piece designed to last a lifetime.
I recently embarked on a project to create a rustic coat rack for my mudroom, starting with a piece of old pallet wood. Despite its rough beginnings, with paint on one side and signs of wear, I knew it had the potential for a stunning transformation. The goal was to craft a functional and aesthetically pleasing storage solution that perfectly complemented the rustic aesthetic I was aiming for.
This project allowed me to repurpose materials, add a personal touch to my home, and create something truly unique. The process involved careful preparation of the wood, strategic staining and sealing, and thoughtful placement of sturdy cast iron hooks, culminating in a piece that not only serves its purpose but also adds significant charm to the space.
Selecting and prepping the wood
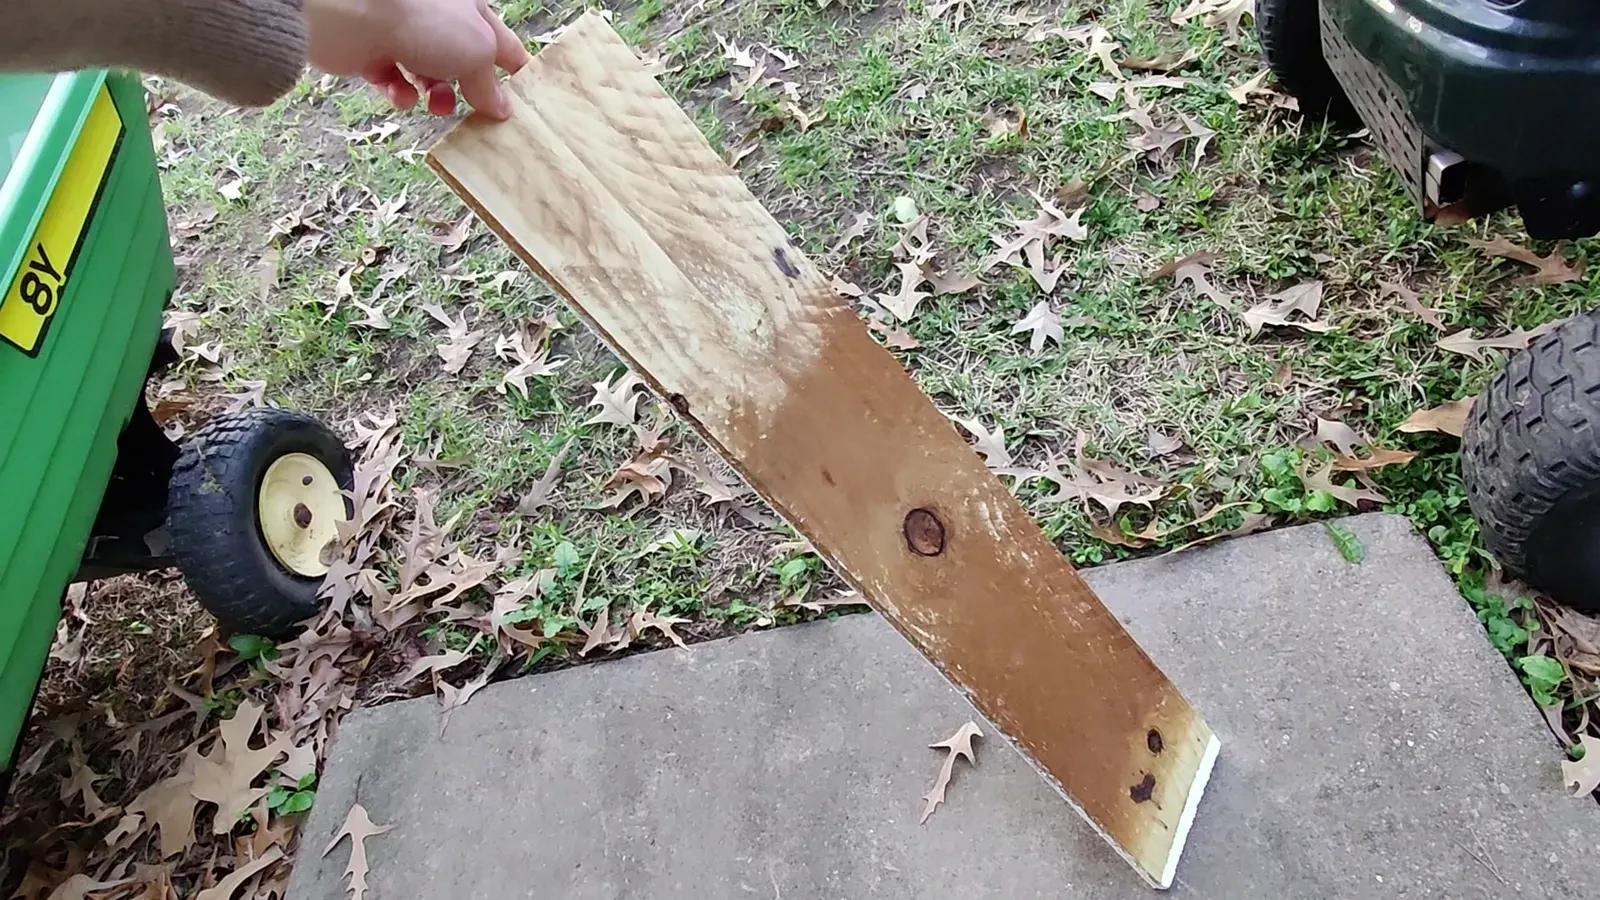
The foundation of this project was a piece of wood, ideally thin and wide, like a 1×6. I used a piece of scrap wood from an old pallet that I had on hand. It was painted on one side and had seen better days, but I knew it could be salvaged.
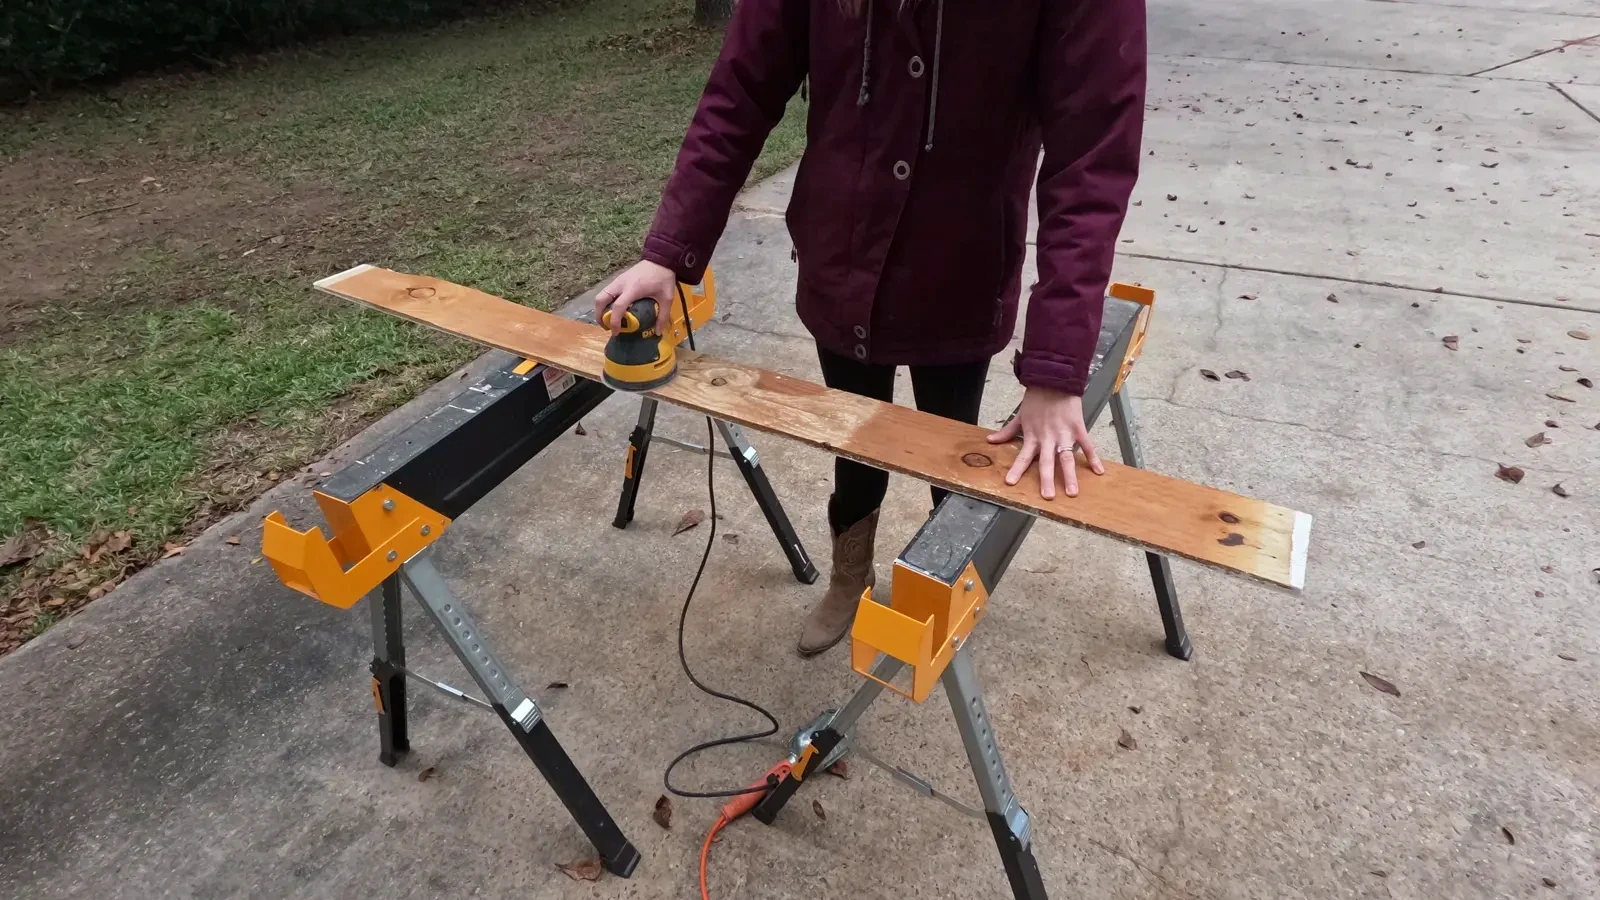
To prepare the wood, I used my orbital sander to remove the top layer. This step served several purposes: it smoothed the surface to prevent splinters, evened out the color differences caused by exposure, and helped the wood accept stain more effectively. I also sanded off any visible paint.
After sanding, I cut the board down to size, resulting in a plank approximately three and a half feet long. For those looking for a quicker, power-tool-free alternative, you can purchase a 1×6 from a lumber store and have them cut it to your desired length in-store.
Filling imperfections and staining
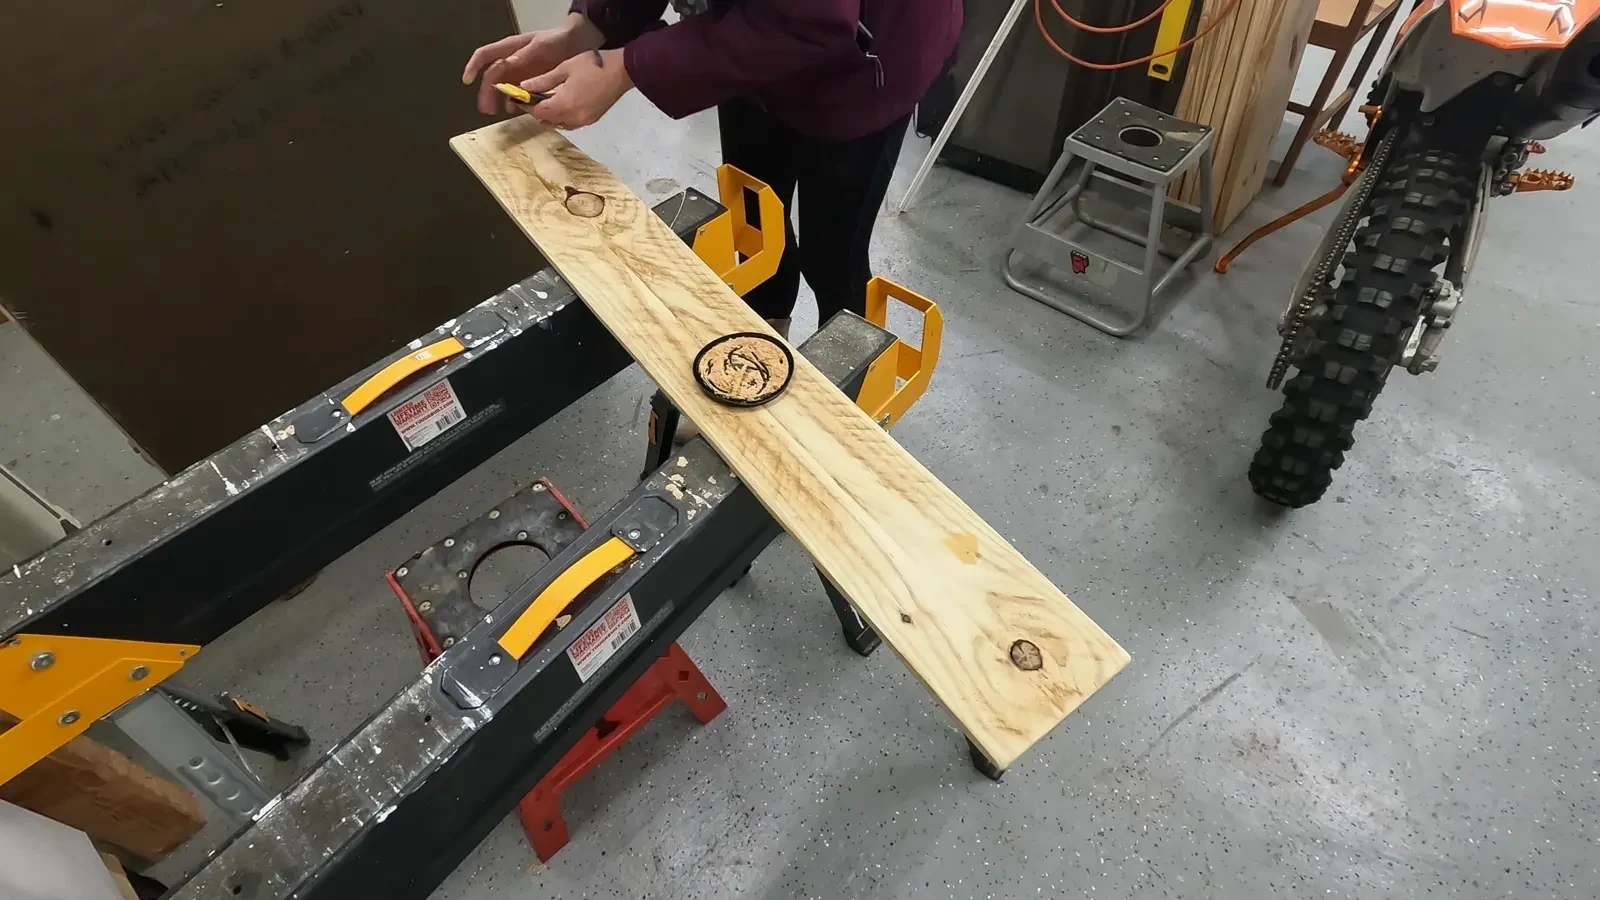
With the board prepped, the next step was to address any imperfections. I filled previous nail holes with a bit of stainable wood filler. After scraping off the excess and allowing it to dry, I sanded the filler down until the surface was smooth again.
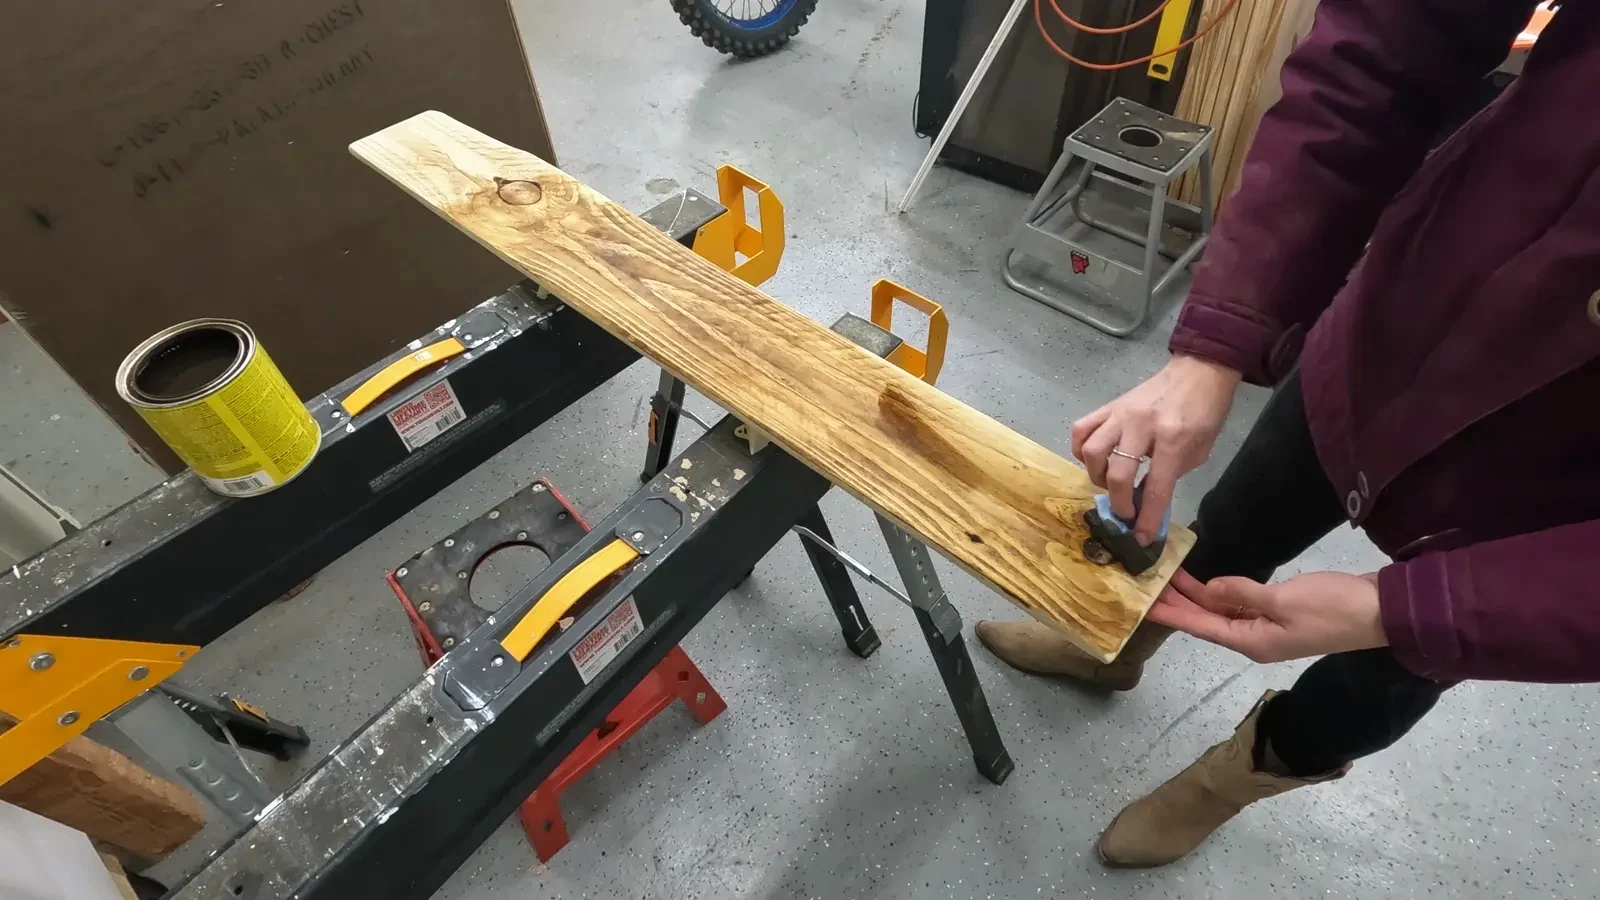
Next, I applied stain to the entire piece. I used my go-to color, Varathane's Early American, wiping it on every surface with a lint-free cloth. This rich, medium wood color is excellent for making basic pine boards look impressive. I let the stain soak in for a minute and then applied a second coat to achieve a slightly darker finish.
Sealing the wood for durability
The final step in preparing the wood was sealing it. I used a small amount of clear furniture wax, buffing it into the wood with another lint-free cloth. While not strictly necessary, this step helps to lock in the stain, makes the wood feel buttery soft, and ensures it's easier to clean over time.
Attaching the hooks
For assembly, I aimed for the hooks to be spaced about four to six inches apart. Since I had six hooks, I divided the total length of the board by seven (the number of hooks plus one) and marked small ticks at each interval. Then, I laid out the hooks and adjusted their positions until I was happy with the arrangement.
My board had non-square edges, and the hooks weren't perfectly uniform, so some guesswork was involved. You can choose to measure precisely or eyeball it, depending on your preference. I used beautiful, heavy cast iron hooks for this project.
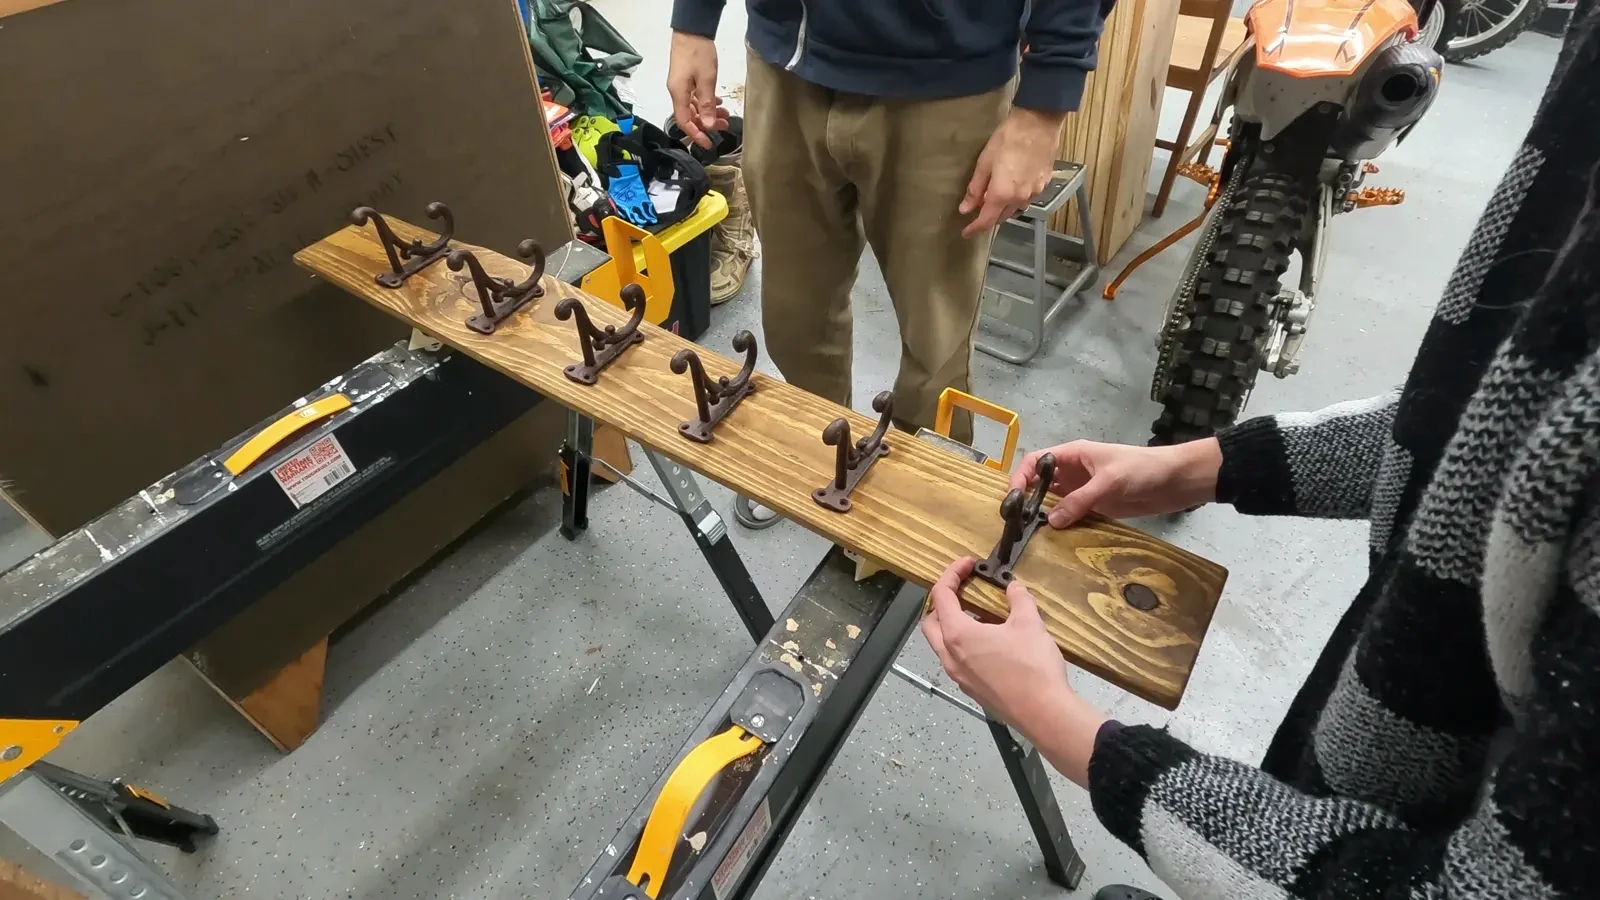
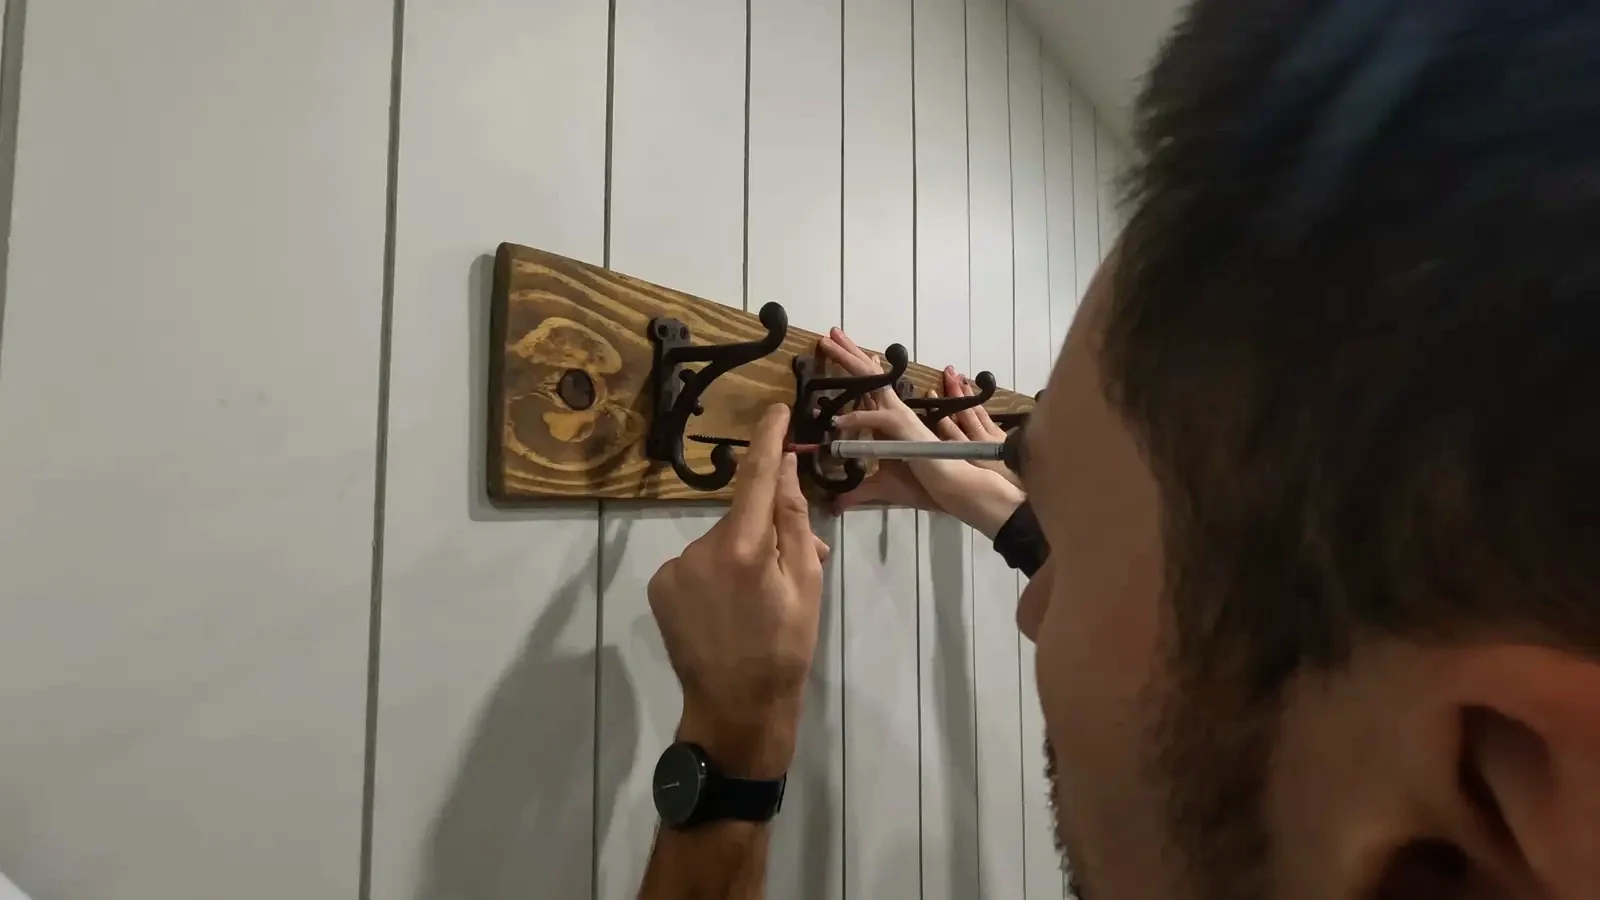
Once satisfied with the placement, I screwed in each hook one by one. It's important to use screws that are long enough to hold securely but not so long that they poke through the other side of the board. Having an extra set of hands can be very helpful during this step.
Seamless wall installation
A clever hack for a seamless look is to use some of the hook mounting holes for installing the coat rack directly into wall studs. Normal stud spacing is 16 inches on center. If you plan ahead, you can position your hooks so that a single screw can go through the hook, through the board, and directly into a stud.
This method requires knowing the exact desired location of the coat rack and the relative positions of your wall studs in advance, which can be a bit complicated. However, the seamless result is well worth the effort if you're up for the challenge.
Mounting the coat rack
In my mudroom, after double-checking the location of the studs, I needed to determine the right height. A good starting point is about five feet off the ground. Since I plan to build a bench along this wall, I used a coat to gauge the perfect height for my needs, which ended up being closer to five feet six inches.
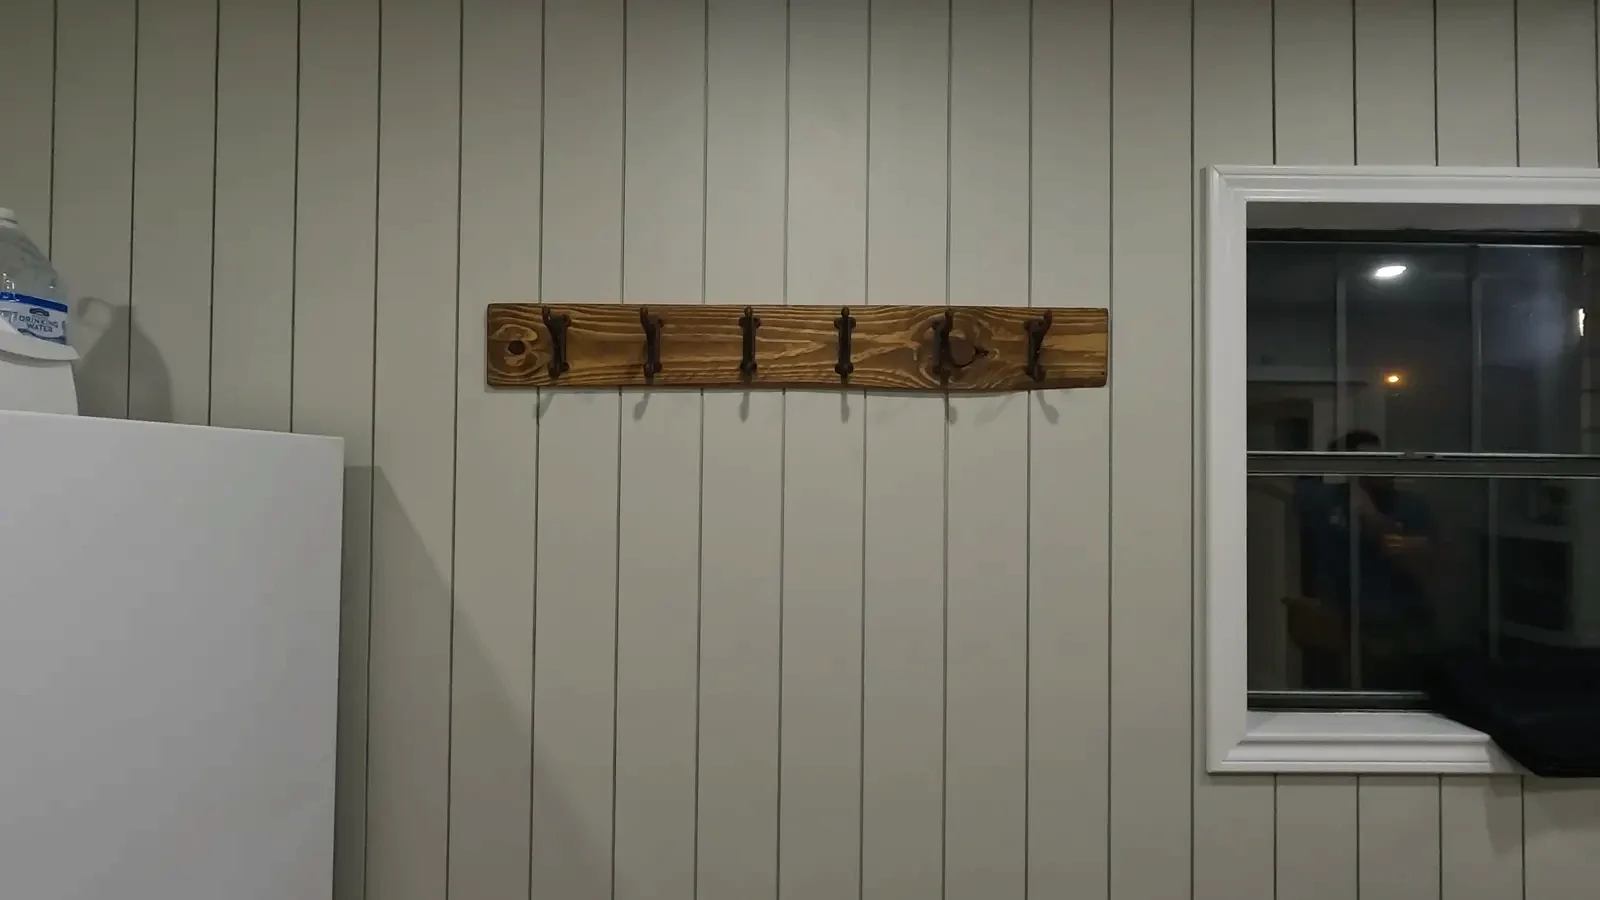
For installation, I used two-and-a-half-inch screws to ensure they went through the board, through the shiplap, through the drywall, and securely into the stud. After getting one screw into the wall, I used a level to ensure everything was perfectly even before finishing up on the other side.
If you don't use the hook-hole stud hack, simply pick a discreet spot for your mounting screws. Drilling pilot holes through the coat rack first can be helpful. If you need to use drywall plugs, choose ones with a higher weight allowance for better support.
The finished result
The finished coat rack is exactly what I envisioned: short, sweet, and incredibly functional. Since the wood was free, the only cost was for the hooks, making it a very budget-friendly project. It's far superior to anything I could have found at a big box store, offering a unique, custom look and feel.
Every time I see it, I'm reminded of the satisfaction of creating something useful and beautiful with my own hands. This project proves that with a little effort, you can transform simple materials into a cherished piece for your home.
Frequently asked questions
What type of wood is best for a DIY coat rack?
A thin and wide piece of wood, such as a 1×6, works well. Reclaimed pallet wood can be used for a rustic look, or you can purchase a new board from a lumber store. The key is to ensure it's sturdy enough to hold coats.
How do you prepare old or painted wood for staining?
To prepare old or painted wood, use an orbital sander to remove the top layer, smooth the surface, even out color differences, and ensure the wood will accept stain properly. Make sure to sand off all visible paint.
What is the purpose of sealing the wood with furniture wax?
Sealing the wood with clear furniture wax helps to lock in the stain, makes the wood feel smooth to the touch, and makes it easier to clean. While not strictly necessary, it adds a layer of protection and improves the finish.
How far apart should coat hooks be spaced?
A good general guideline is to space coat hooks about four to six inches apart. To calculate precise spacing for an even look, divide the total length of your board by the number of hooks plus one, and mark at each interval.
What is the ideal height for installing a coat rack?
A common starting point for coat rack installation is about five feet off the ground. However, the ideal height can vary based on personal preference and the intended use (e.g., if a bench will be placed underneath). It's helpful to hold a coat up to the wall to determine the best height for your specific needs.

 Canada
 EUR
EUR Japan
Japan